

On this page
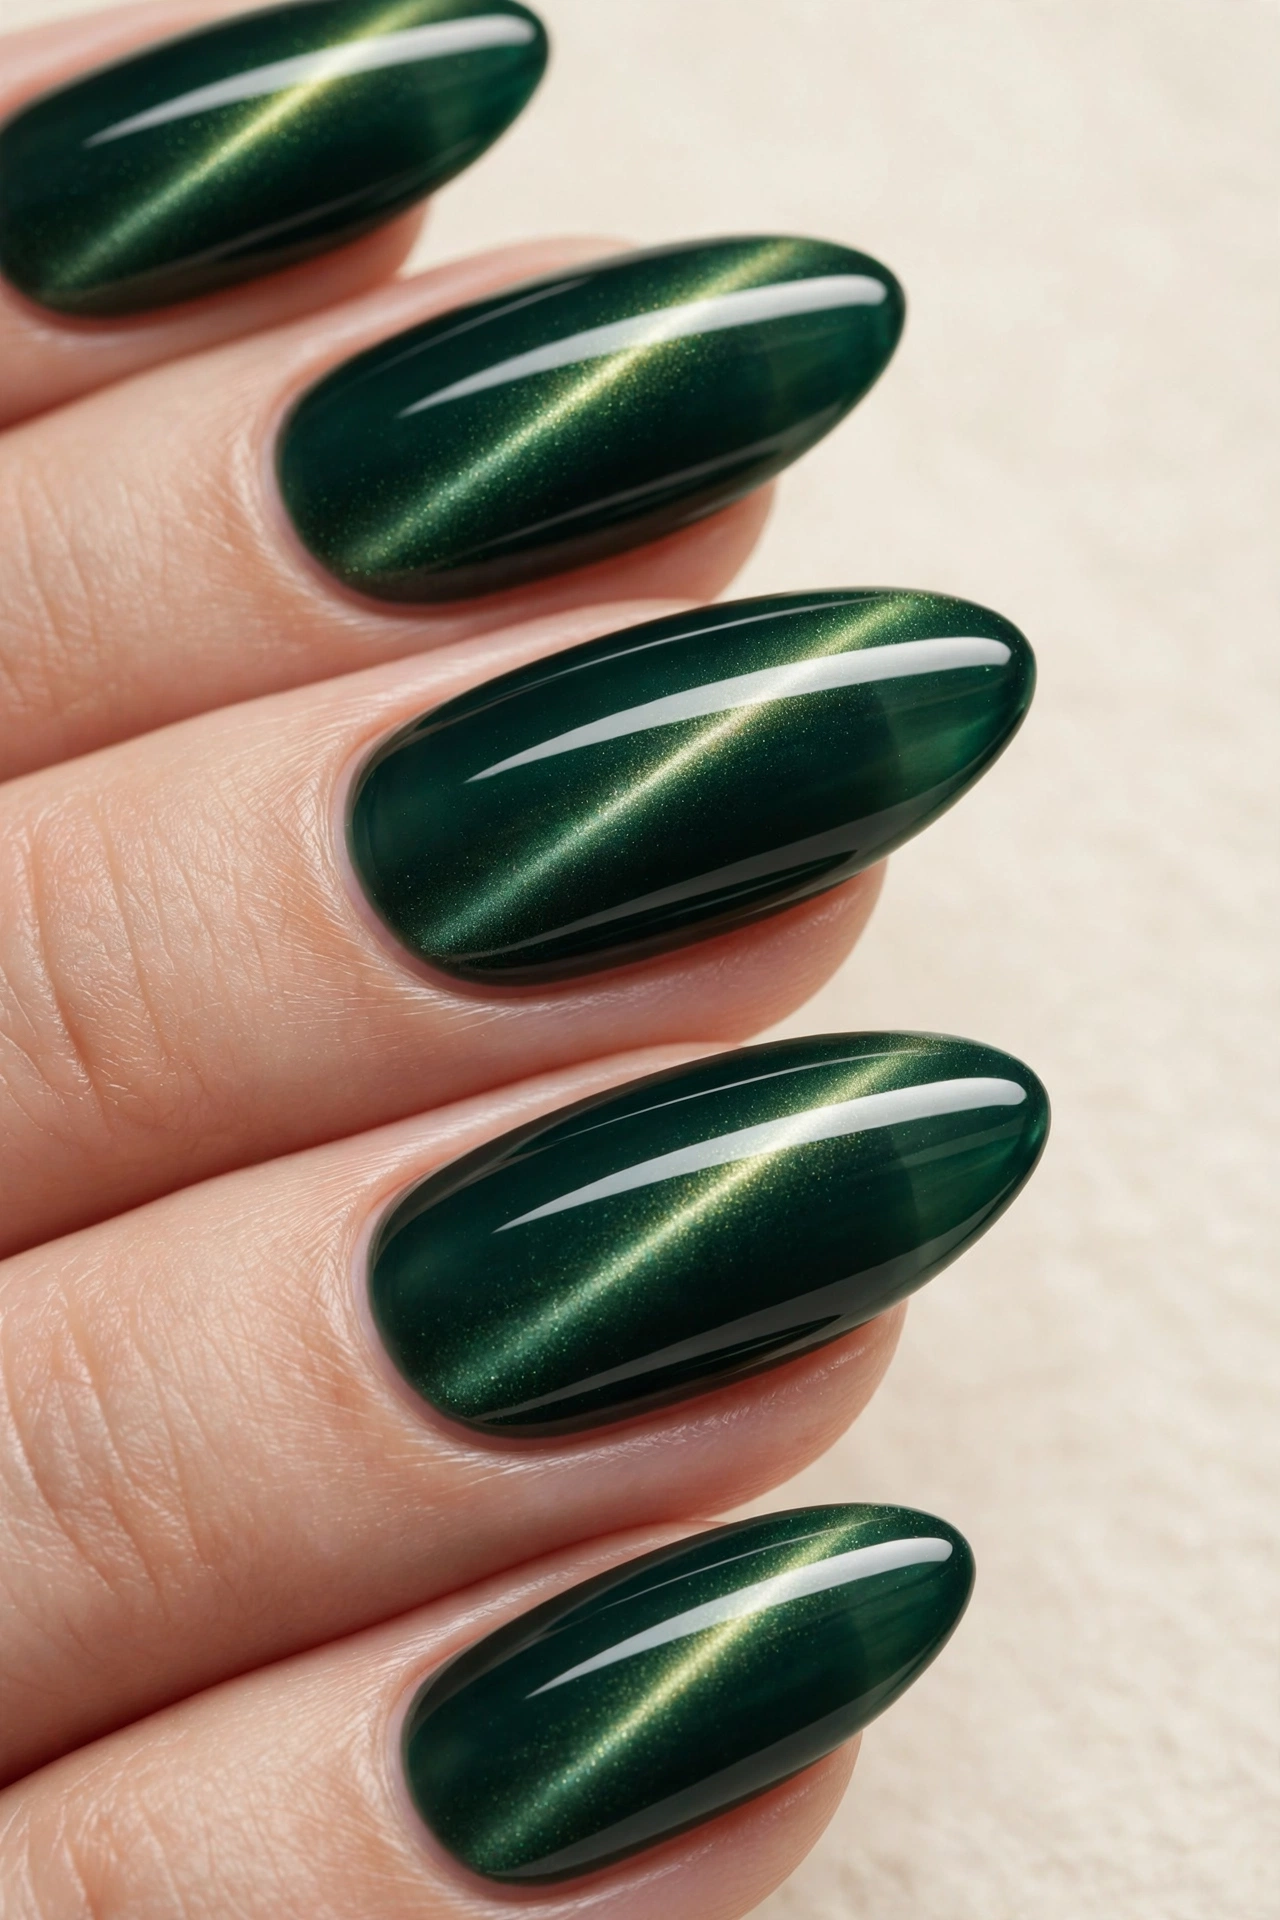
Cat-eye nails use magnetic nail polish to create a reflective stripe or glow. The effect comes from moving magnetic particles while the product is workable, rather than painting a bright line on top. A slight change in viewing angle can make the highlight appear to travel across the nail.
This guide explains how to plan and practice the effect. It is an editorial technique overview, not a documented product test. Magnet strength, polish formula and the product system change the process; follow the instructions supplied with your exact products rather than treating one timing or distance as universal.
Choose the product system first
Regular magnetic polish air-dries. Magnetic gel polish needs curing with a lamp compatible with that specific gel system. The two processes are not interchangeable, and a lamp’s advertised wattage alone does not establish the correct cure. If you are unfamiliar with gel application or removal, discuss the service with a qualified nail technician.
Ordinary shimmer polish does not automatically respond to a magnet. Check that the bottle is intended for magnetic nail art. Marketing names such as “9D” or “galaxy” do not provide a standardized measure of particle strength or guarantee a particular result.
What you need
- Magnetic polish and its recommended nail-art magnet.
- A base and top coat compatible with the chosen system.
- A practice tip or nail-art swatch surface.
- A stable table, protected surface and suitable ventilation.
- Cleaning and removal materials specified for the products.
For gel, use the manufacturer’s compatible lamp and complete instructions. Keep uncured product away from the skin and do not improvise a shorter cure. Stop if a product causes irritation; do not apply over painful, damaged or inflamed nails.
Practice before painting a full set
Use a practice tip to see how your magnet affects your polish. Decide whether you want a narrow diagonal highlight, a curved accent or a broader glow. The magnet’s shape and pole orientation matter, so the same hand position will not produce the same pattern with every tool.
Start with the distance and hold time in the product directions. Keep the magnet close enough to influence the particles without touching the wet surface. Brace your hands on the table. Compare a small change in angle on a second practice tip instead of trying several positions on the same partly set layer.
Step 1: Prepare according to the system
Remove the previous product using its appropriate method, shape any snagged free edge gently and prepare the nail according to the new system’s directions. Do not cut away the cuticle for the artwork. Do not assume buffing or strong cleansers are required for every regular polish. Apply the recommended base coat and complete its drying or curing stage.
Step 2: Apply the color layer
Use the layer thickness recommended by the manufacturer. Some magnetic products need a separate base color; others do not. Work one nail at a time where the instructions call for it, so the magnetic layer is still workable when you bring in the magnet. Avoid flooding the surrounding skin.
Step 3: Position the magnet
Reproduce the position you chose on the practice tip. Hold the magnet steadily for the recommended period and keep it off the product. If the highlight develops unevenly, check whether the nail is level and the tool is stable. A different magnet may create a different pattern even when the apparent angle is the same.
Step 4: Complete drying or curing
For regular polish, follow the directions for magnetic hold time, drying and additional layers. The pattern can soften while the polish settles. For gel, complete the full specified cure using the compatible lamp; do not substitute a brief “flash cure” for the required final cure.
Repeat layers only where the system recommends them. Thick coats are not a shortcut to more sparkle and may create drying or curing problems. Follow the product’s sequence rather than adding an extra layer simply to match a heavily edited photo.
Step 5: Finish with the compatible top coat
Apply and finish the top coat according to its directions. Some systems call for additional magnet use during this stage and others do not. A gel product may or may not require a final wipe, so check the label rather than wiping every finished nail automatically.
Troubleshooting a faint or blurry effect
- No visible movement: confirm that the polish is magnetic and the magnet is suitable.
- A faint stripe: check the recommended working distance, product preparation and layer thickness.
- A smeared pattern: steady the tool and avoid dragging it through wet product.
- The pattern softens later: check the complete drying or curing sequence and top-coat instructions.
- A different effect on each nail: use a practice reference for angle, position and application order.
Four color directions
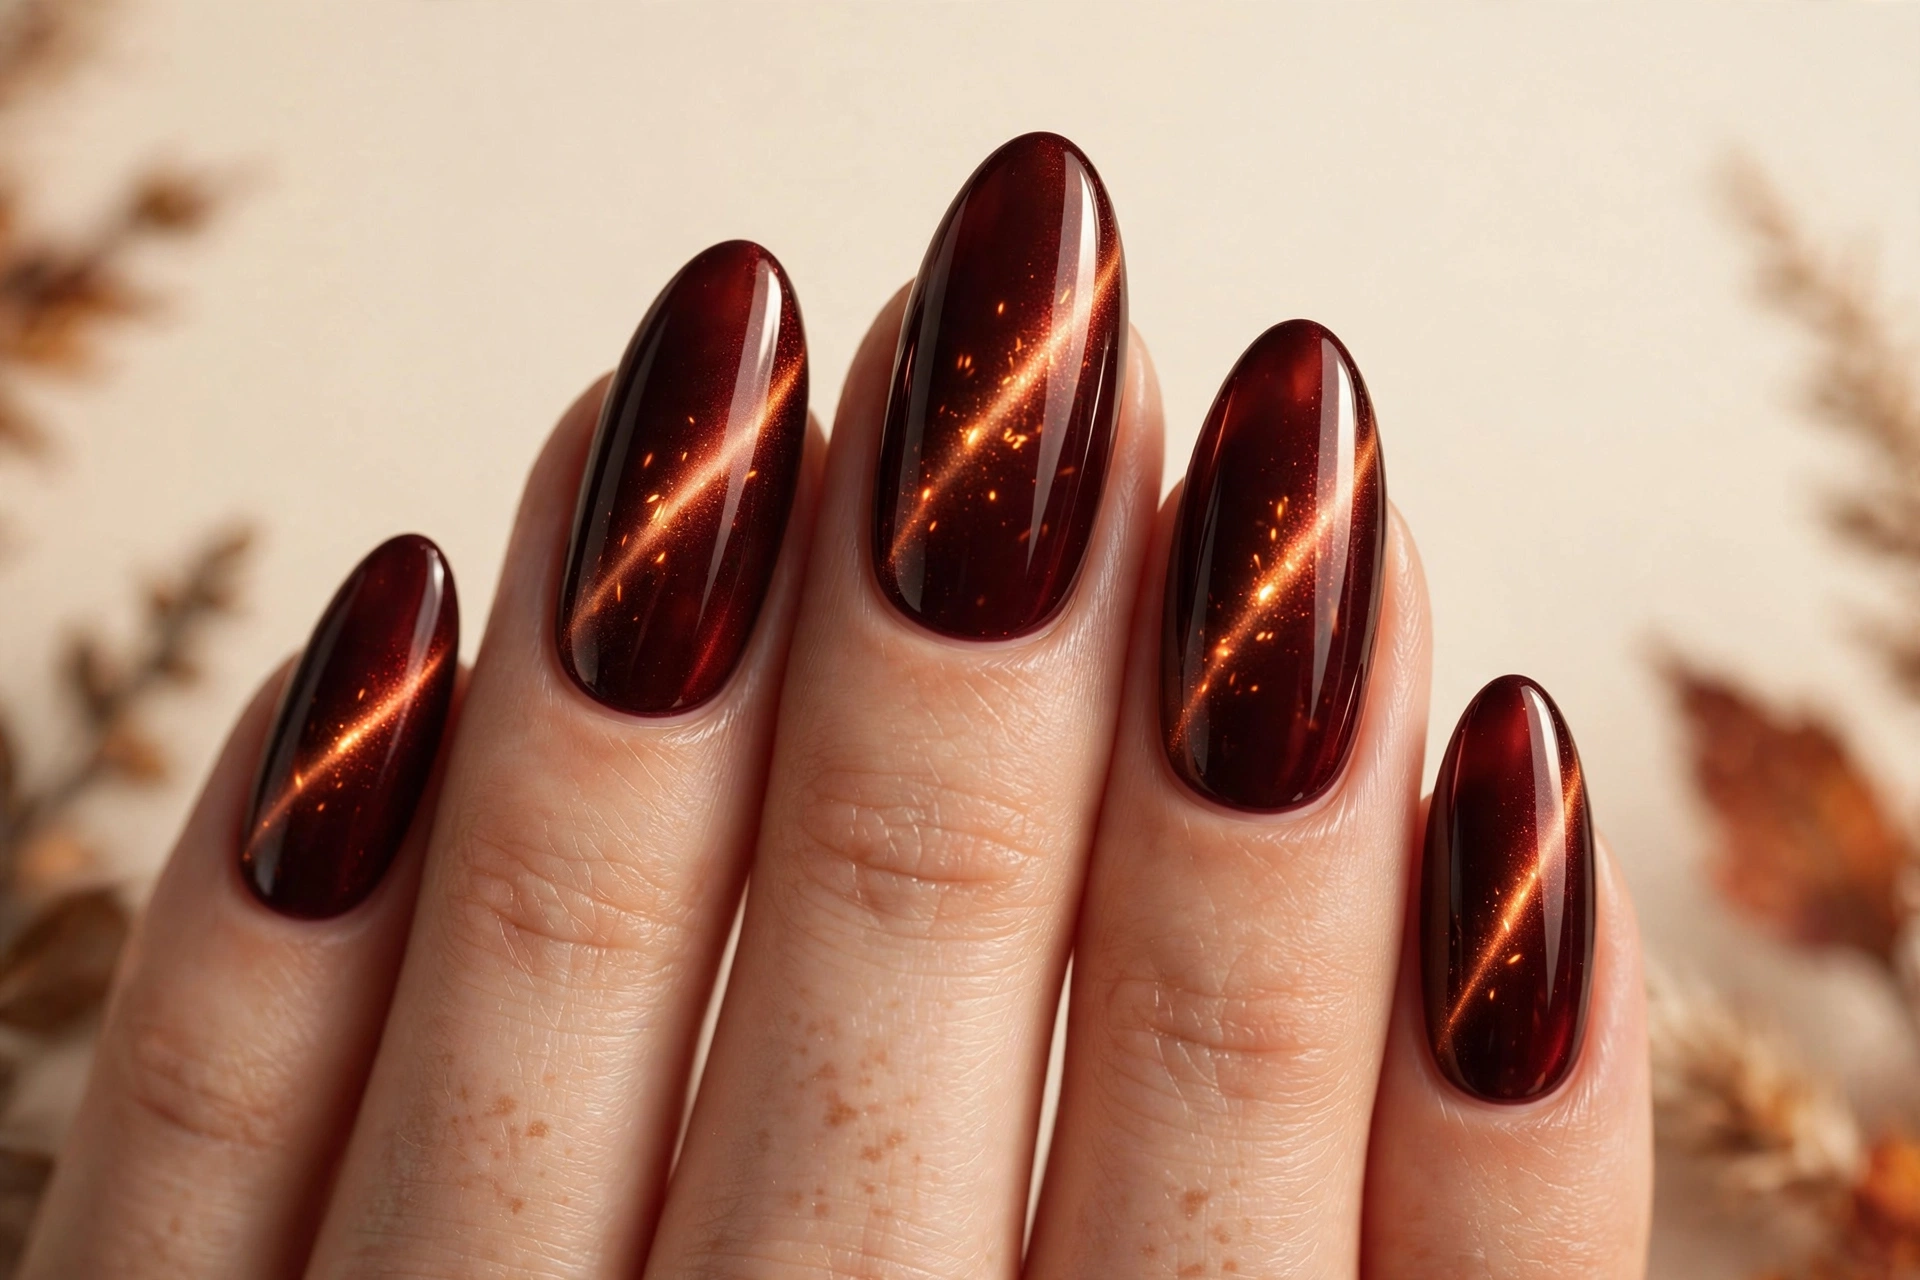
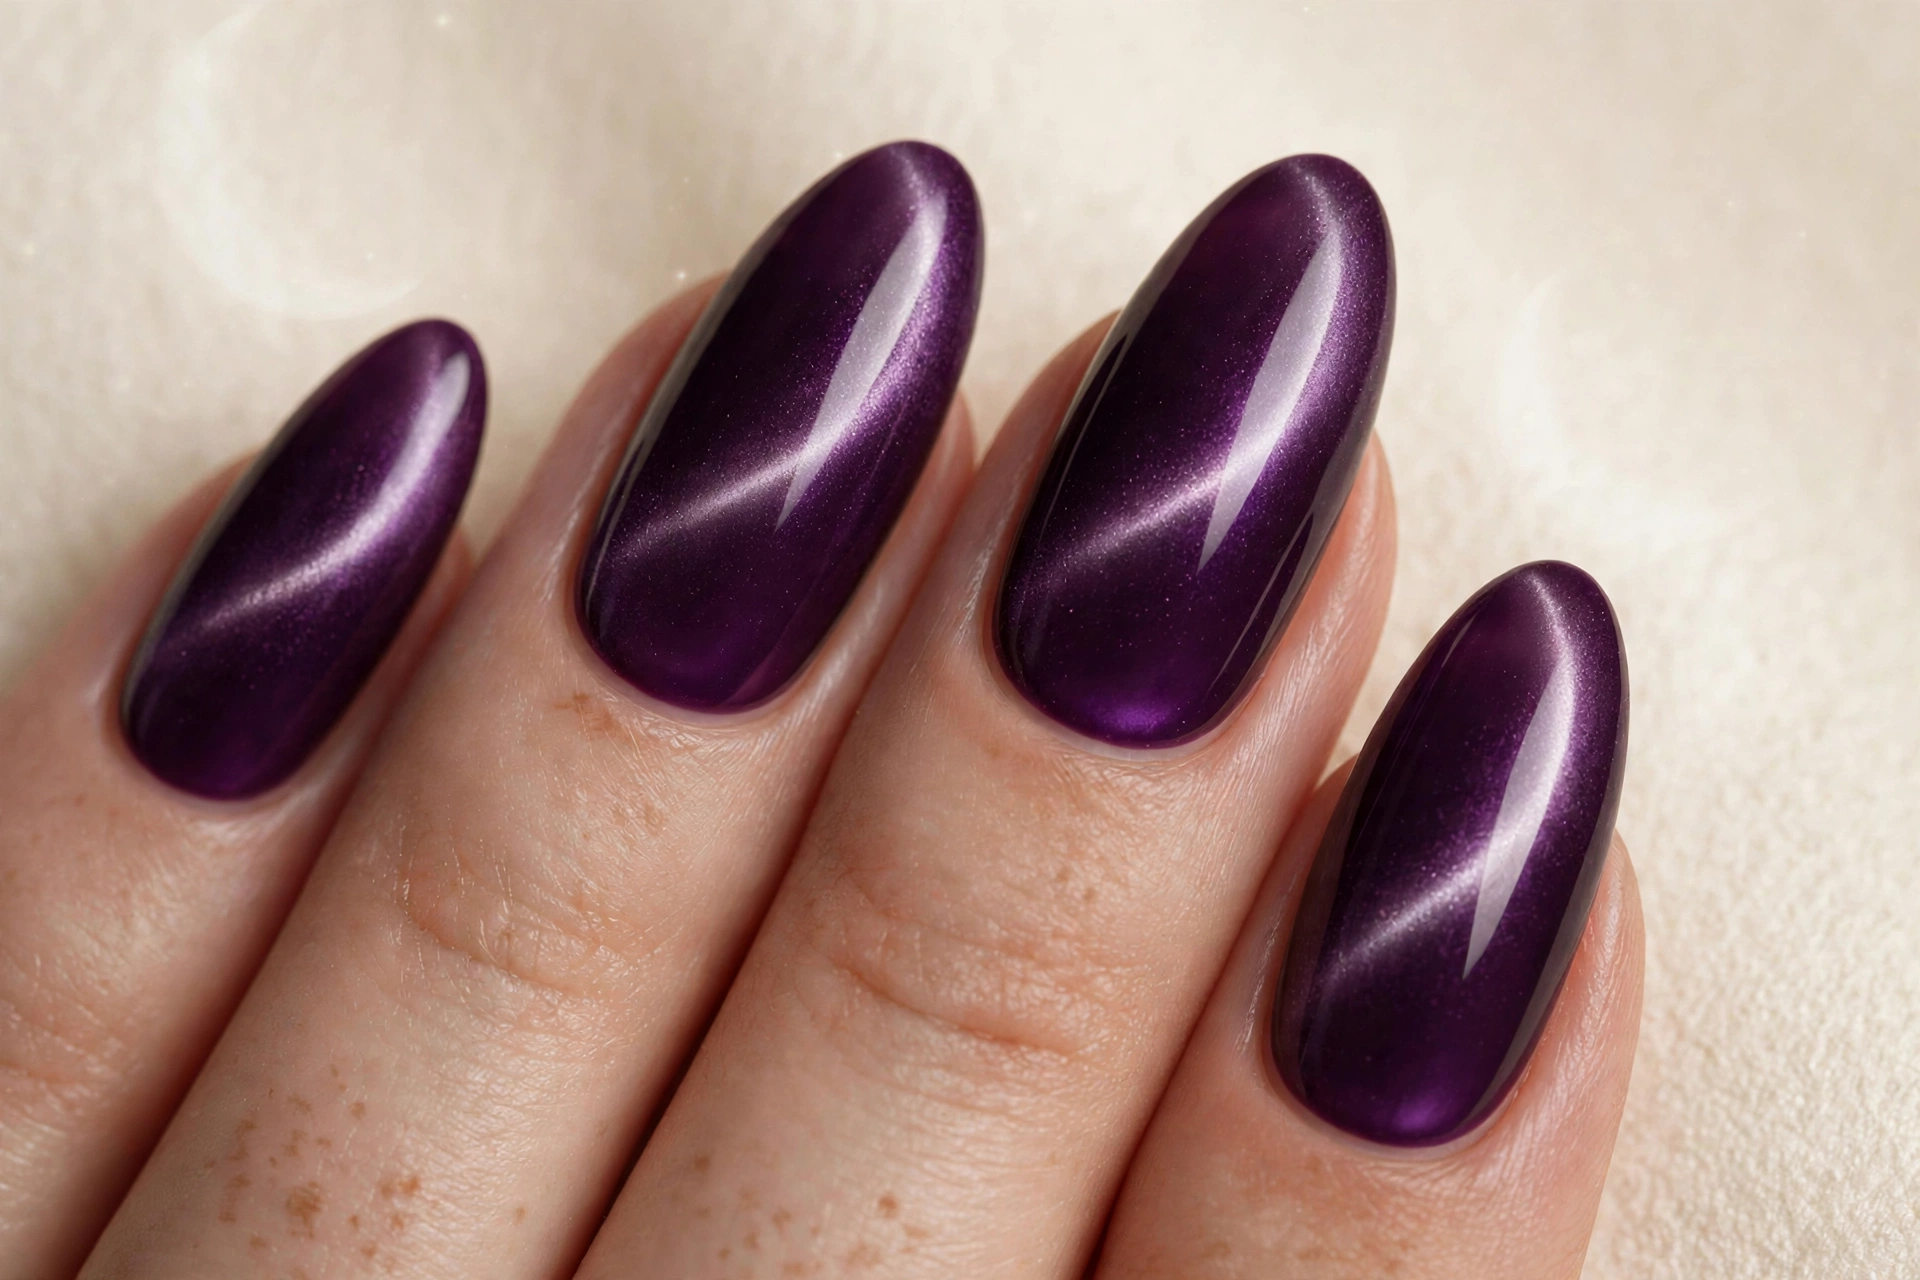
Burgundy: try a narrow light band for a contrast-rich evening look. Champagne: choose a softer glow when you want a quieter metallic effect. Plum: a curved highlight can create a different mood from a straight stripe. Emerald: compare the finish in daylight and indoor light before deciding how strong you want the reflection.
For more finish choices, see our gloss, shimmer and chrome comparison. The Halloween design collection offers seasonal ways to use a dark base.
Wear and removal
Wear time varies with the formula, application and daily activities; this guide does not promise a set number of days or weeks. Remove regular polish using its recommended remover. Gel and enhancement products need their own instructions, and some systems require professional removal. Do not peel, scrape or force resistant product away.
Common questions
Can short nails wear cat-eye polish?
Yes. The effect comes from the product rather than a long canvas. Compare a narrow stripe and a broad glow on a practice tip to choose a scale you like.
Will an ordinary magnet work?
A nail-art magnet recommended for the product is the clearest starting point. Household magnets vary in strength and shape, so their results are unpredictable.
Is ten minutes enough for the whole manicure?
Do not plan the service around that promise. Preparation, layers, drying or curing and clean-up all take time, especially while learning. Follow the full product process.
Illustrated color references


Editorial guidance from LuxeSleek. Our approach · Corrections and questions