

There is a particular pleasure in a fresh set of nails that still looks immaculate on day twelve — no lifting at the cuticle, no wobbling sidewall, nothing catching on your sweater. Press-on nails have a reputation for popping off by dinner, and honestly, most of the time that reputation is earned. But it is not the nails that fail. It is the application. Give press-ons a proper foundation — careful sizing, real nail prep, the right adhesive, and a patient press — and they can carry you a full two weeks. This guide walks you through the entire method, exactly as you would do it at your own table on a quiet evening.
TL;DR — the short version:
- Two weeks of wear is realistic with nail glue and thorough prep; adhesive tabs last days, not weeks.
- Size every tip before you start, push cuticles back, buff gently, and dehydrate the nail plate.
- Apply a thin, even layer of glue to both the natural nail and the press-on, then press each nail down firmly at a 45-degree angle.
- Keep nails dry for the first few hours, oil your cuticles daily, and never peel a nail off — soak it instead.
What does “two weeks of wear” actually mean?
Two weeks of press-on wear means all ten nails staying firmly attached, with edges sealed and no visible lifting, through normal daily life — typing, washing dishes with gloves, the gym, all of it. It does not mean the set looks identical to day one: nails grow, so by day ten you may see a fine line of natural nail at the cuticle. That is normal, and a small price for a set that never shifted.
It also means choosing the right tool for the job. Adhesive tabs are wonderful for a weekend, but they are not a two-week solution. For a full fortnight, nail glue is the honest answer — paired with preparation that gives the glue a clean, dry surface to hold. If your lifestyle involves constant hand-soaking (swimming daily, long baths, dishwashing without gloves), set your expectations closer to ten days. Everything else in this guide — the sizing, the buffing, the patient pressing — is what moves you from three days to fourteen.
What are press-on nails, exactly?
Definition: Press-on nails are pre-shaped, pre-finished artificial nails — usually made of ABS plastic — that you attach to your natural nails with adhesive. They come in standard sizes, shapes, and designs, and are applied at home without a lamp or salon appointment.
They differ from salon extensions in one important way: nothing is sculpted or cured on your nail. The shape, color, and finish are already complete in the package, which means the only part you control is the application itself. That is both the limitation and the advantage — the manicure can only ever be as good as your prep, but with the right prep, it can be genuinely excellent.
Glue, adhesive tabs, or both: which lasts longest?
For two full weeks of wear, liquid nail glue wins clearly. Adhesive tabs — the sticky double-sided pads some kits include — are gentler and easier to remove, but they typically hold for one to three days of light wear. Glue forms a firm bond with the nail plate that, on a properly prepped nail, carries the set through roughly ten to fourteen days.
Some people use both — a tab with a drop of glue — but a well-applied layer of glue alone is the standard route to long wear. Here is how the options compare:
| Adhesive | Typical hold | Best for | Removal | Reusable |
|---|---|---|---|---|
| Nail glue | 10–14 days | Maximum wear; events, holidays, everyday sets you want to forget about | Warm soapy soak, then gentle lift | Rarely — glue usually coats the tip |
| Adhesive tabs | 1–3 days | Weekend wear, trying a design, sensitive or damaged natural nails | Peel off gently under warm water | Often, yes |
| Glue + tab hybrid | 5–7 days | A middle ground when you want extra hold but easier removal | Warm soapy soak | Sometimes |
For the rest of this guide, we are working with nail glue, because it is the only adhesive that realistically reaches the two-week mark. Follow your product’s instructions, work in a ventilated space, and keep glue away from skin and eyes — standard practice, but worth saying plainly.
What do you need before you start?
Before you open the kit, two prerequisites decide most of your result: the shape should suit your hands, and the tips should match your nail beds. If you are torn between shapes, our guide to round, oval, and squoval nail shapes will help you choose before you commit to a full set. Medium almond — the shape used throughout this tutorial — is forgiving on most hands and takes daily wear gracefully.
Lay everything out on a clean table before you begin. Hunting for the cuticle stick with glue on your fingers is how mistakes happen.
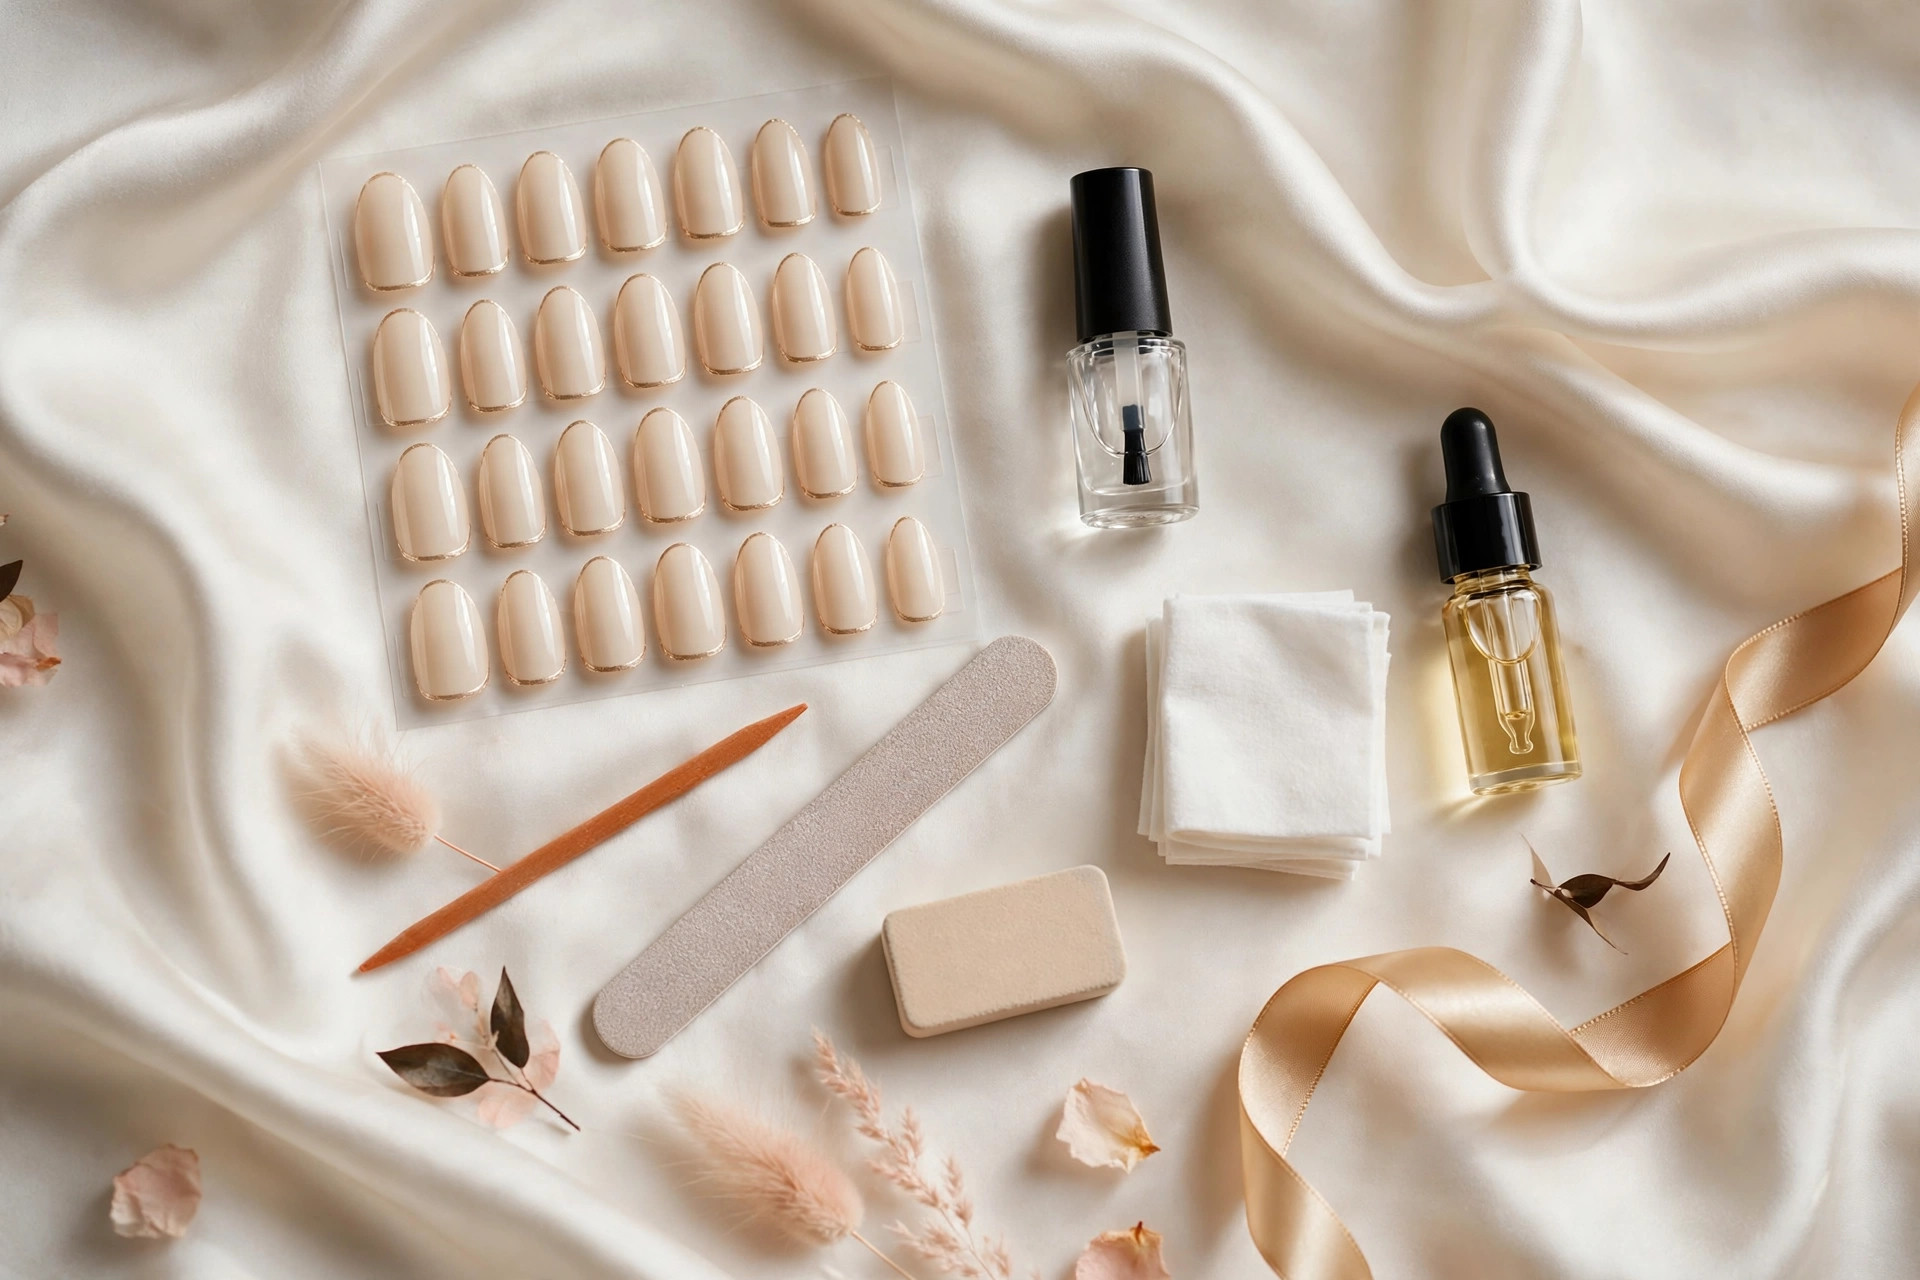
The kit
- Press-on nails in your chosen shape and length — a full numbered set (0–9 or similar) so you can size each nail. Shorter lengths hold longer; very long tips take more knocks.
- Brush-on nail glue — a brush applicator gives a thinner, more even layer than a squeeze tube, which matters more than you would think.
- Adhesive tabs (optional backup) — useful if one nail pops early and needs a quick re-fix on the go.
Prep tools
- Wooden or silicone cuticle stick — for gently pushing back cuticles, never cutting them.
- Fine-grit nail file — for shaping your natural nail edge and, if needed, refining a tip’s sidewalls.
- Soft buffer block — for removing shine from the natural nail, lightly.
- Lint-free wipes and rubbing alcohol (or a nail dehydrator) — for cleansing the nail plate of oils and dust. Use as directed and keep away from broken skin.
- Cuticle oil — applied after the set, not before; oil under glue is the fastest route to lifting.
- A small towel and good daylight — you are doing detail work; treat it that way.
How hard is this, and how long does it take?
This is a genuinely beginner-friendly process — closer to careful craft work than to artistry. If you can paint your nails without flooding the cuticles, you can do this. The only real skill involved is patience: most failures come from rushing the press, not from any technical difficulty.
Time estimate: allow 45 to 60 minutes for your first full set, unhurried. That breaks down to roughly 20 minutes of prep (sizing, cuticles, buffing, cleansing), 20 minutes of application, and 10 minutes of finishing. With practice it drops to about half an hour. Do not start ten minutes before you need to leave the house — the set needs a few quiet hours afterward to settle, ideally applied in the evening.
The method: 8 steps to two weeks of wear
Every step below earns its place. Skip the sizing and you get lifting sidewalls; skip the dehydration and the glue has nothing to grip. Work through them in order, one hand at a time, and resist the urge to multitask once the glue is open.
Step 1: Size every nail before you touch the glue
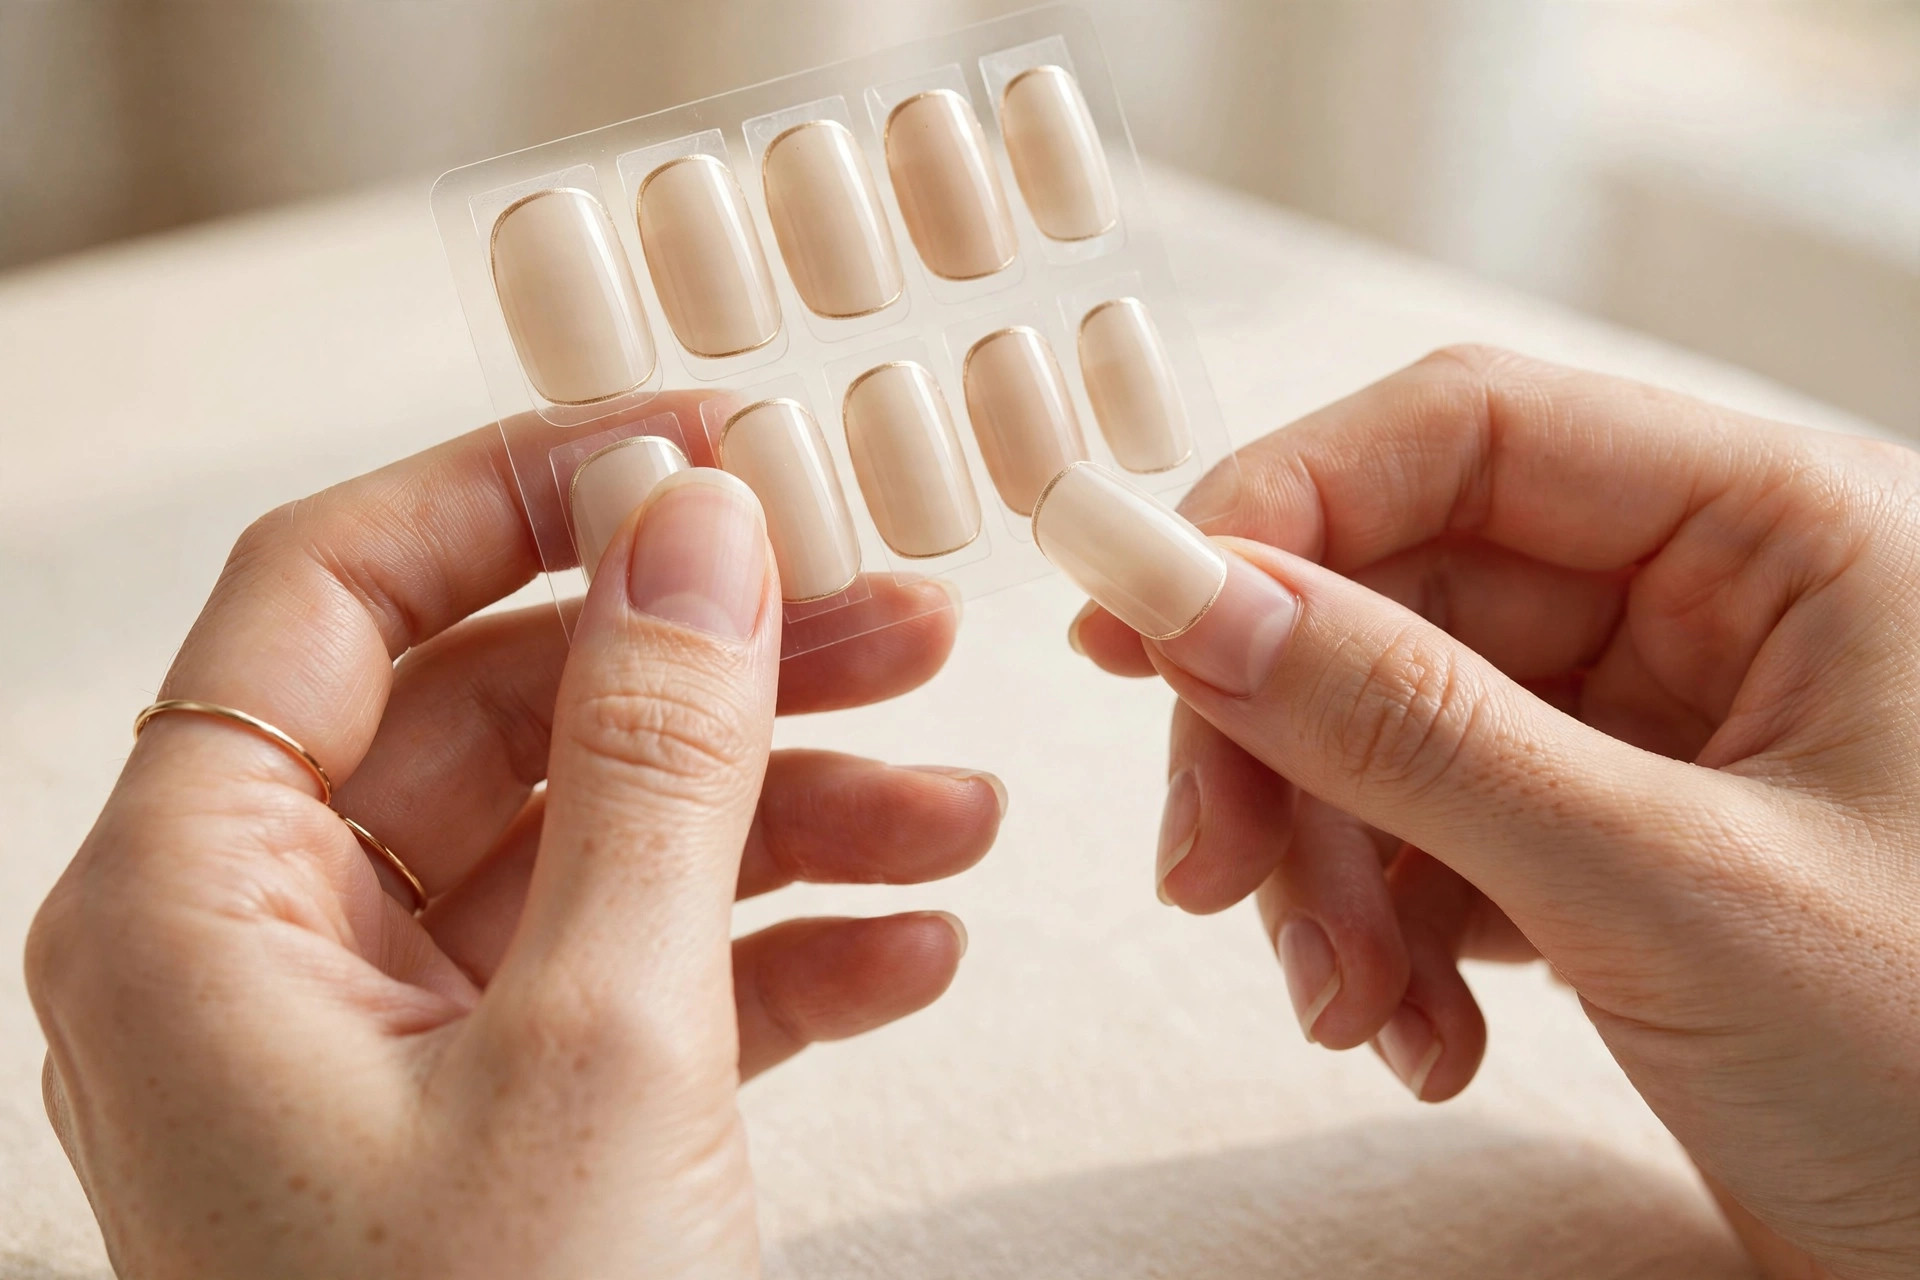
Hold each tip against its nail — not just roughly, but one by one, both hands. The right size covers the nail plate fully, edge to edge, without pressing into the skin at the sidewalls or cuticle. If you fall between two sizes, choose the slightly larger one and file the sides down a touch; a tip that is too small leaves a gap where water and oil creep in, and that is where lifting starts. Lay the ten chosen tips out in order on your table so application becomes a rhythm, not a search.
Step 2: Push the cuticles back, gently
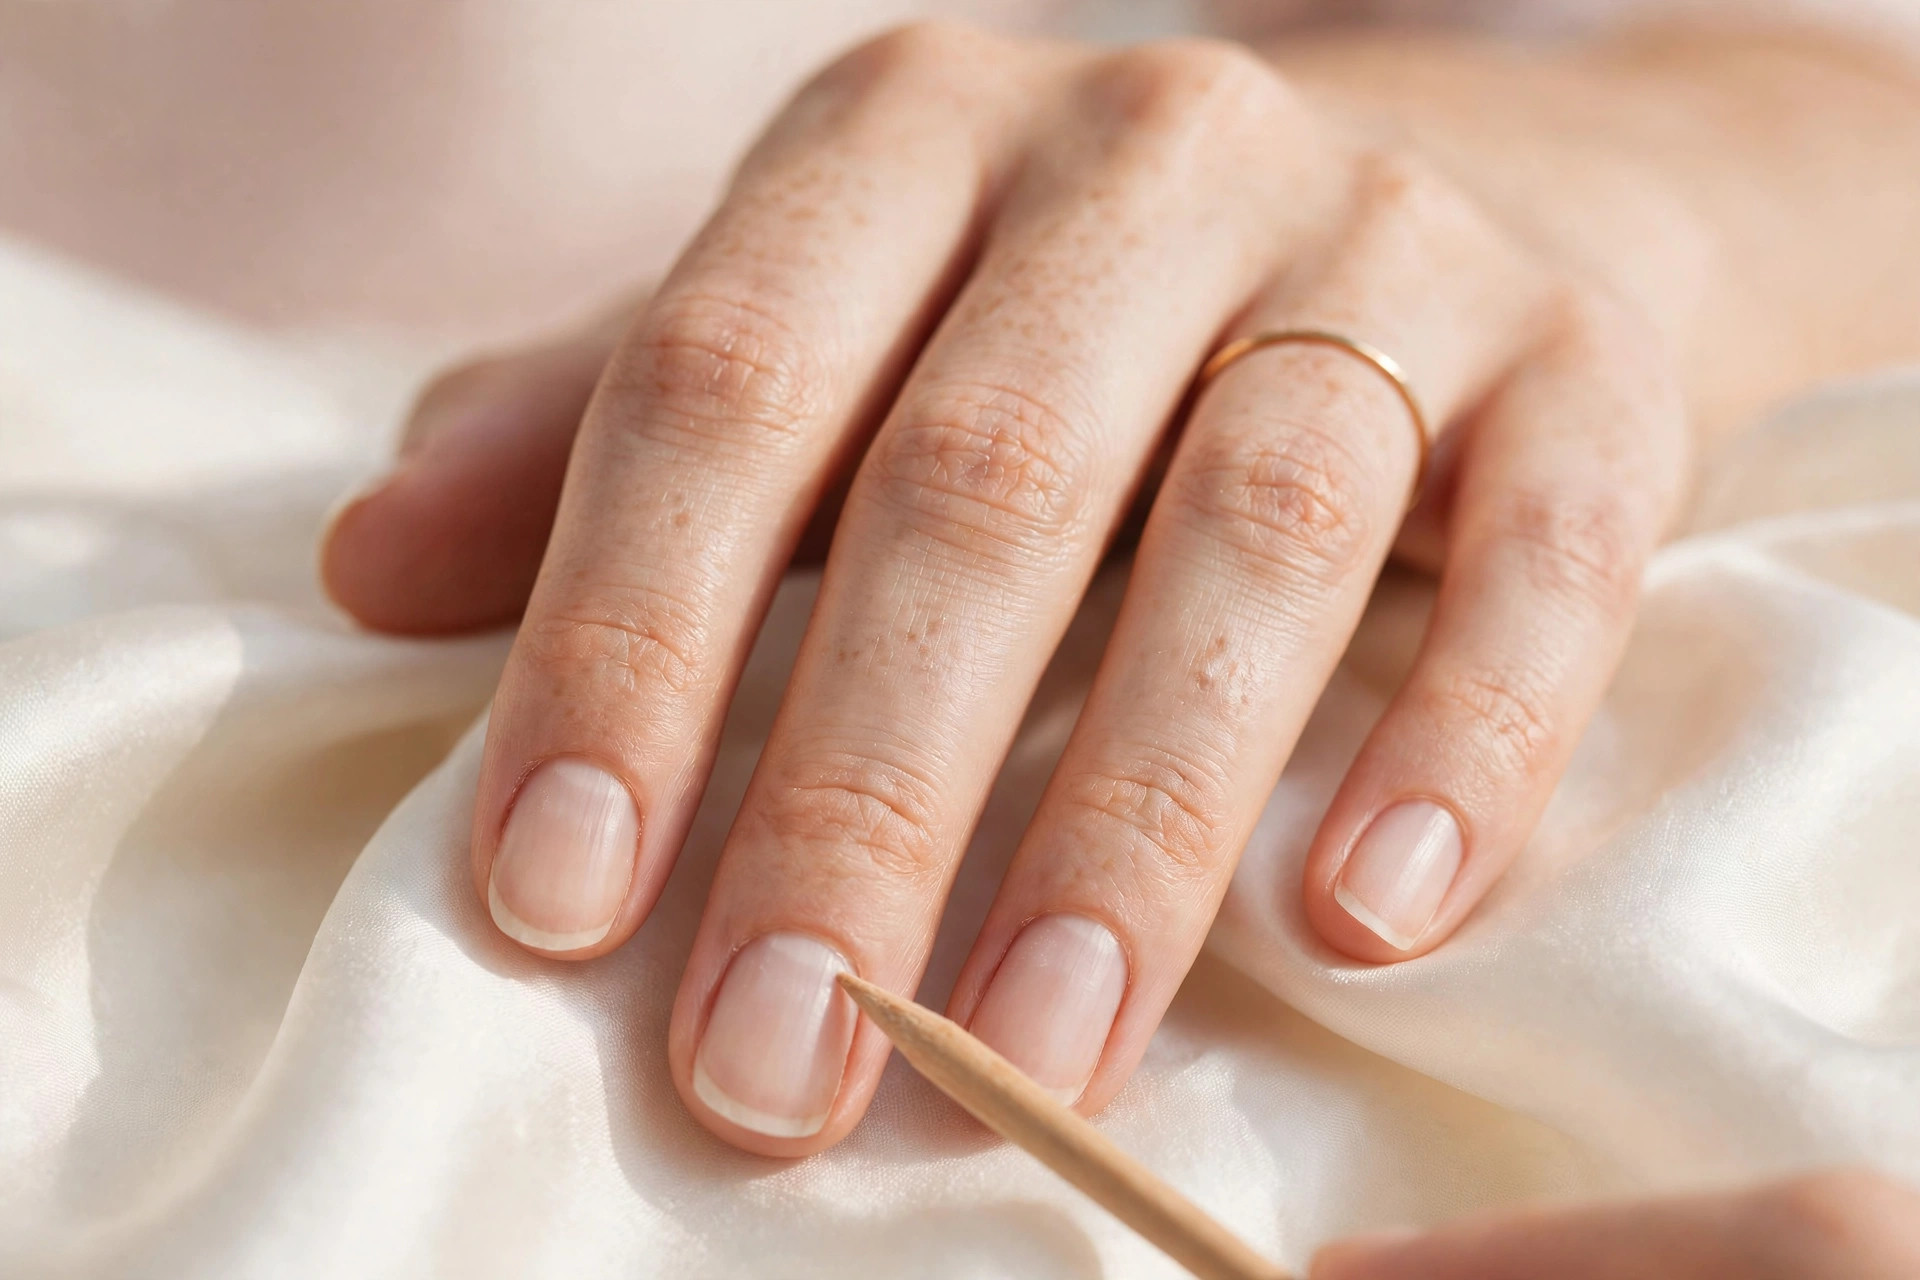
After washing your hands in warm water, use the cuticle stick to ease each cuticle back. You are not removing anything — just clearing the nail plate so the press-on can sit close to the cuticle line without overlapping skin. Glue bonded to skin instead of nail is a weak bond that lifts within days. If your cuticles are stubborn, a warm soak for a few minutes first makes this effortless. Never cut or force them.
Step 3: Buff the shine away — lightly
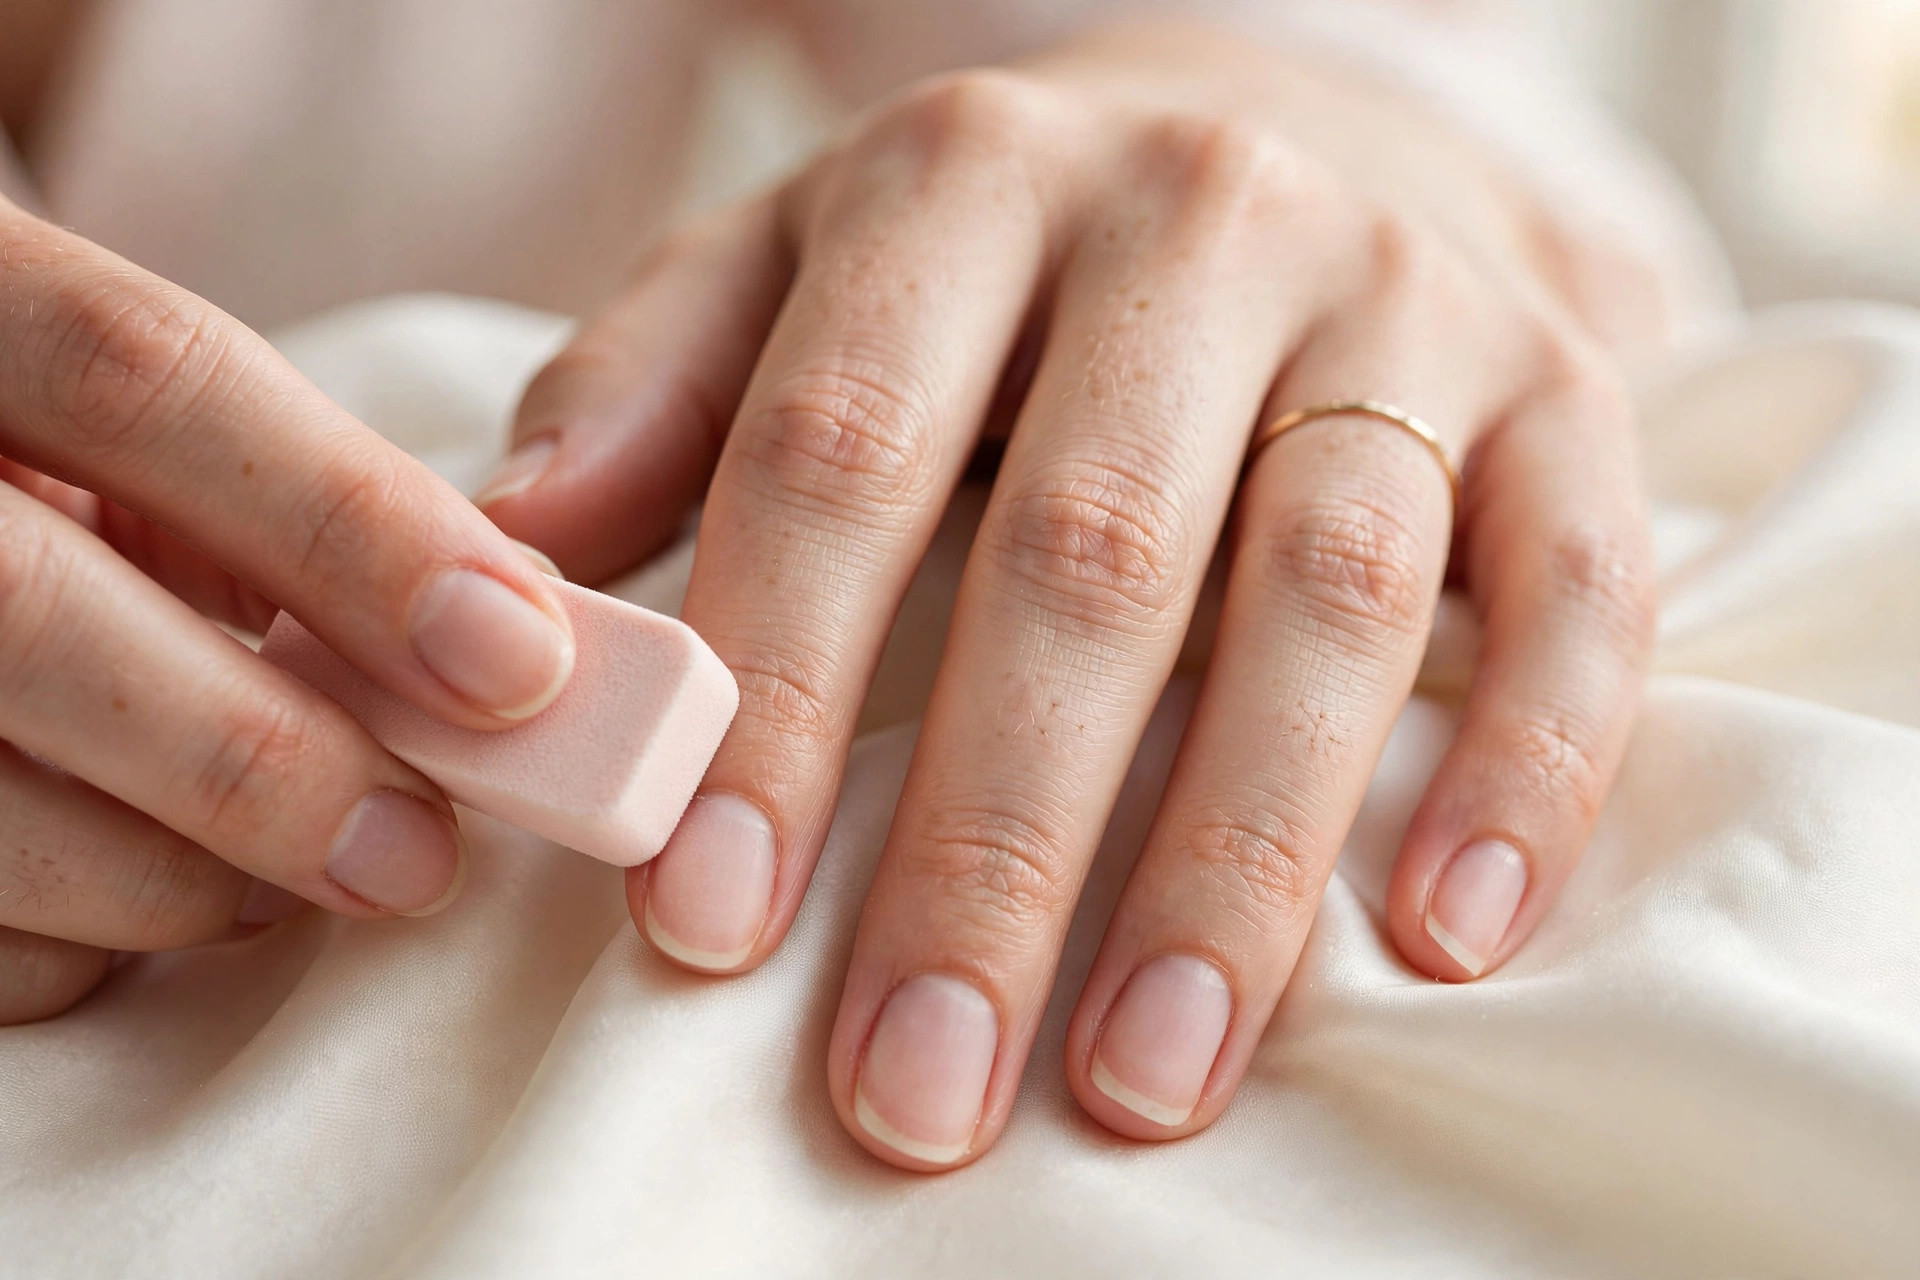
Take the soft buffer and pass it over each nail just enough to remove the glossy top layer — three or four light strokes, no pressure. The nail should look matte, not thin. This is the single most skipped step and the single most common reason sets fail early: glue bonds beautifully to a lightly textured surface and poorly to a slick one. Do not use a coarse file or an e-file on your natural nail; aggressive thinning weakens the nail and does not improve adhesion.
Step 4: Cleanse and dehydrate the nail plate

Wipe every nail with a lint-free wipe dampened with rubbing alcohol, getting into the corners and along the sidewalls. This removes the fine dust from buffing and, more importantly, the natural oils your skin produces constantly — oil is the enemy of adhesion. Let the nails air-dry completely. From this point on, try not to touch the nail surfaces with your fingertips; the oils transfer right back. This is also why cuticle oil waits until the very end.
Step 5: Apply glue to both surfaces, thinly
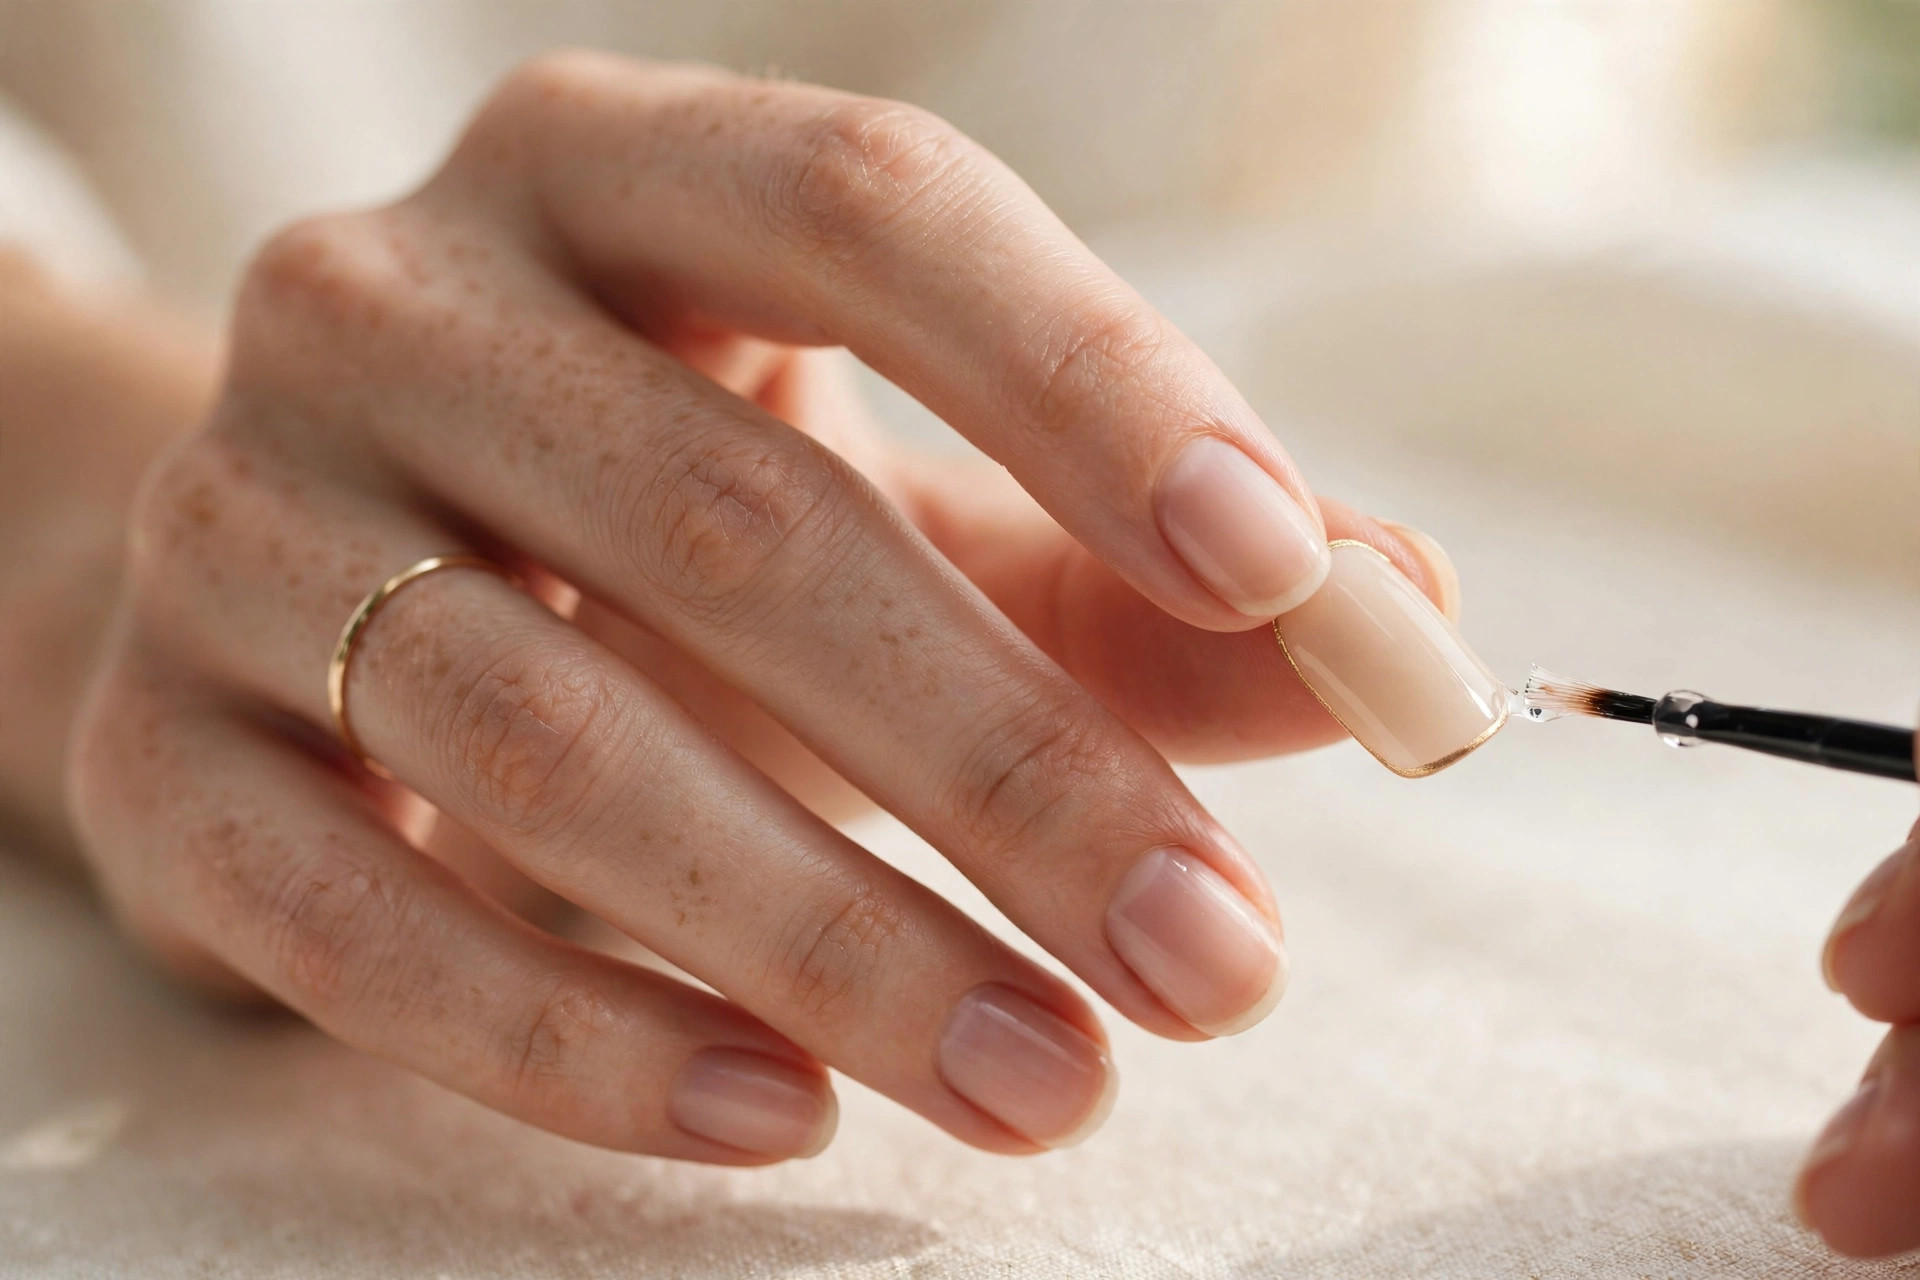
Brush a thin, even layer of glue onto the underside of the press-on tip, covering it fully but avoiding the very edge. Then brush an equally thin layer onto your natural nail. Two thin layers bond far better than one thick one — excess glue squeezes out, floods the cuticle, and creates air pockets that weaken the hold. Work one nail at a time from here; glue begins to set quickly, and a half-dry layer is worse than none.
Step 6: Press on at an angle and hold every edge down

Slide the tip onto the nail starting at the cuticle, at roughly a 45-degree angle, lowering the free edge down as you go — this pushes air out ahead of the glue instead of trapping it underneath. Once placed, press firmly and evenly, making sure the sidewalls and the cuticle edge are fully down. Hold each nail with steady pressure for several seconds; do not wiggle it to reposition once it is down, as that breaks the forming bond. If a tip lands crooked, remove it immediately, clean off the glue, and redo it rather than living with a gap.
Step 7: Refine the edges and seal with oil

Once all ten are on, check each nail: if a sidewall sits slightly proud of your natural nail, refine it with a few gentle strokes of the fine file. Then massage a drop of cuticle oil into each cuticle — the skin around the nails, not under them. Well-kept cuticles make a set look freshly done for longer, and they protect the skin that frames the nail. If any glue seeped onto the skin during application, it will flake away on its own over the next day or two; do not pick at it.
Step 8: Let the set rest — the quiet part that matters
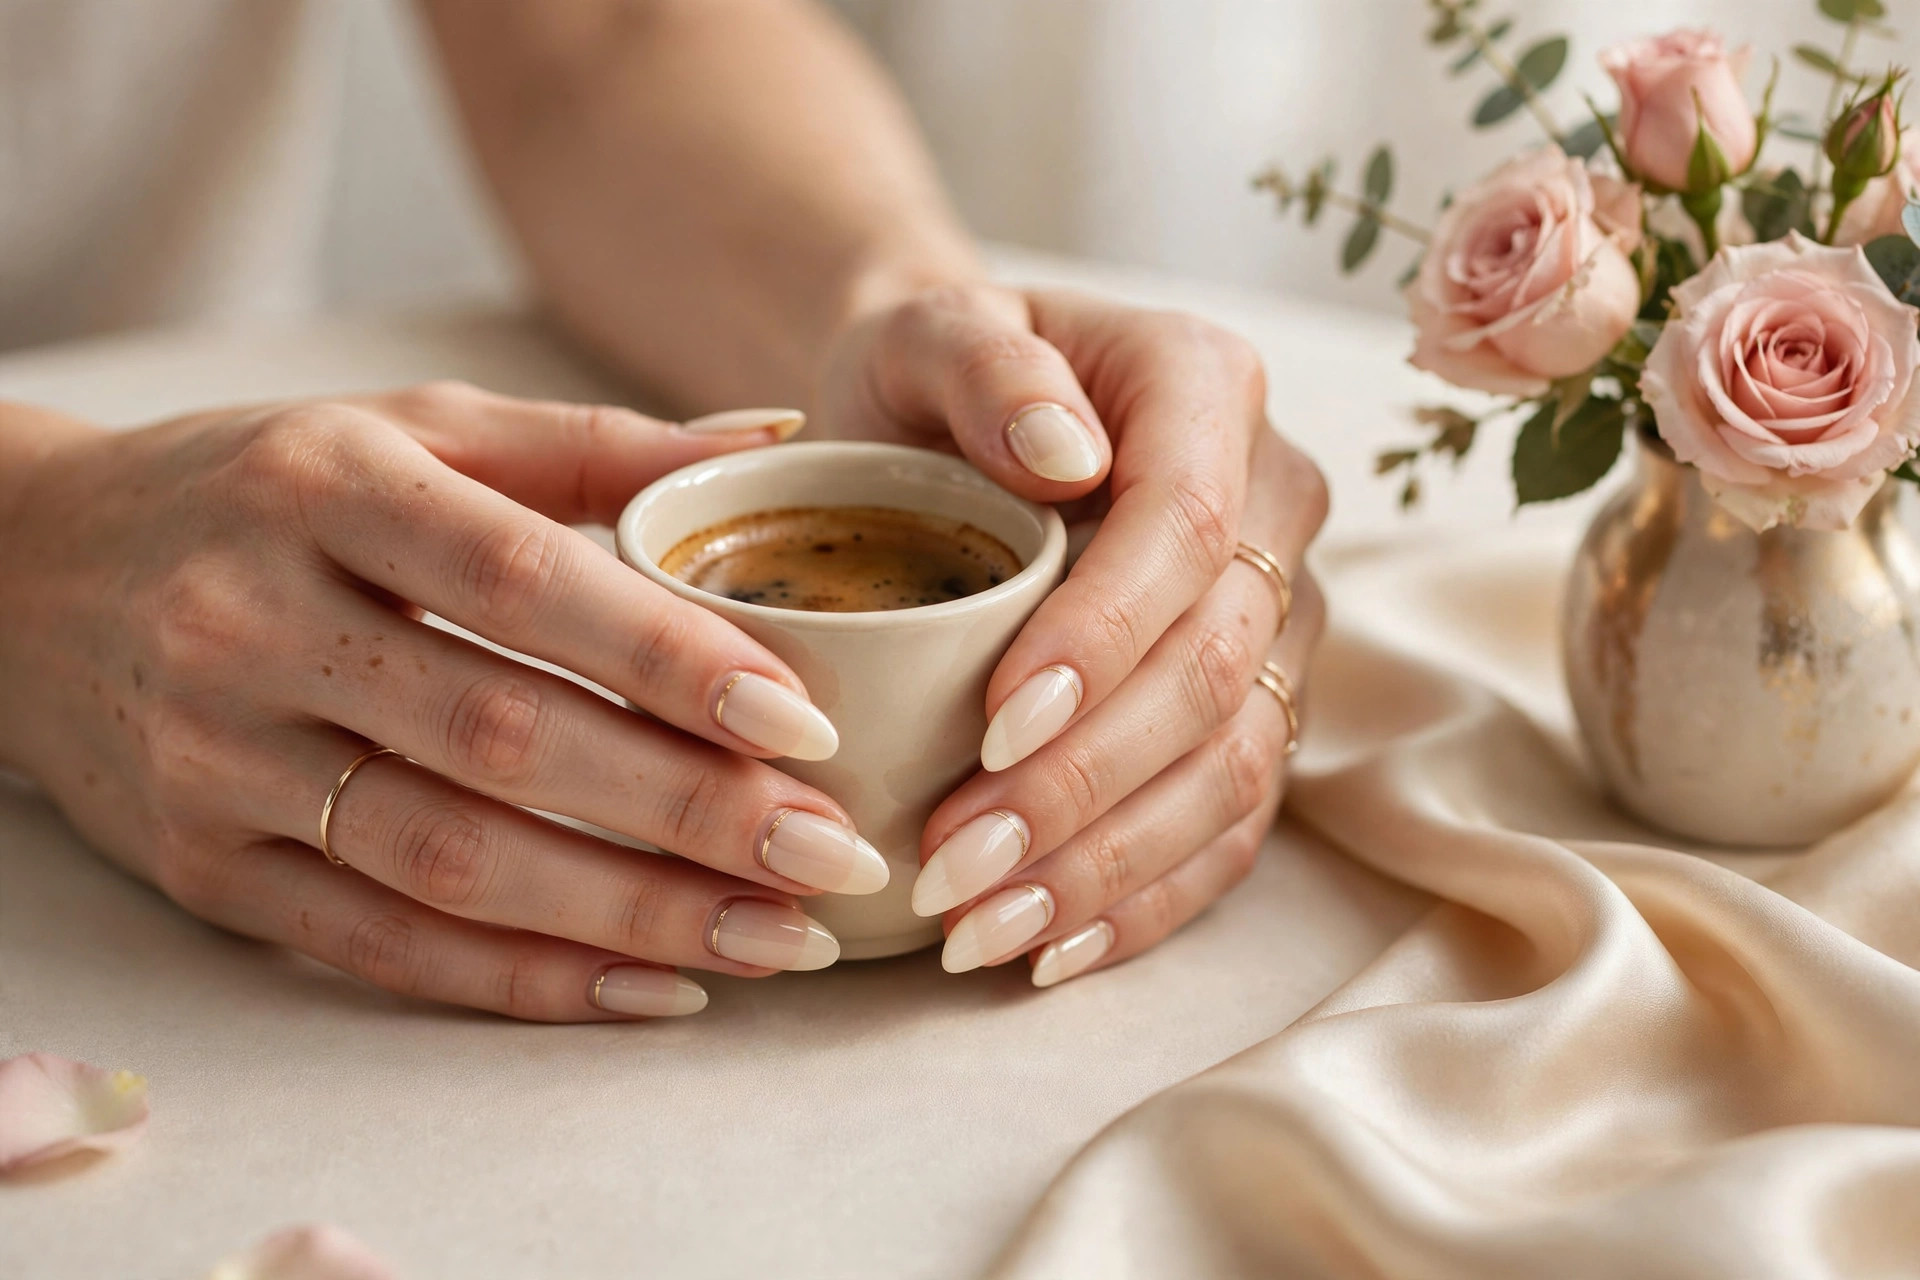
Keep the nails dry for the first few hours — no long hand soak, no swimming, and wear gloves for dishes. Water is the great weakener of a fresh bond. Evening application is ideal: by morning, the set has had a full night to settle, and you wake up to nails that feel like part of you. For the rest of the fortnight, daily cuticle oil and gloves for wet chores are the two small habits that carry the set to day fourteen.
Why do press-on nails pop off? (and how to fix it)
Nearly every early pop-off traces back to one of a handful of causes, and all of them are preventable. The most common is skipping prep — glue applied over oily, shiny nails simply cannot hold, which is why steps two through four exist. The second is sizing: a tip that overlaps the cuticle or sidewall skin bonds to skin, not nail, and skin sheds. The third is water exposure in the first hours, when the bond is still settling.
- One nail lifts at the cuticle after a few days. Usually oil crept under the edge, or the tip was sized too wide. Fix: if the lift is small, a drop of glue under the lifted edge, pressed down firmly, can buy several more days. If it is large, remove and redo that nail properly.
- Nails pop off whole, glue still on the tip. The glue bonded to the tip but not to your nail — a prep failure. Next time, buff more thoroughly and dehydrate again right before gluing.
- Glue squeezes out around every nail. Too much glue. A thin layer on each surface is all you need; excess does not add strength.
- The set feels tight or uncomfortable. The tips may be too narrow or too curved for your nail beds. Discomfort is a signal — remove and try a different brand or a flatter curve rather than enduring it.
- Designs that show wear fast. Dark or chrome finishes reveal chips sooner; ivory, nude, and soft metallics — like the set in this tutorial — are the most forgiving. If you love drama, our chrome nails tutorial covers finishes that also work beautifully on press-on tips.
How do you remove press-on nails without damaging them?
Safe removal is a soak, not a peel. Fill a bowl with warm (not hot) water and a generous squirt of gentle soap or a little oil, and soak your fingertips for ten to fifteen minutes until the nails feel loose at the edges. Then ease each tip off starting from a lifted side, using the cuticle stick for leverage — never force it. If a nail resists, soak longer. Peeling a glued press-on rips up layers of your natural nail, and no two-week set is worth that trade.
After removal, buff away any glue residue gently with the soft buffer, wash your hands, and give your nails a rest before the next set — a few days of bare nails with daily cuticle oil is the kindest thing you can do for them. If your natural nails feel thin or dry, keep them short and oiled until they recover their strength. Press-ons are wonderfully reusable when they come off cleanly: wipe the undersides, store them in order, and they are ready for their next outing — which is also why gentle removal pays twice.
One more note for French-tip lovers: the same gentle removal keeps delicate tip designs intact for reuse. Our DIY French tips guide ranks application methods if you want to try the classic look on your next set of press-ons.
The finish
Two-week press-ons are not a trick and not a miracle product — they are simply what happens when the unglamorous parts get their due. Size with care, prep like it matters (because it does), glue thinly, press patiently, and keep the set dry while it settles. Do that, and the only thing left to enjoy is the best part: twelve to fourteen days of nails that look like you just left the salon, without ever leaving the house.