

On this page
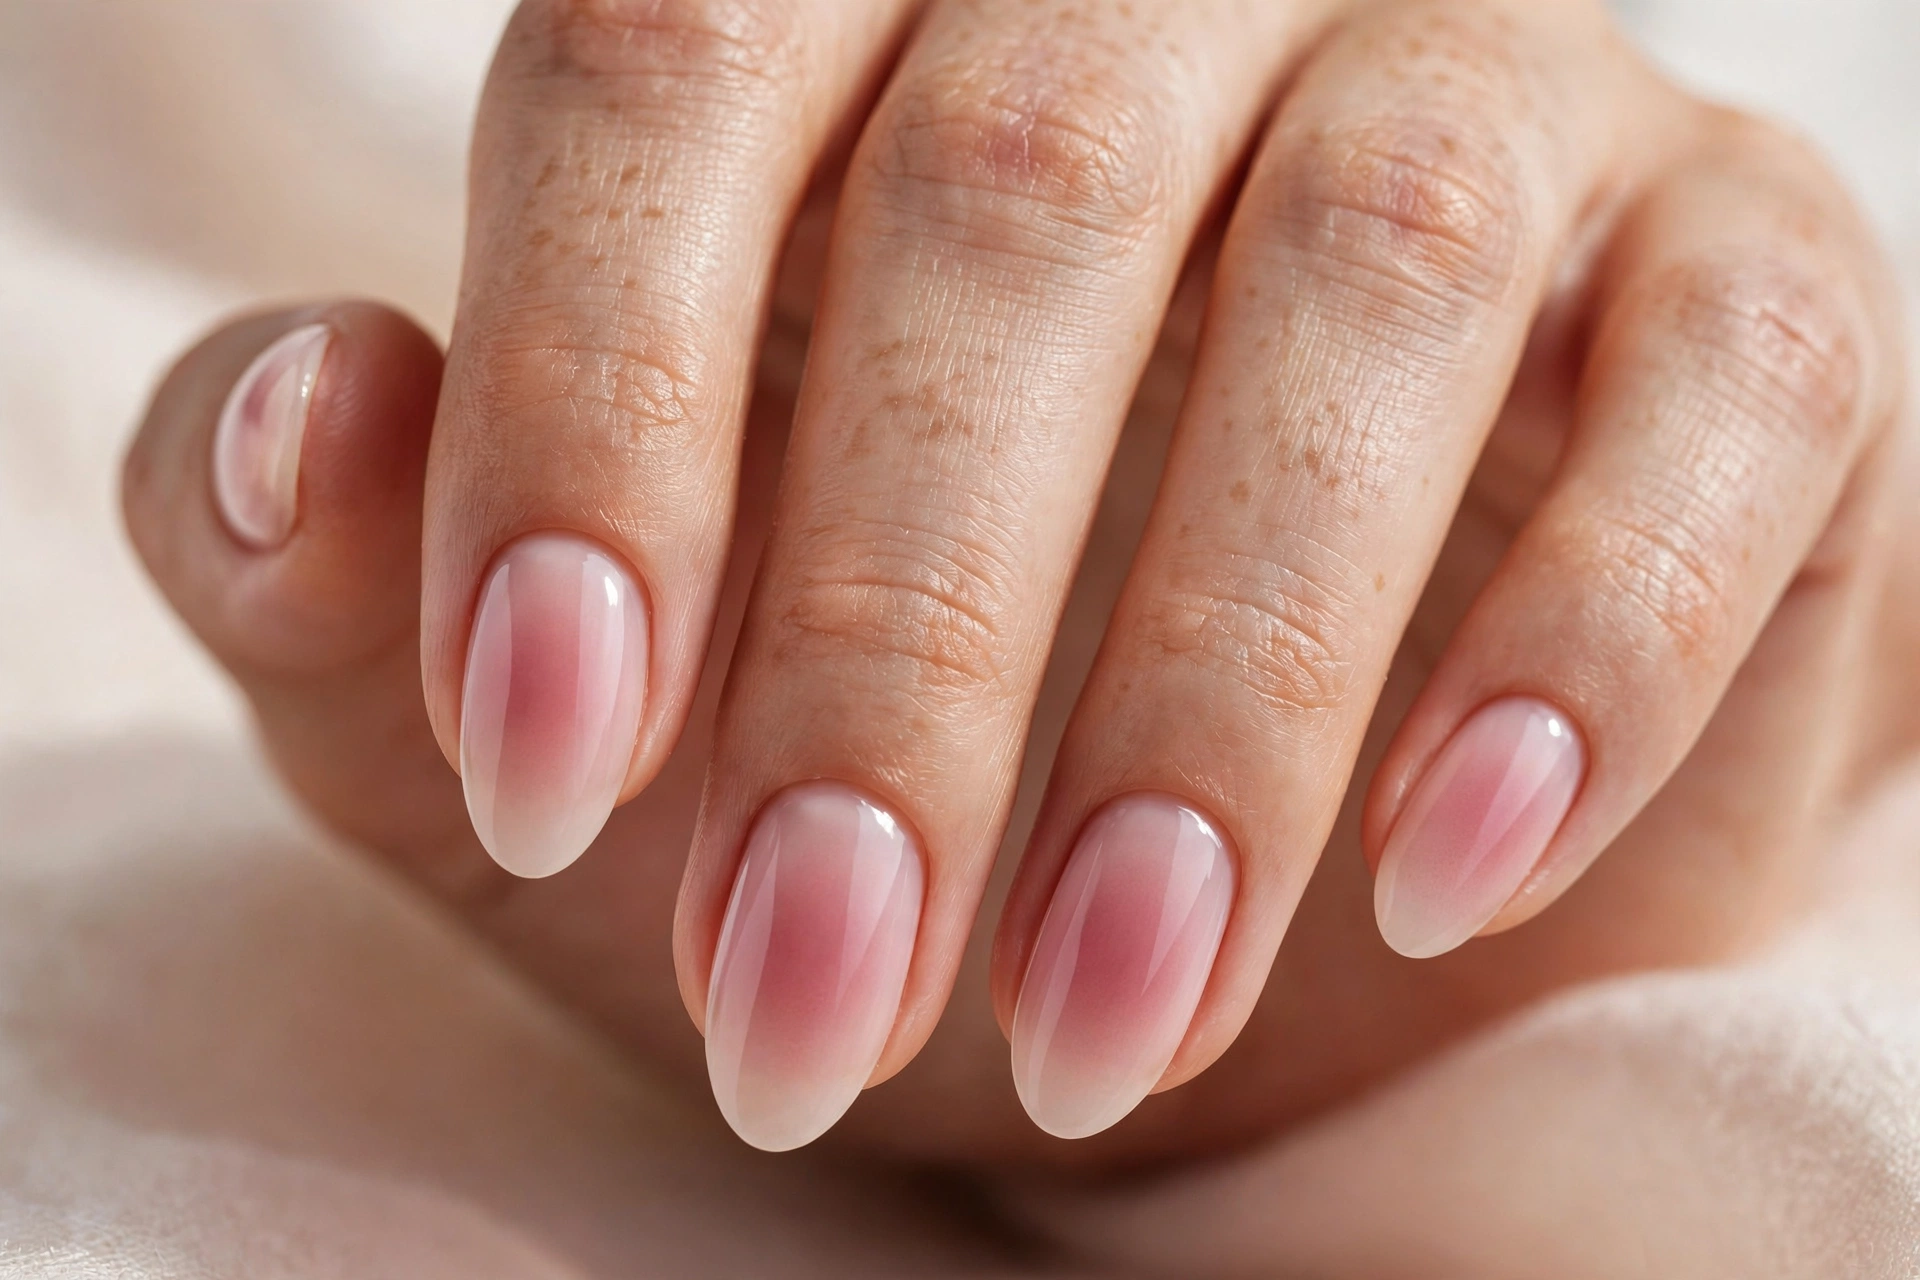
Aura nails place the strongest color near the center and soften it toward the edges. A cosmetic sponge can create a stippled version of that radial gradient with regular nail polish. The result may retain some texture and will differ from a salon airbrush finish; treat your first attempt as practice rather than a guaranteed airbrushed result.
This tutorial is for ordinary air-drying polish. It does not provide a gel-curing procedure, and the methods should not be transferred automatically to gel. The guide is an editorial craft explanation, not a claim of hands-on product testing.
Plan the color and placement
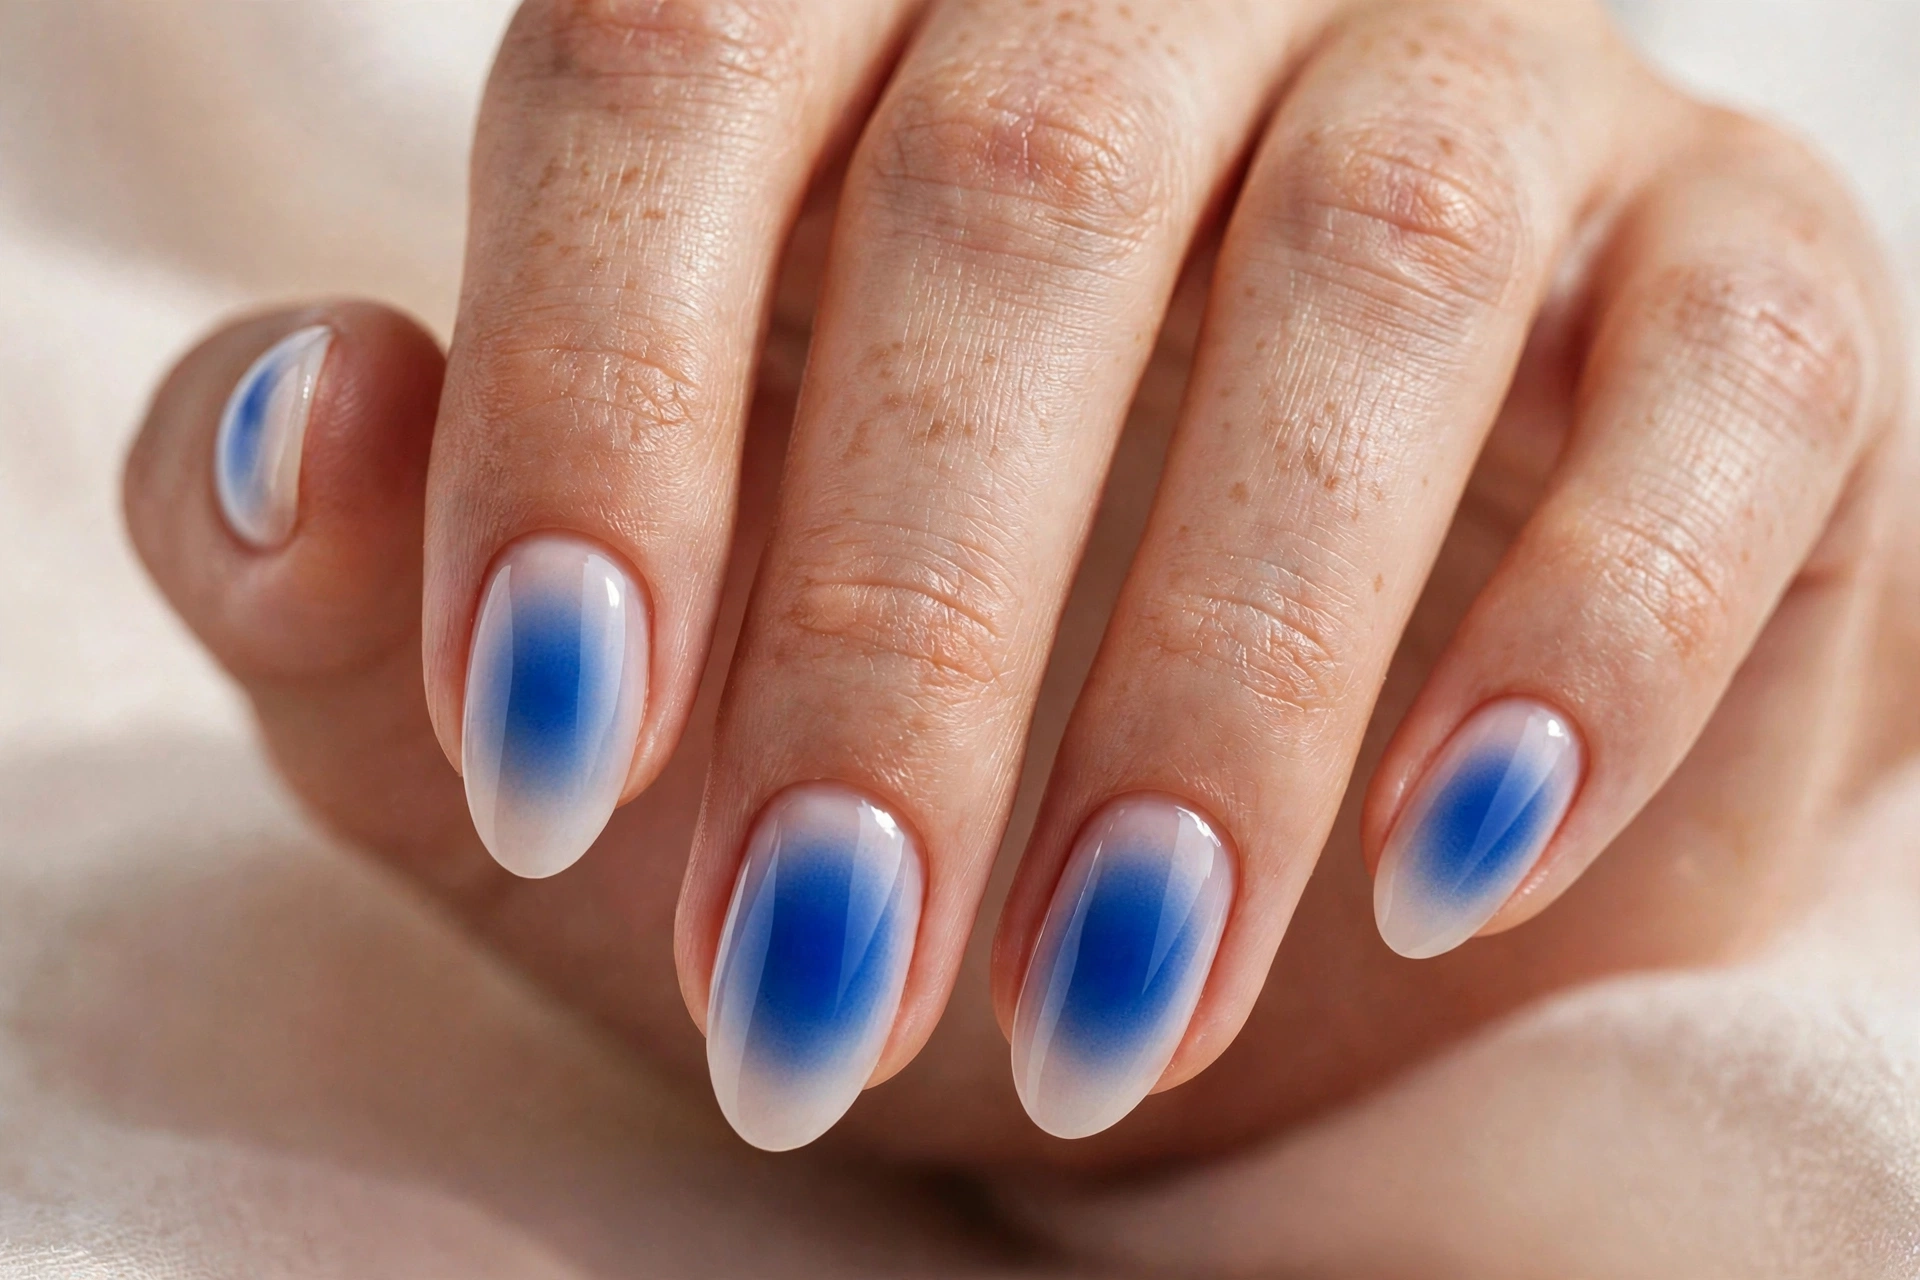
Choose a base and one accent shade before you begin. Rose over a pale nude gives a softer contrast, while blue over milky white makes the center more distinct. Test the combination on a practice tip: a very sheer accent can be difficult to see, while a strongly opaque shade may create a hard spot if the sponge is overloaded.
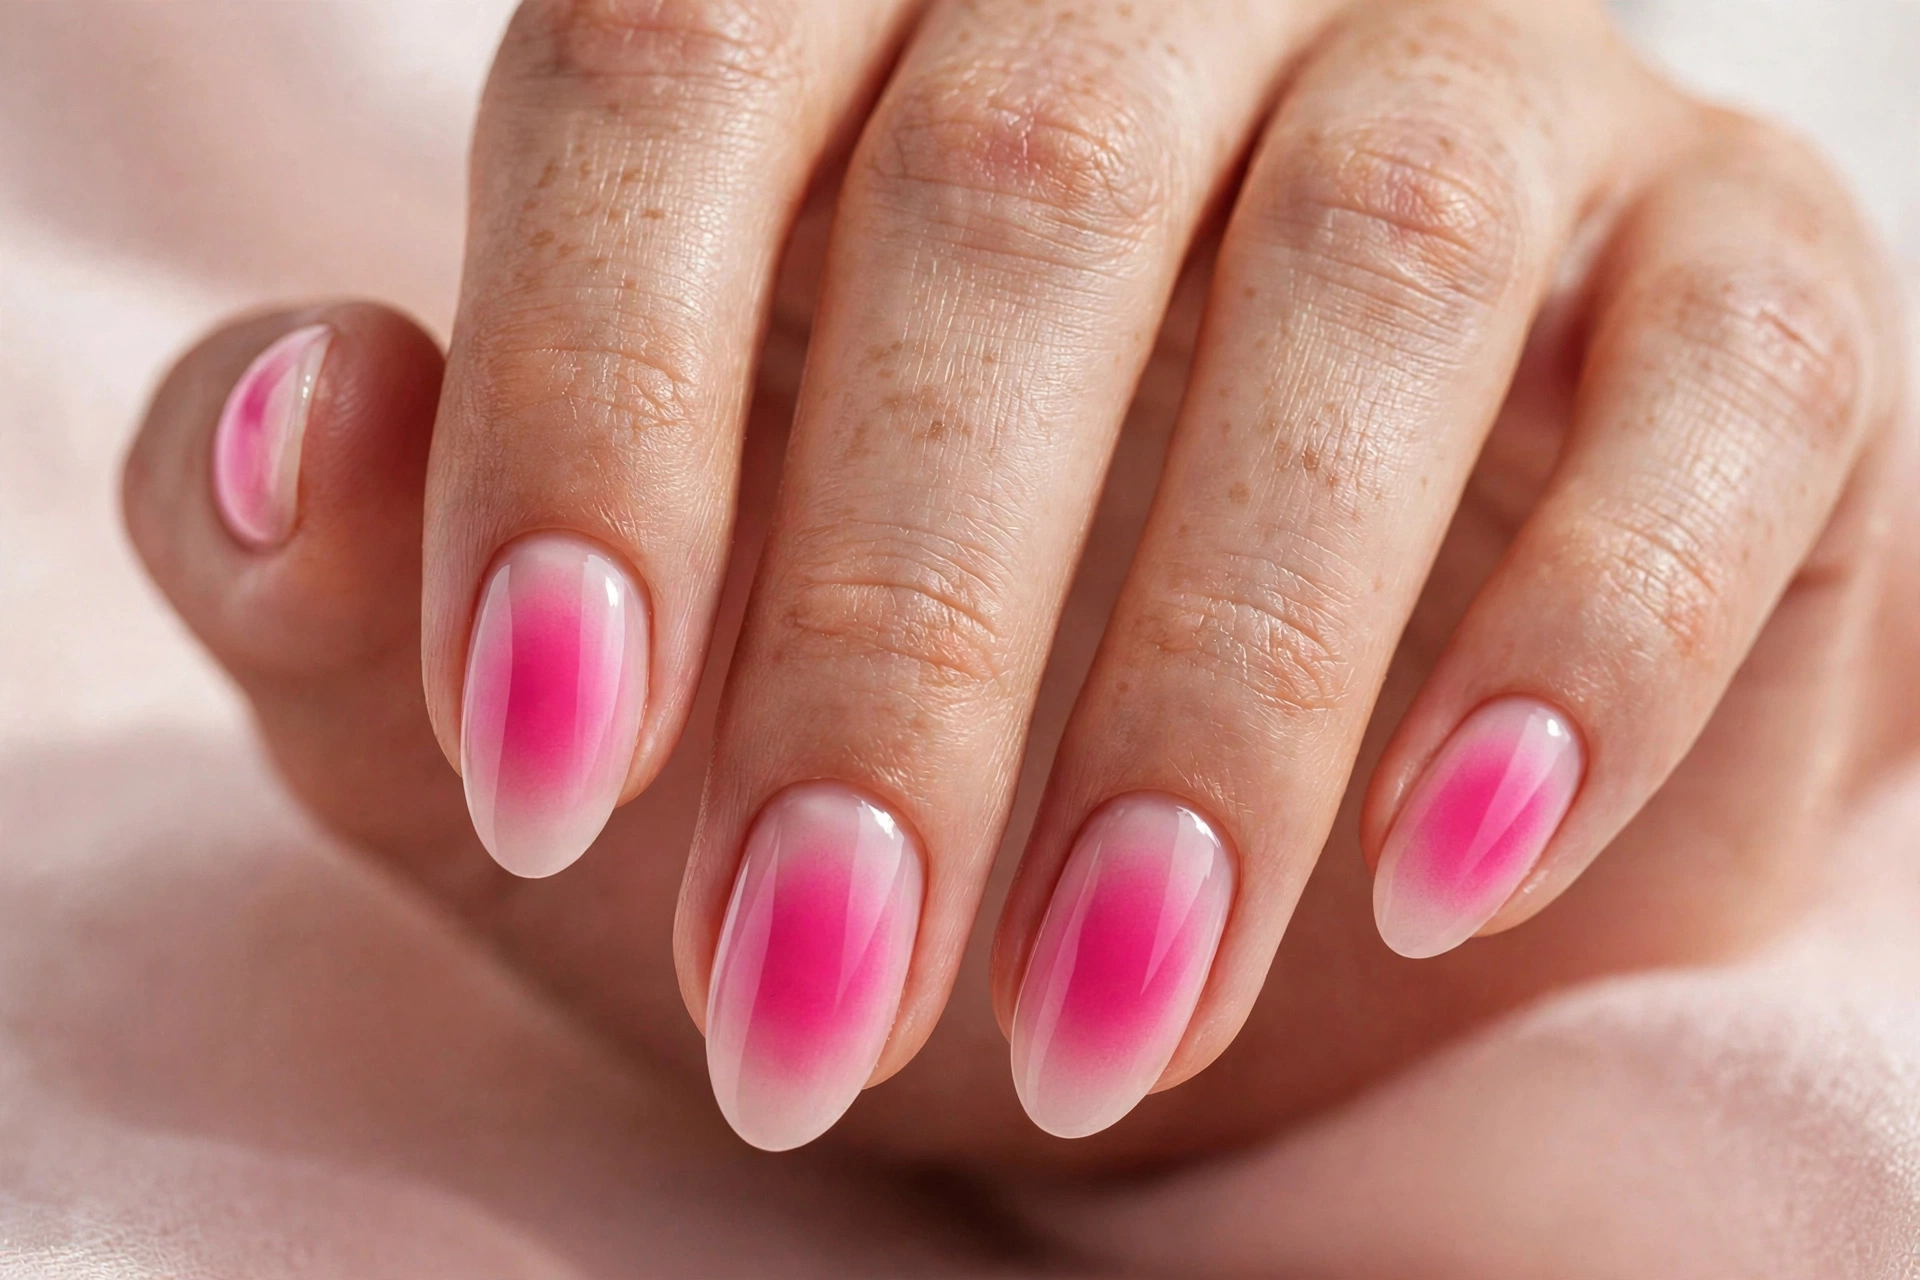
Aura differs from a tip-to-base ombré because the fade surrounds the center. Keep visible base around the colored area so the design remains radial. On short nails, a small soft center is easier to fit than a large bloom that reaches every edge.
What you need
- A compatible regular-polish base coat and top coat.
- A pale base polish and one accent color.
- A clean, fine-pored cosmetic sponge; check its material if you have a relevant allergy.
- A protected disposable palette and practice tip.
- Polish remover and clean-up materials suitable for the product.
Work with ventilation, protect the surface and follow the labels. Keep polish away from irritated skin and do not cut the cuticle for the design. If you have nail pain, swelling or persistent changes, get appropriate advice instead of covering them.
Step 1: Paint a smooth base
Prepare your nails as the polish system directs. Apply the base coat and thin color layers, allowing the drying stages recommended for the products. The base needs to be firm enough that the sponge will not pull it into streaks. A fixed two- or five-minute wait is not reliable across formulas and conditions.
If the base dents or drags when touched with the sponge, stop and allow more drying time. Do not add extra color to hide a disturbed foundation. It may be simpler to remove that nail’s regular polish and begin again.
Step 2: Test a lightly loaded sponge
Place a small amount of accent polish on the palette. Touch a clean corner of the sponge to it, then dab on the practice surface to remove excess. You want a light stipple, not a dense blob. Use a new working amount when the polish on the palette becomes thick or stringy.
Keep the sponge out of the bottle. Do not add unapproved solvents to change the polish. Replace the working corner if dried product makes it hard or leaves large uneven marks.
Step 3: Build the center gradually
Dab lightly over the chosen center of the nail. Reduce the number of touches as you move toward the surrounding base. Lift between touches rather than holding the sponge down in one spot. Stop and check the outline after a small amount of color; it is easier to deepen a pale center than to remove a heavy one.
Leave a visible border of base color. If the center fills the whole nail, the design reads as a solid textured coat rather than an aura. Use less accent polish on your next practice tip instead of pressing harder to make the edges blend.
Step 4: Allow drying between layers
Follow the polish directions before adding more color. Build only as many light layers as the formula needs to achieve the effect you like. There is no universal two- or four-layer requirement. If the base starts lifting or the colors turn muddy, pause and reassess rather than continuing to dab.
Compare the design from normal hand distance as well as close up. A sponge-made gradient may show tiny points of color. That texture is part of this method and is not proof that more layers are needed.
Step 5: Clean edges and apply top coat
Clean stray regular polish using suitable remover and a lightly loaded clean-up tool, avoiding unnecessary contact with the surrounding skin. After the design has dried as directed, apply a compatible top coat with light brush pressure. Complete its drying stage before everyday tasks.
A top coat can change the appearance of the stippling, but it does not guarantee that all texture will disappear. Use the number of coats recommended for the product rather than treating a thick double layer as an automatic fix.
Troubleshooting
- A dense central circle: offload more polish from the sponge and use lighter touches.
- A muddy base: check that the underlying color is dry enough and reduce repeated dabbing.
- A harsh outline: use fewer touches toward the outer edge and leave more base visible.
- Large dots or fibers: check the sponge surface and replace a damaged or dried corner.
- Smearing under top coat: allow the design more drying time and avoid repeated brush passes.
Three palettes to try
Rose and nude: a soft starting combination with modest contrast. Blue and milky white: a clearer color boundary for practicing pressure. Coral and pale peach: a warm combination that can sit beside cream or brown outfits. Test the actual bottles rather than assuming shade names guarantee a match.
Wear and removal
No fixed wear time is guaranteed. Product choice, layer thickness and daily activities affect the result. Remove ordinary polish with its recommended remover. Do not peel or scrape it off. If you prefer a salon gel aura service, ask the technician about the specific system and removal rather than using these regular-polish instructions.
What to learn next
For a more defined first project, try our regular-polish dot tutorial. If you enjoy fine lines, compare the French tip methods. For a different type of reflective effect, read the magnetic polish overview before choosing products.
Illustrated color references
Editorial guidance from LuxeSleek. Our approach · Corrections and questions