

How to Do Builder Gel Nails at Home: Strength Without Extensions
There is a particular kind of nail frustration that regular polish never quite solves. Your nails are not short because you like them short; they are short because they keep breaking before they get anywhere. One catches on a jumper, one splits at the corner, and the whole set looks uneven by the end of the week. If that sounds familiar, builder gel is probably the product you have been hearing about — and it is worth understanding properly before you buy a pot.
Builder gel sits in the middle ground that a lot of home manicures miss. It is stronger than gel polish, gentler on your routine than acrylic extensions, and it works with the nails you already have. Done well, it gives thin, bendy nails a smooth, even surface and enough support to actually grow. Done carelessly, it lifts, bubbles, or leaves nails feeling worse than before. The difference is almost never the brand in the pot. It is the prep, the thickness of each layer, and whether you respected the curing step.
This guide walks through the whole process slowly: what builder gel is, what you need, how to prep, how to apply it without flooding your cuticles, how to shape it, what to do when something goes wrong, and how to take it off without tearing your natural nails. Set aside a calm hour, work one hand at a time, and read the safety notes before you open any bottle.
TL;DR — The Short Version
- Builder gel is a thick gel brushed onto your natural nails and cured under a lamp. It adds strength and a smooth apex, without tips or extensions.
- Prep gently: shape, push cuticles back, remove shine, dust off. Never cut skin and never thin the nail plate.
- Apply thin layers, keep gel off skin and cuticles, check the shape from the side, and cure each layer per your product’s manufacturer instructions.
- Shape only after curing, with light strokes. Stop when it looks smooth — over-filing weakens everything you just built.
- Remove by filing off the shine, soaking in acetone until soft, and pushing off gently. Never peel or pry gel off.
- If gel touches your skin, wipe it off before curing. If skin is broken, sore, or you suspect an allergy, do not apply gel at home.
Contents
- What Is Builder Gel, Exactly?
- Is Builder Gel Better Than Gel Polish?
- What Do You Need for Builder Gel Nails at Home?
- How Do You Prep Your Nails for Builder Gel?
- How Do You Apply Builder Gel Step by Step?
- How Do You Shape Builder Gel Nails Without Thinning Them?
- What Mistakes Ruin a Builder Gel Manicure — and How Do You Fix Them?
- How Do You Remove Builder Gel Safely?
- How Do You Care for Your Nails After Builder Gel?
- Who Should Skip Builder Gel at Home?
- Frequently Asked Questions
What Is Builder Gel, Exactly?
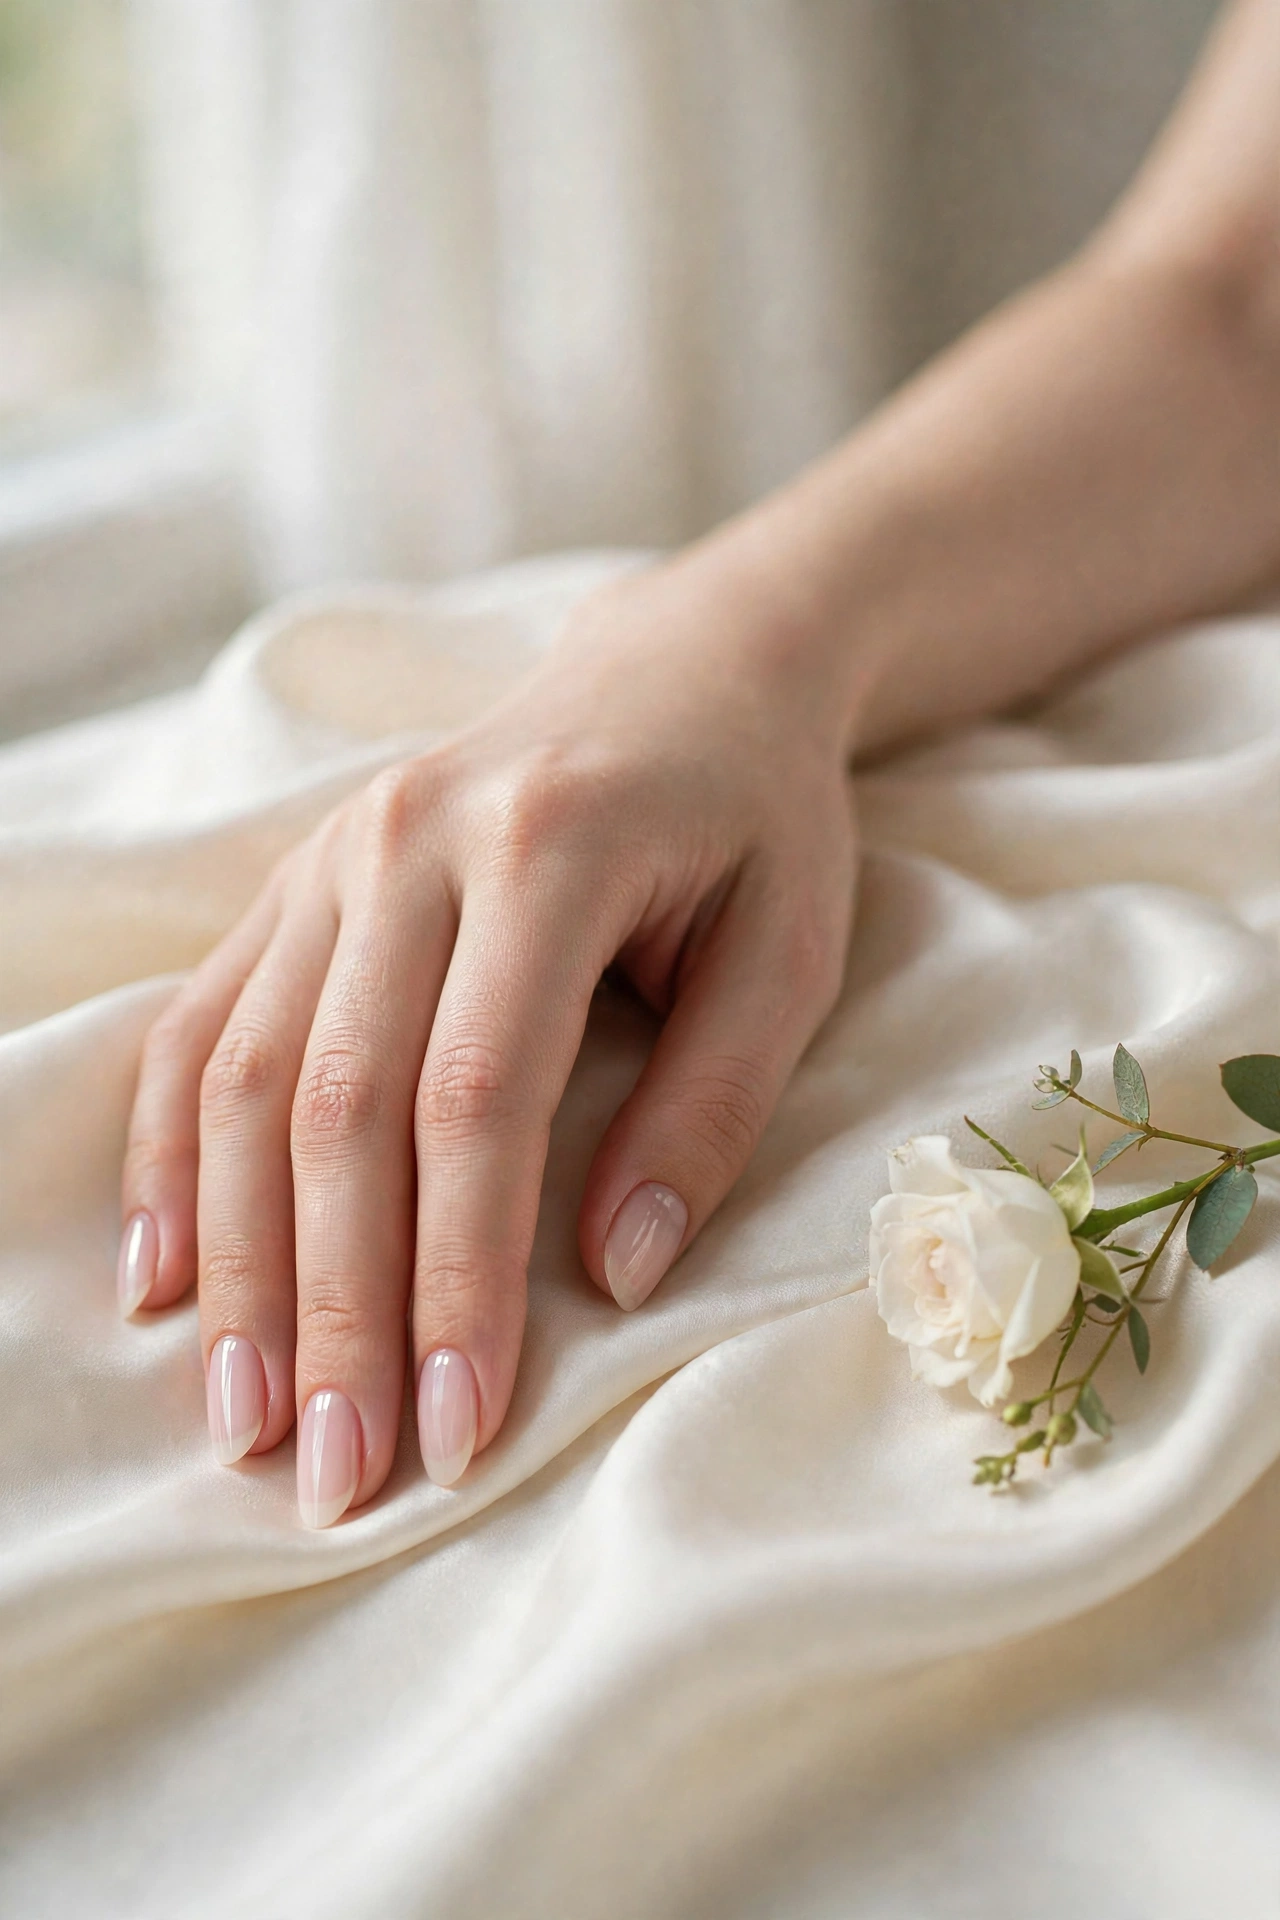
Builder gel is a thick, soak-off gel that is brushed onto your natural nail and hardened under a lamp to add strength and a smooth, even surface. Unlike thin gel polish, it can build a gentle apex and correct uneven nails, so it works as an overlay on your own nails rather than as an extension.
Definition: Builder Gel
Builder gel (also called builder in a bottle, or BIAB) is a thick, self-levelling gel that cures hard under a lamp. It is applied directly to the natural nail as an overlay — no tips, no forms, no sculpted extension — to add thickness, strength, and a smooth, arched profile. It soaks off in acetone after the top layer is filed away.
That thickness is the whole point. Gel polish is essentially coloured coating; it looks lovely, but it follows every ridge and bend of the nail underneath. Builder gel fills and levels. A thin, flexible nail that folds at the slightest pressure gets a rigid-but-not-brittle shell that spreads the force instead of concentrating it at the weakest corner. This is why people who cannot grow their nails past a certain length often find builder gel changes the game: the nails finally have time to grow because they are not snapping every few days.
Builder gel comes in two main forms. The most common at home is a bottle with a brush, much like gel polish but noticeably thicker. The other is a pot, applied with a separate brush, which gives you more control over how much product you pick up. Neither is inherently better; the bottle is tidier for a first set, while a pot can feel easier once you know how much gel you actually need per nail. What matters far more is that your base coat, builder gel, and top coat belong to the same system and are designed to work together. Mixing brands is one of the quiet causes of lifting that people blame on their nails.
It is also worth being honest about what builder gel cannot do. It will not fix a nail that is already badly damaged, and it will not make weak nails strong underneath the coating — it protects them while they grow. If your nails are splitting deep into the nail bed, sore, or lifting away from the skin, that is a sign to leave them alone and, if you are worried, to ask a professional. A coating is not a treatment, and covering a problem rarely improves it.
Is Builder Gel Better Than Gel Polish?
Builder gel usually lasts longer than gel polish on weak or flexible nails because its thicker layer absorbs everyday knocks instead of bending and cracking at the free edge. Gel polish is still a good choice for strong, short nails, but it adds almost no structure, so it cannot rescue nails that split or peel.
Think of it this way: gel polish is paint, builder gel is a thin, clear shell with paint on top if you want it. If your nails are already strong and you mainly want colour, gel polish is quicker, thinner, and easier to remove. If your nails bend, peel, or break before they reach the length you want, that extra structure is doing real work, not just adding bulk.
There is a trade-off, and it is time. A builder gel set takes longer than a gel polish manicure, both to apply and to remove. You are building a shape, not just painting one, and you need to check it from the side and from the front before you cure. Removal takes longer too, because there is more product to soak off. If you are short on time and your nails are healthy, that trade may not be worth it. If you are tired of starting over every week, it usually is.
Builder Gel vs Gel Polish vs Acrylic vs Dip Powder
| System | Best for | Strength | Uses extensions? | Removal | At-home difficulty |
|---|---|---|---|---|---|
| Builder gel | Weak, bendy, or peeling natural nails you want to grow | High — a structured overlay | No — overlay on your own nails | File off shine, then acetone soak | Moderate — needs careful, thin layers |
| Gel polish | Strong, short-to-medium nails; colour first | Low — thin coating only | No | File off shine, then acetone soak | Easy |
| Acrylic | Long extensions and dramatic shapes | Very high — hard and rigid | Yes — tips or forms | Acetone soak; filing needed | Hard — fast-setting, strong odour, technique-heavy |
| Dip powder | Strong colour with good wear, no lamp needed | Medium-high | Can be used with tips | Acetone soak; can be slow | Moderate — dust and layer control matter |
If you are deciding between builder gel and acrylic, the honest distinction is length and commitment. Acrylic is the right tool for long extensions and sculpted shapes; builder gel is the right tool for strengthening the nails you have. Our guide to acrylic nails at home covers that route in full, and our dip powder guide is useful if you prefer a lamp-free system. Builder gel wins for most people who simply want their own nails to survive daily life.
What Do You Need for Builder Gel Nails at Home?
You need builder gel with a compatible base and top coat, a lamp that matches your product, a gentle file and buffer, a cuticle pusher, lint-free wipes, dehydrator or primer if your system calls for one, a builder brush, and cuticle oil. Set everything out first, so uncured gel never waits on your skin while you look for a tool.
Tools and Materials
- Builder gel (bottle or pot) in a shade you like — sheer milky pink is the most forgiving first choice
- Base coat and top coat from the same system as your builder gel
- A lamp compatible with your gel system (check your product’s instructions)
- A soft nail file (around 180 grit for natural nails) and a buffer
- A cuticle pusher (metal or wooden) and a soft brush or lint-free wipes for dust
- Nail dehydrator and/or primer, only if your system instructs you to use one
- A builder gel brush, if you are using a pot rather than a bottle
- Lint-free wipes and a cleanser or alcohol product recommended by your system for wiping the inhibition layer
- Cuticle oil for finishing and aftercare
- Cotton pads, foil wraps, acetone, and a wooden stick for later removal

A note on the lamp, because this is where people get tripped up: do not guess. Different gels cure under different lamps, and an under-cured layer is sticky, weak, and much more likely to cause skin sensitivity over time. Read the instructions that came with your exact product and follow them. If your lamp is old, borrowed, or from a different brand, check compatibility before you start — this guide deliberately gives no lamp settings, because the only safe answer is the one printed by the maker of your gel.
Difficulty and Time
Difficulty: moderate. If you can paint gel polish neatly, you can learn builder gel, but expect your first set to feel slow and a little clumsy. That is normal.
Time: allow 60–90 minutes for a first full set, including prep and clean-up. With practice, most people settle around 45–60 minutes. Do not rush the first attempt to fit a smaller window; rushing is how gel ends up on skin and layers end up too thick.
Prerequisites: healthy, intact nails and surrounding skin; no broken skin, soreness, or signs of infection; no known allergy to gel products. Work in a well-lit space, on a clean surface, with both hands free and nothing that needs your attention mid-set.
How Do You Prep Your Nails for Builder Gel?
Good prep is gentle and boring on purpose: shape the free edge, push cuticles back softly, and lightly remove shine from the nail plate without thinning it. The goal is a clean, dry, slightly roughened surface that gel can grip, with no cut skin, no dust left behind, and no gel touching the surrounding skin at any point.
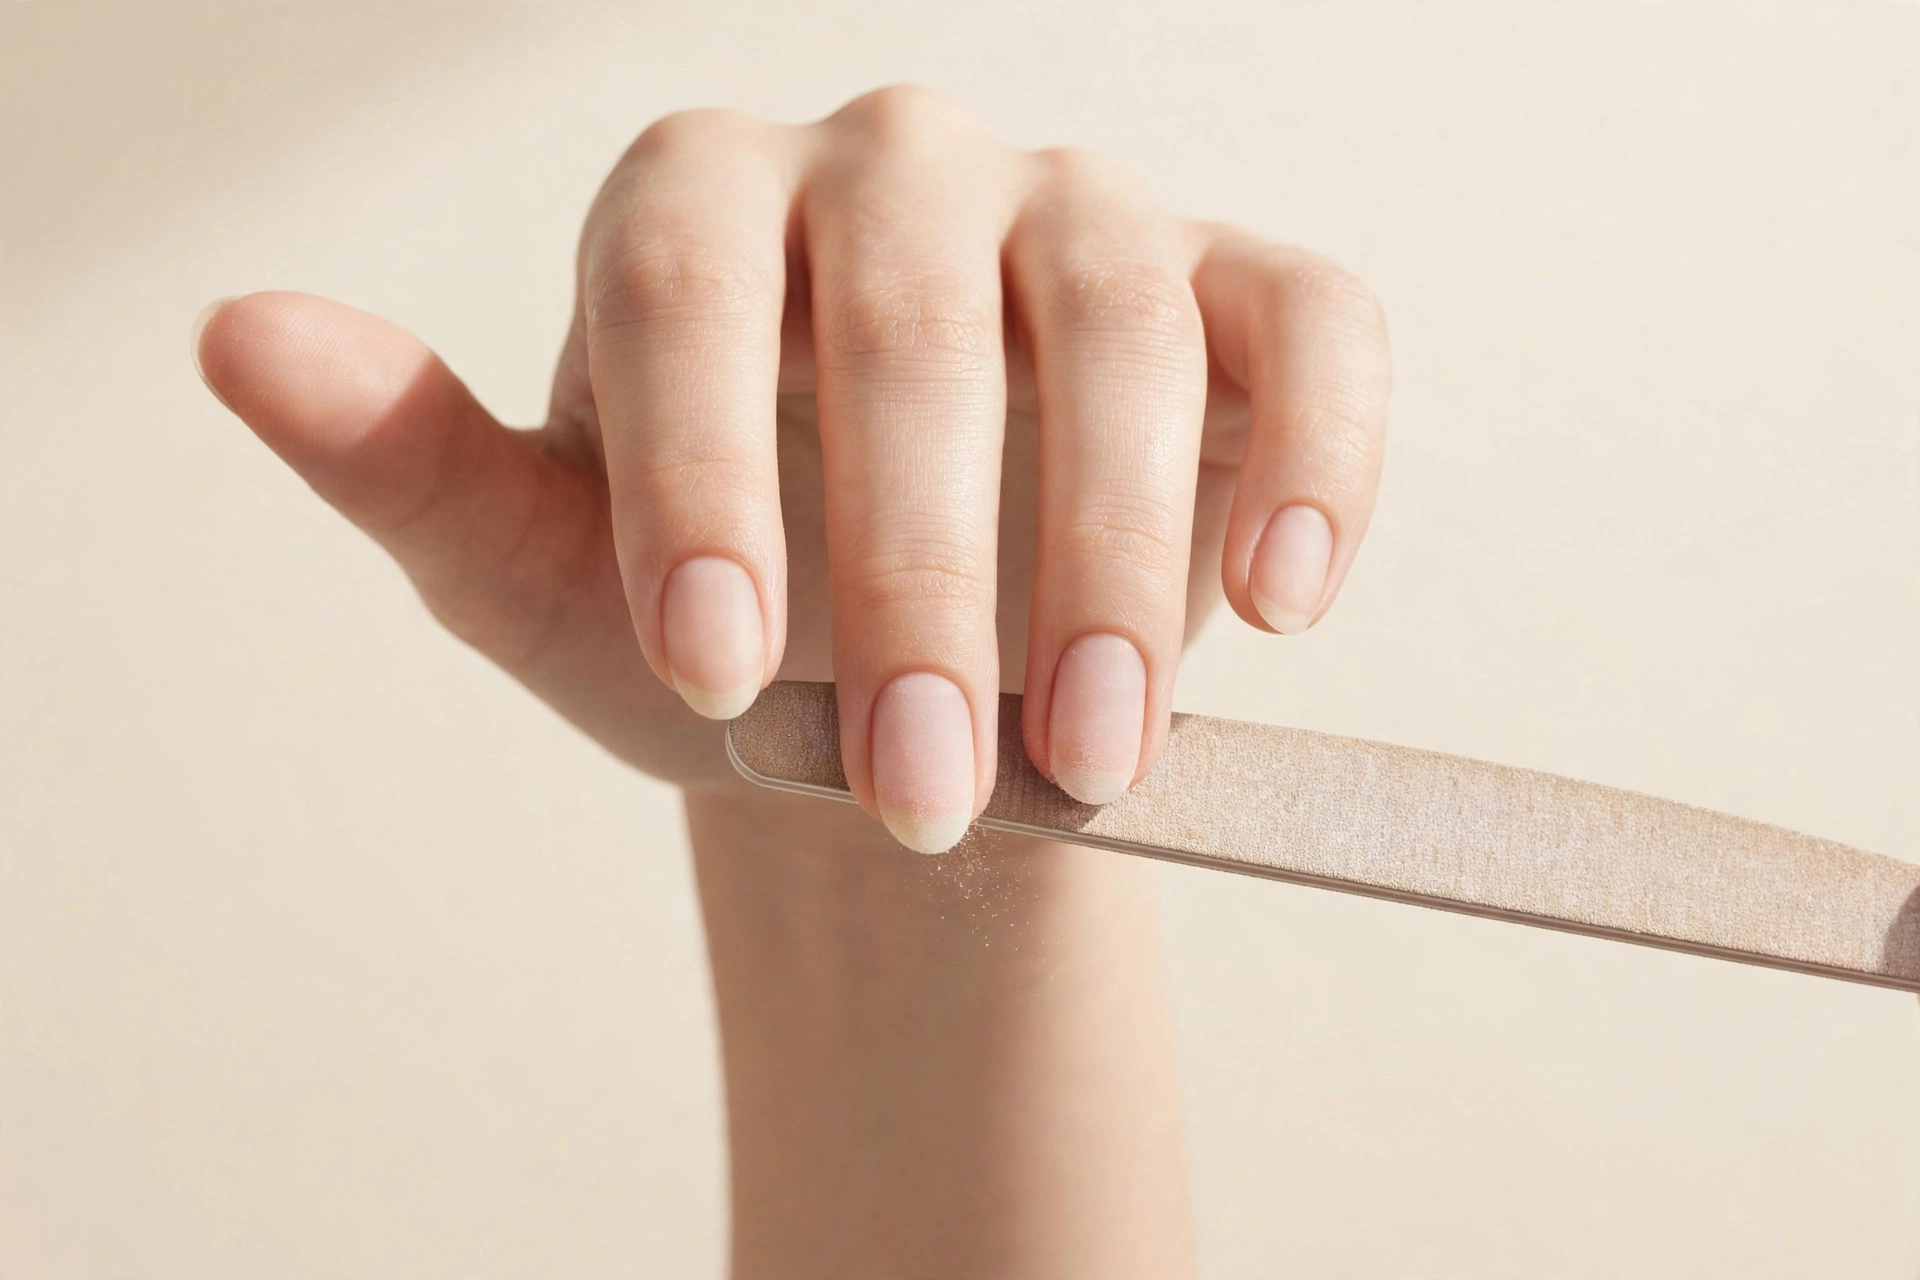
Start with clean, dry hands. Remove any old polish completely, wash your hands, and dry them well. Then shape the free edge with a soft file, working in one direction rather than sawing back and forth. Sawing frays the edge and invites splitting later. Almond is a kind and practical shape for a first builder set — it suits most hands, it does not catch as much as a square corner, and it shows off the apex nicely — but a soft oval or a rounded square works just as well. Pick one shape and keep it the same on all ten nails.
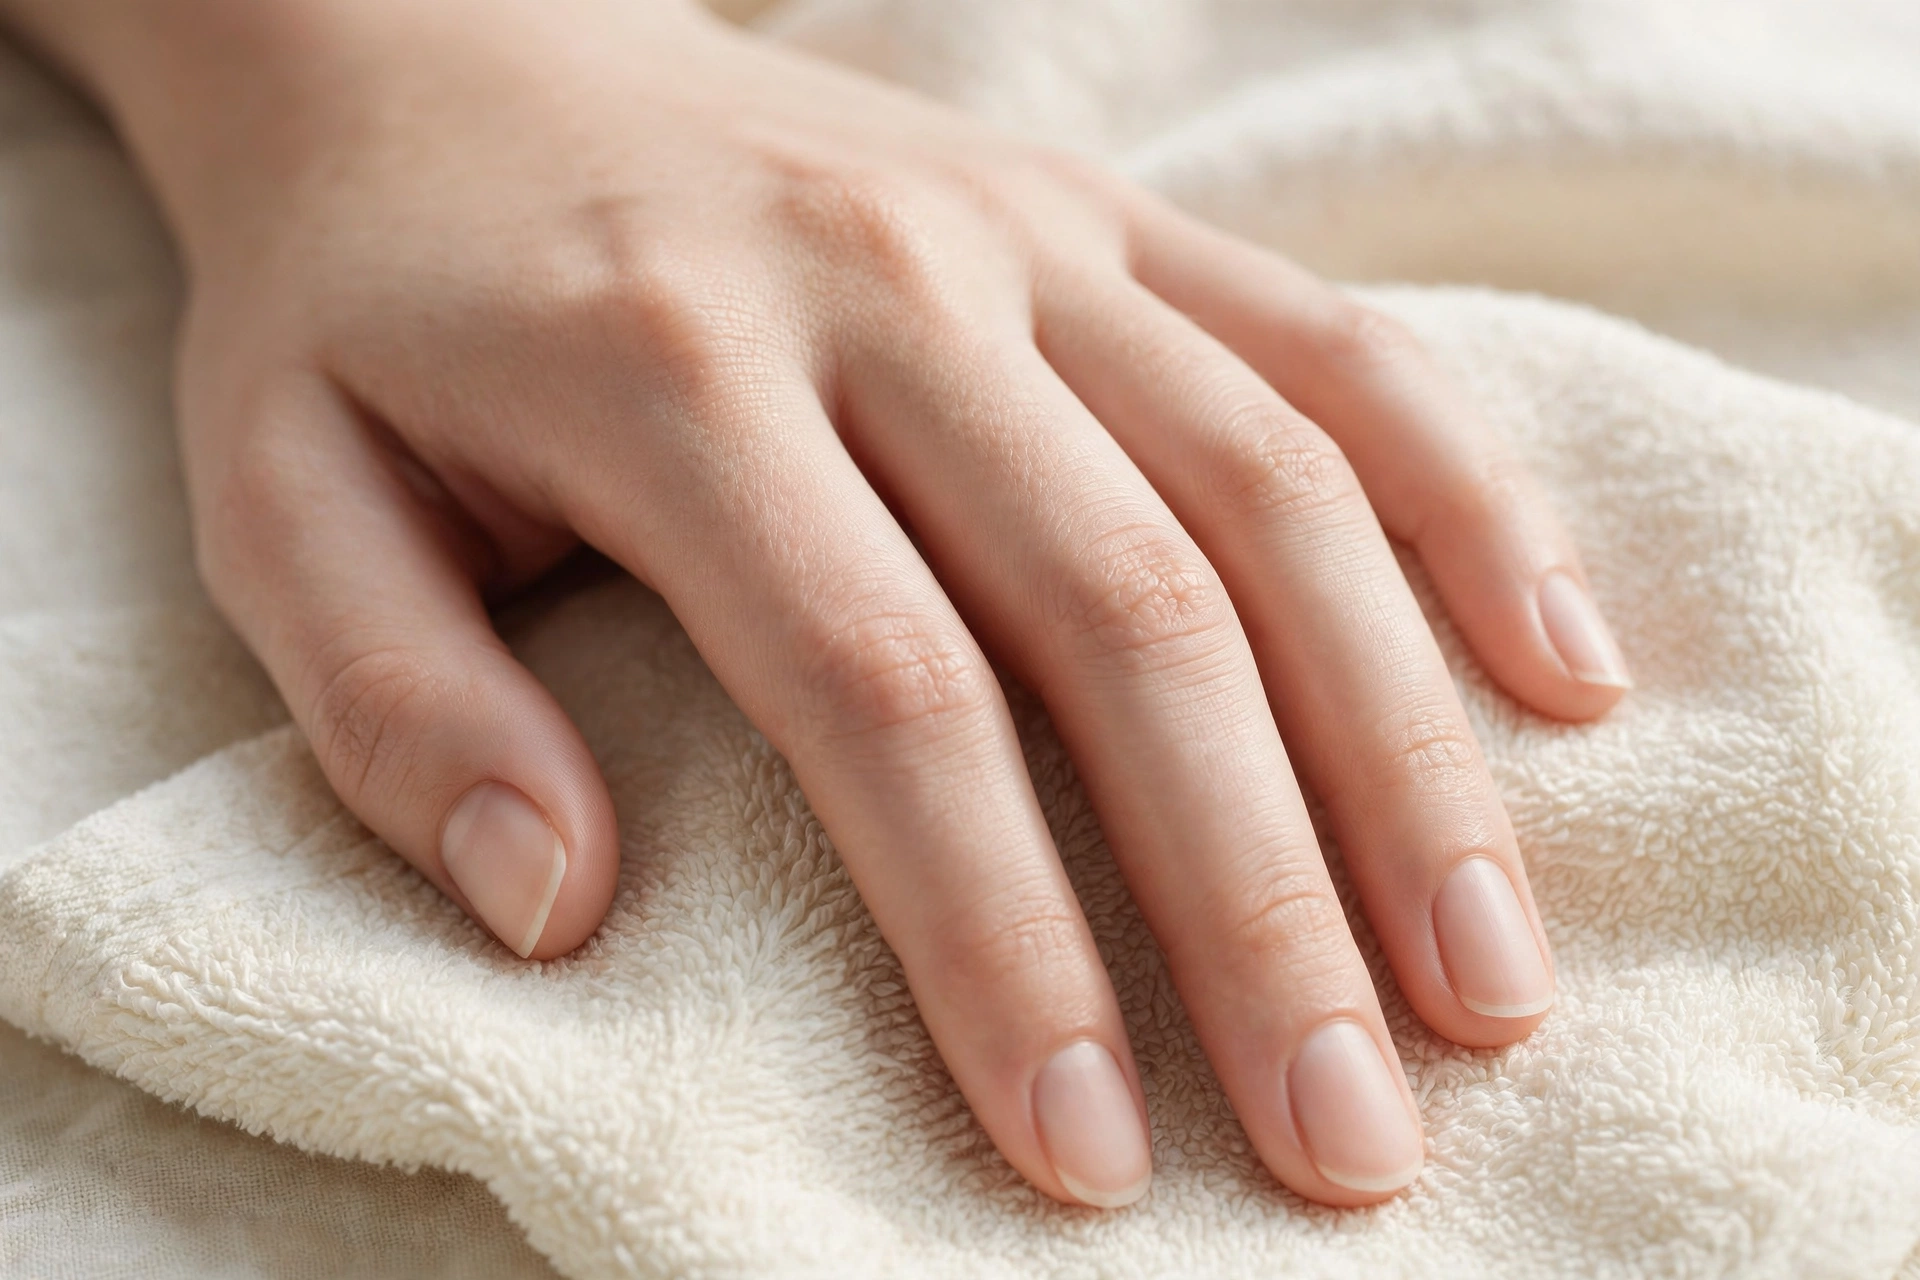
Next, push the cuticles back gently. Use a pusher with light pressure and stop the moment the nail plate is clear. You are not trying to remove cuticle or cut anything away; you are simply creating a clean margin so gel does not sit on soft skin. If you are tempted to trim, resist it at home. A small nick is not just sore — it is broken skin, and broken skin plus uncured gel is a combination to avoid entirely.

Finally, remove the shine from the nail plate with a buffer, using the lightest touch that takes the gloss off. You should still be able to see a healthy nail underneath — if you see white dust everywhere and the nail looks thin, you have gone too far. Brush or wipe all dust away, then apply dehydrator or primer only if your system calls for it, exactly as its instructions describe. Dust left on the nail is a classic cause of lifting, and it is a frustrating one because it is so easy to prevent.
How Do You Apply Builder Gel Step by Step?
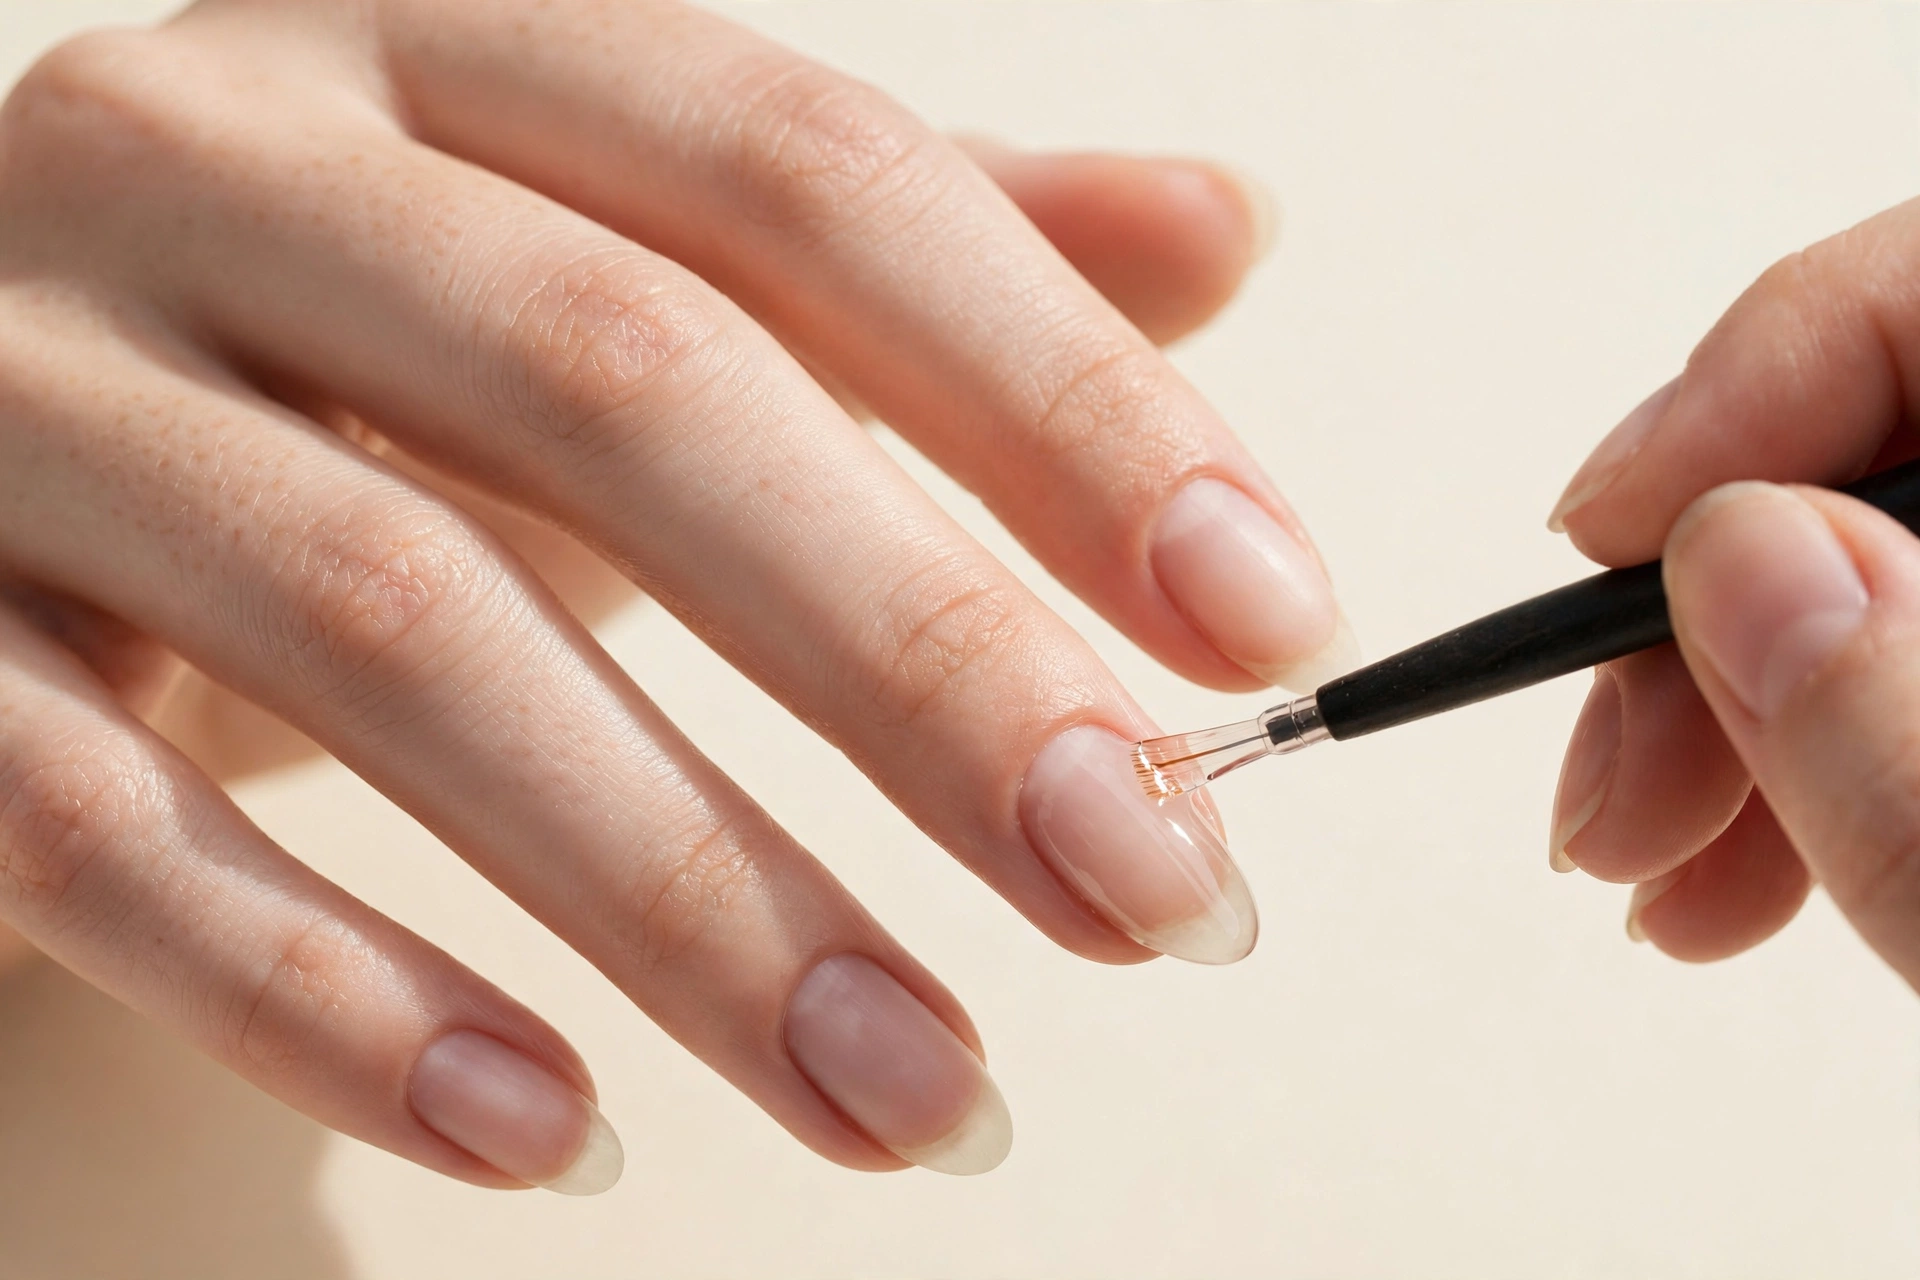
Apply builder gel in thin, controlled layers, starting with a base coat and a thin slip layer, then a slightly larger bead that you guide into a gentle apex near the centre of the nail. Keep every layer off the cuticle and sidewalls, check the shape from the side before curing, and cure each layer as your product’s manufacturer instructs.
Work one hand at a time, and within that hand, one nail at a time. Builder gel is self-levelling, which is a gift, but only if you give it a moment to settle before you cure. Rushing to the lamp with a lopsided bead locks the lopsided shape in place. The rhythm that works is: apply, pause, look from the side, adjust if needed, then cure.

The Steps, in Order
- Base coat. Apply a thin base coat to the whole nail plate, keeping it off the cuticle and sidewalls. Cure per your product’s manufacturer instructions.
- Slip layer. Brush a very thin layer of builder gel over the nail, like a coat of polish. This gives the next layer something to grip. Do not cure yet if your system says to work wet-on-wet — follow your product’s instructions.
- Build the bead. Place a small bead of builder gel near the centre of the nail, slightly back from the cuticle. Using the tip of your brush, gently guide it toward the cuticle (without touching skin), down the sides, and toward the free edge, leaving the thinnest layer at the edges and the most product at the apex.
- Shape the apex. The apex is the gentle highest point of the nail, roughly over the middle or just behind it. Look at the nail from the side: you want a soft, smooth curve, not a mountain and not a flat board. Let the gel settle for a few seconds so it self-levels.
- Clean the edges. Before curing, check the cuticle line and sidewalls. If any gel has touched skin, wipe it away now with a clean wooden stick or lint-free wipe. Never cure gel that is sitting on skin.
- Cure. Cure per your product’s manufacturer instructions. Do not shorten the cure to save time, and do not assume a longer cure fixes a thick layer — thick layers cure unevenly.
- Second layer, only if needed. If the nail still looks thin or uneven, apply a second, thin builder layer in the same way and cure again per your product’s manufacturer instructions. Most nails need one good layer, not two heavy ones.
- Wipe the inhibition layer. Builder gel leaves a tacky layer after curing. Wipe it as your product’s instructions direct, using the cleanser your system recommends.
- Check the shape. Look at all five nails together, from the front and the side. Fix anything obvious now, while shaping is still easy (see the next section).
- Top coat. Apply top coat, cap the free edge lightly, and cure per your product’s manufacturer instructions.
- Finish. Wipe again if your top coat requires it, then massage cuticle oil into the skin around each nail. Admire, but do not pick at the edges.

Two details make a surprising difference. First, temperature: cold gel is thicker and harder to guide, so if your room is chilly, warm the bottle gently in your hands before you start — never in hot water and never near the lamp. Second, the brush: wipe excess gel off the brush before you touch the nail. A loaded brush floods the cuticle; a controlled brush builds a shape. If you find yourself constantly cleaning up flooded edges, you are almost certainly using too much product per nail.
Colour over builder gel is simple. If your builder gel is sheer, you can wear it alone for that clean, milky look, or paint gel polish over it and finish with top coat. Either way, keep the colour layers thin. Thick colour over thick builder gel is how a manicure ends up looking bulky and feeling heavy, and it also makes removal slower later.
How Do You Shape Builder Gel Nails Without Thinning Them?
Shape builder gel only after curing, with a gentle file and light, even strokes, checking both hands together so length and curve match. File the sides and free edge first, then smooth only visible bumps, and stop as soon as the shape looks even, because over-filing weakens the overlay fast.
Start by checking length. Hold both hands side by side and compare each nail with its twin. It is far easier to take a little off a long nail now than to notice the mismatch in a photograph later. File the free edge gently, in one direction, until the lengths match. Then refine the sides: for an almond shape, taper the sidewalls gradually toward the tip without filing into the nail bed or creating a sharp point.

If the surface has a bump or a ridge, smooth it with a buffer using almost no pressure. You are polishing the surface of the gel, not sanding your nail. The moment the surface looks even, stop. Beginners often keep filing because the nail still feels slightly thick — but thickness at the apex is intentional. That gentle curve is what gives the nail its strength. Filing it flat removes the very structure you built.
After shaping, dust off thoroughly, wipe the nails, and only then apply top coat. Dust trapped under top coat looks cloudy and feels rough, and it is much harder to fix once the top coat is cured. A quick wipe and a look from the side before top coat saves a surprising amount of frustration.

What Mistakes Ruin a Builder Gel Manicure — and How Do You Fix Them?
Most builder gel problems come from flooding the cuticle, applying layers that are too thick, skipping prep, or curing gel that has touched the skin. Each one is fixable if you catch it before curing: wipe away stray gel, thin the layer, re-prep a dusty nail, and never cure first and hope the problem disappears.
Flooding the cuticle
What happens: gel pools around the cuticle and sidewalls, then lifts within days as the skin moves underneath it. Fix: use less product, keep a clean margin around the nail, and clean up with a wooden stick before curing. If you have already cured a flooded nail, file the excess away gently and watch that nail — it may lift early, and that is a lesson, not a disaster.
Layers too thick
What happens: the surface looks bulky, the nail feels heavy, and the centre may stay soft under a cured skin. Fix: build in two thin layers instead of one thick one, and let each layer self-level before curing. Thick is not the same as strong; even is strong.
Lifting at the free edge or sides
What happens: the gel peels away from the nail, usually within the first week. Fix: revisit prep. Dust, oil, or leftover shine on the nail plate are the usual culprits. Make sure the nail is clean and dry, the shine is removed lightly, and the gel is capped neatly at the free edge without touching skin.
Bubbles in the gel
What happens: tiny air bubbles appear in the cured layer. Fix: do not shake the bottle vigorously, do not stir the pot aggressively, and do not work the brush back and forth on the nail. Smooth, single-direction strokes and a moment to settle let bubbles rise and pop before curing.
Heat spike during curing
What happens: the nail feels hot or uncomfortable in the lamp. Fix: remove your hand from the lamp, let it cool, and follow your product’s instructions for curing — some systems allow you to cure in short stages. Never push through pain, and never assume a hotter cure means a stronger nail. If discomfort repeats, stop and check your product’s guidance or ask a professional.
Gel on the skin
What happens: uncured gel touches the cuticle or surrounding skin. Fix: wipe it off immediately, before curing, with a clean stick or wipe. Do not cure over it and hope it will be fine. Repeated skin contact with uncured gel is how sensitivities develop, and once a sensitivity develops, gel products may no longer be an option. This is the single most important habit in the whole process.

How Do You Remove Builder Gel Safely?
Remove builder gel by gently filing off the shiny top layer, then soaking the remaining gel in acetone with cotton and foil until it softens and lifts, and pushing it off with a wooden stick. Never peel, pry, or force gel off the nail, because that removes layers of your natural nail and leaves it thin and prone to breaking.
Start by filing the top coat away lightly — you only need to break the seal, not file down to your natural nail. Then soak a cotton pad in acetone, place it on the nail, and wrap it in foil. Wait patiently, following the guidance for your system, and check one nail before unwrapping them all. The gel should look soft, crumbly, and ready to lift. If it is still firm, re-wrap and wait longer rather than scraping harder.
Push the softened gel off gently with a wooden stick, working from the cuticle toward the free edge with almost no pressure. If a patch resists, re-soak it. Stubborn spots are not a challenge to win; they are a sign to be patient. Once the gel is off, wash your hands, file any rough edge lightly, and apply cuticle oil. Full, detailed steps are in our guide to removing gel polish safely, which follows the same soak-and-lift principle.
One warning is worth repeating because it is tempting in a hurry: never peel builder gel off, even if an edge has already lifted. A lifted edge looks like an invitation, but peeling takes layers of natural nail with it. The nail underneath will be thin, bendy, and sore, and it will take weeks to recover. A ten-minute soak is always cheaper than a month of regrowth.
How Do You Care for Your Nails After Builder Gel?
After removal, keep nails short, moisturise cuticles daily with oil, and give nails a few days without any coating so you can see how they feel. If nails look dry or flaky, focus on oil and gentle filing rather than another full set straight away, because a short rest usually restores flexibility faster than covering damage with more product.
Daily cuticle oil is the least glamorous and most effective habit in nail care. It keeps the skin around the nail flexible, which means fewer hangnails and less peeling at the edges, and it keeps the nail plate itself from drying out. Apply it at night if you forget during the day — the point is consistency, not perfection.
Between sets, treat your nails like you would a favourite fabric: no using them as tools to open cans, scrape labels, or pry things apart. Wear gloves for cleaning and washing up, because water and detergents dry nails out and make them more likely to split. If you type all day, keep nails at a length that does not force your fingers into an awkward angle — comfort is a better guide than any trend.

How long should you wait between sets? There is no single rule, because it depends on how your nails look and feel. If they feel strong, smooth, and comfortable after removal, a new set straight away is reasonable for most people. If they look thin, flaky, or sore, give them a break of at least a week, with daily oil and short, gentle filing. Listen to the nails, not the calendar.
Who Should Skip Builder Gel at Home?
Skip builder gel at home if you have broken skin, soreness, swelling, or signs of infection, if you are allergic to gel products, or if you cannot keep uncured gel off your skin. In those cases, let nails heal first or ask a professional for advice, because a home set is never worth a reaction or a painful nail.
This also applies if you have a history of reactions to nail products — itching, redness, swelling, or blistering around the nails after a previous set. Do not test a new brand on all ten nails to see if it is different. If you are unsure, a professional assessment is the sensible step, and it is far cheaper than dealing with a reaction that spreads.
Finally, be honest about patience. Builder gel rewards slow, careful work and punishes rushing. If you are trying to fit a full set into fifteen minutes before going out, choose a simpler manicure that day and save builder gel for a calm evening. The product will still be there, and your nails will thank you for the wait.
Done with care, builder gel is one of the most satisfying home manicures there is: your own nails, visibly stronger, with a smooth, glossy finish that actually lasts. Start with a sheer shade, keep your layers thin, keep gel off your skin, and cure exactly as your product instructs. The first set teaches you the rhythm; the second set is where it starts to feel easy.
Frequently Asked Questions
Can beginners do builder gel nails at home?
Yes, if you are patient and follow the steps in order. Start with a sheer shade, work one nail at a time, keep layers thin, and keep gel off your skin. Expect the first set to take 60–90 minutes, and expect it to improve noticeably by the second or third set.
How long does builder gel last?
Most builder gel sets last two to three weeks before regrowth at the cuticle becomes noticeable, depending on nail growth, daily wear, and how well the prep and application were done. Lifting in the first few days usually points to prep, flooding, or layers that were too thick.
Does builder gel damage your natural nails?
Builder gel itself does not have to damage nails, but poor removal does. Peeling, prying, or aggressive filing removes layers of the natural nail and leaves it thin. Gentle filing of the top layer, a patient acetone soak, and soft lifting keep damage to a minimum.
Can you use builder gel without a lamp?
No. Builder gel only hardens under a lamp, and it must be the type of lamp your product is designed for. Without proper curing, the gel stays soft, weak, and tacky, and uncured product left on or around the nail increases the risk of skin sensitivity.
Is builder gel better than acrylic for natural nails?
For strengthening your own nails, usually yes. Builder gel is an overlay, not an extension, so it adds structure without tips, forms, or the harsher filing that acrylic removal can involve. Acrylic remains the better choice if you want long extensions or dramatic sculpted shapes.
Can you paint regular polish over builder gel?
Yes. Once builder gel is cured and shaped, you can paint regular polish or gel polish over it and finish as usual. Keep colour layers thin, and remove regular polish with a gentle remover that does not disturb the builder layer underneath if you plan to keep the set.