

TL;DR — Acrylic nails at home
- What they are: a two-part system — acrylic powder plus liquid monomer — that you mix into small beads on a brush and sculpt onto nail tips (or your natural nail). It air-dries into a hard, strong enhancement. No lamp needed.
- The result: a full set of salon-look acrylic nails — length, shape, and a glossy sealed finish — built in about 2 hours the first time. They typically wear 2–3 weeks.
- Difficulty: beginner-friendly with practice. The single skill that matters is the liquid-to-powder bead ratio; everything else is prep, patience, and filing.
- Safety, stated plainly: work in a ventilated room, use a reputable monomer system (no MMA products), keep uncured product off your skin and cuticles, and follow your manufacturer’s own instructions. This is a guided home method — not professional nail-tech training.
- Removal: a patient acetone soak-off only. Never pry, peel, or bite them off.
Acrylic nails have a reputation for being the one manicure you simply cannot do yourself. For years that was fair — the technique looks like chemistry, the monomer smells like a science lab, and salon techs make the bead work look like sorcery. But here is what changes the equation: acrylic is a system with rules, and rules can be learned. The powder and liquid behave the same way on your kitchen table as they do in a salon, and once you understand the bead — the small pearl of mixed product that is the whole building block — the rest is placement and filing.
This guide teaches that system honestly. You will get the full tools list (and what to skip), the twelve steps in the order they happen, the mistakes every beginner makes with their immediate fixes, the safety rules that are genuinely non-negotiable, and the removal method that keeps your natural nails intact. Nothing is glossed over, and where a step takes practice, I will say so instead of pretending otherwise.
What are acrylic nails? Acrylic nails are a nail enhancement made by combining a polymer powder with a liquid monomer to form small workable beads, which are then placed on nail tips or forms and shaped as they harden in air. The result is a strong, sculptable extension that wears for weeks and is finished with filing, buffing, and a top coat.
What you will achieve
By following this tutorial you will build a full set of acrylic nails at home: ten nails with cleanly fitted tips, even acrylic coverage from cuticle area to free edge, a shaped and filed finish with a smooth surface, tidy edges around the cuticle, and a glossy top coat. The set will look like a careful salon beginner set — solid, shaped, wearable — because it is built the same way one is, just at a beginner’s pace.
You will also understand the system behind the result: why the bead ratio decides everything, where each bead goes, and how filing after the product sets can fix nearly any imperfection you created while it was wet. And you will know how to take the set off safely weeks later, which is the part most home tutorials treat as an afterthought. It is not.
One honest framing before we start: this is a guided home method, written for beginners doing their own nails. It is not licensed nail-technician training, and it does not replace it. If you develop redness, itching, or any reaction around the nails during or after application, stop and remove the product — and if you have a known allergy to acrylates, this system is not for you.
Is acrylic better than gel or dip powder?
Acrylic is not universally “better” than gel or dip — it is the strongest and most structural of the three. It builds real length and survives the longest, but it also has the steepest learning curve at home and the most demanding removal. Gel feels thinner and more natural with easier removal; dip powder is the most forgiving for beginners but builds less length. Choose by what you actually want: length and strength, thinness, or ease.
Here is how the three systems compare on the points a beginner choosing between them actually cares about:
| Acrylic | Gel polish | Dip powder | |
|---|---|---|---|
| Typical wear time | 2–4 weeks; the hardest-wearing of the three | 2–3 weeks; prone to lifting on oily or thin nails | 2–3 weeks, often stretching to 4 with good care |
| Length & structure | Real length over tips or forms; sculptable shapes | Natural-length enhancement; not structural | Slight length and strength, best at short-to-medium lengths |
| Equipment | No lamp — acrylic air-dries | UV/LED lamp required | No lamp — brush-on activator |
| Removal | Longest acetone soak of the three; most product to remove | Acetone soak; relatively quick | Acetone soak; usually the gentlest removal |
| Learning curve at home | High — bead ratios and shaping genuinely take practice | Medium — lamp curing and thin coats take practice | Low — thin layers and the right order do most of the work |
| Best for | Maximum length, dramatic shapes, and durability | A thin, natural-feeling finish with easy removal | Beginners wanting weeks of wear with the least fuss |
Honest advice: if you want length and the look of a salon sculpted set, acrylic is the system — but it is the most demanding to learn. If weeks of wear with the lowest learning curve is the goal, our guide on doing dip powder nails at home is the gentler starting point, and it needs no lamp either.
What you need for acrylic nails at home
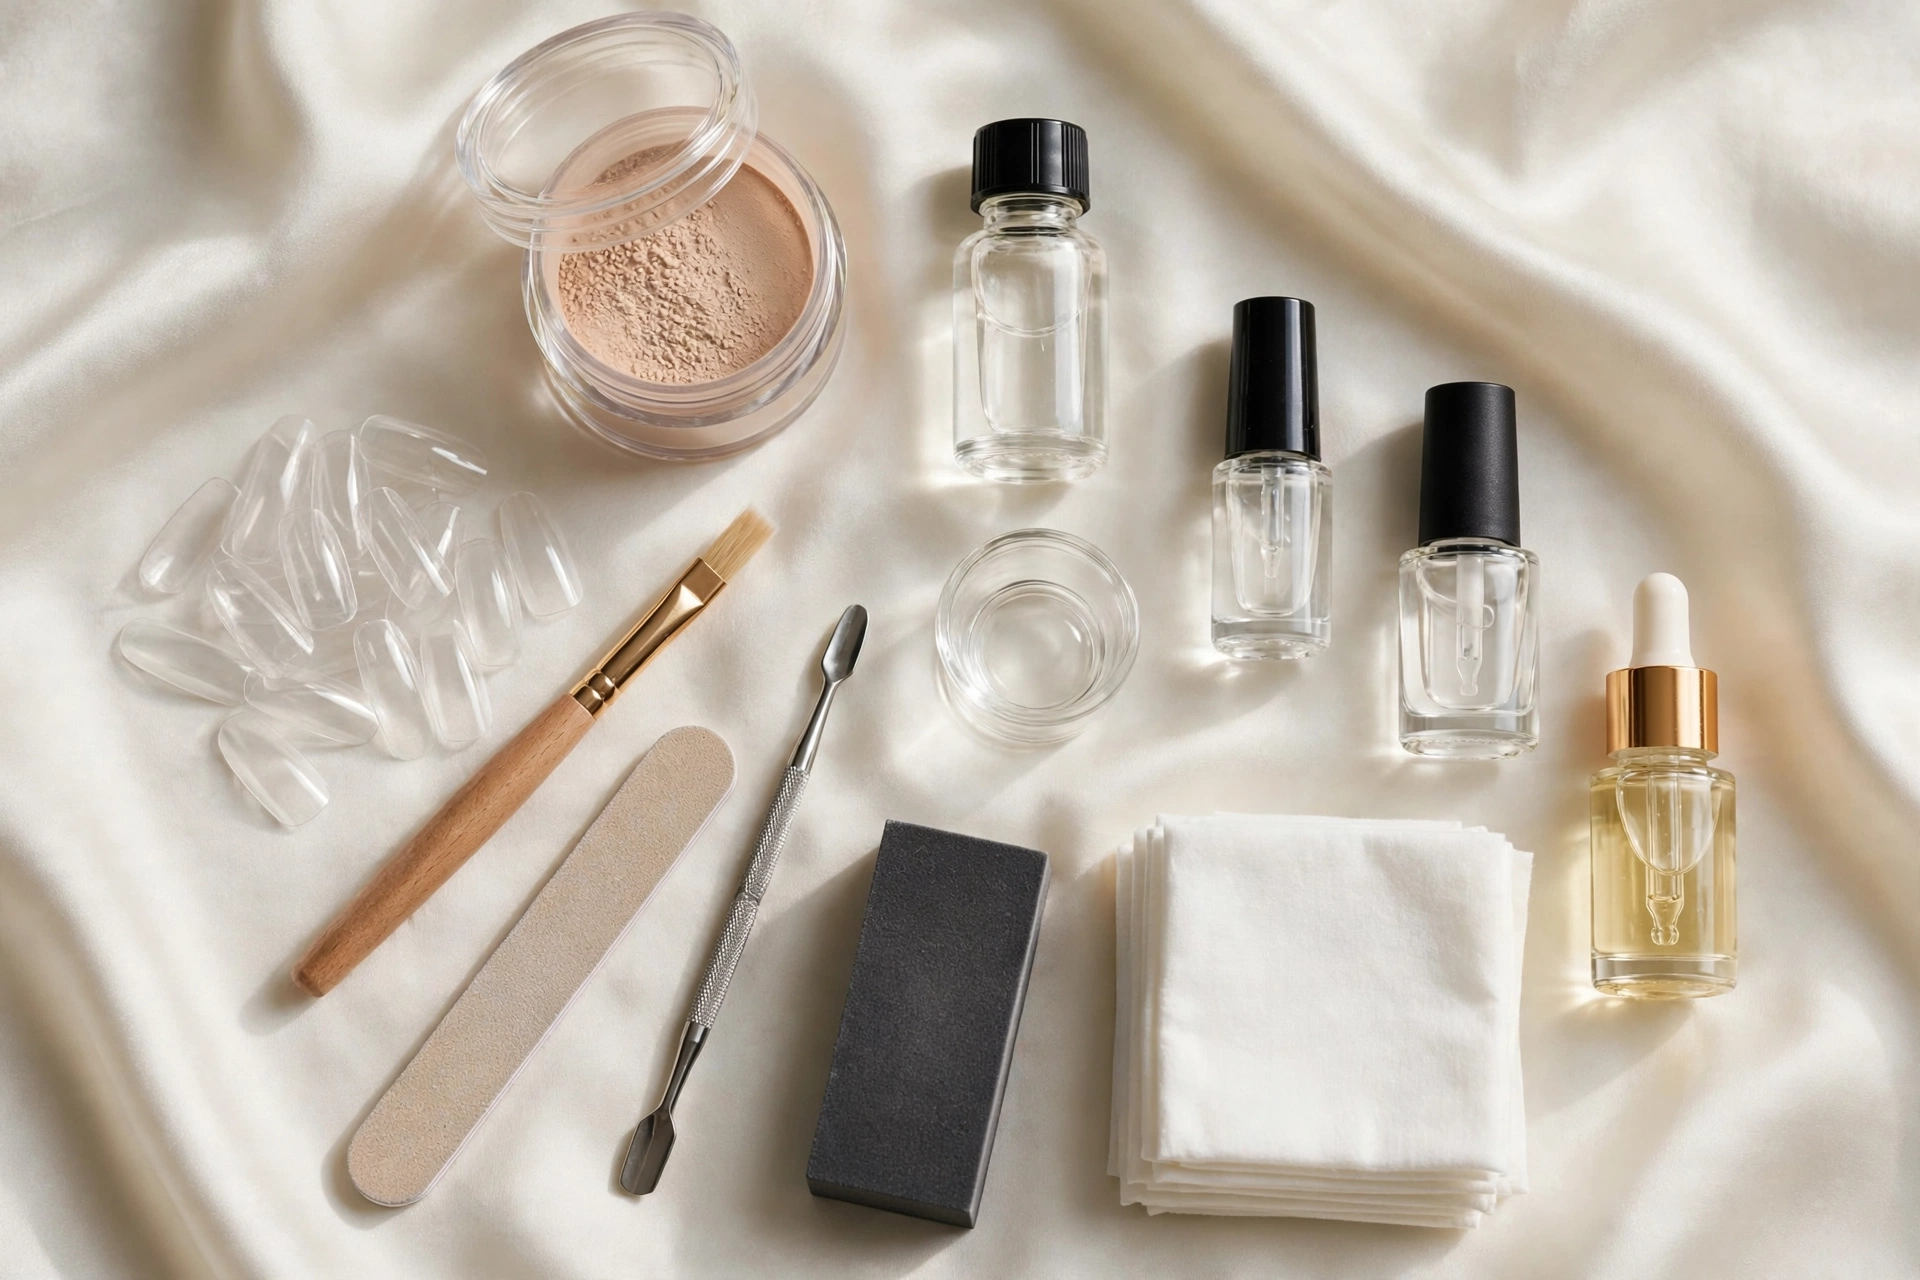
You need three groups of things: the acrylic system itself (polymer powder + liquid monomer from one reputable brand), extension supplies (nail tips or forms, nail glue, a tip cutter), and prep/finish tools (file, buffer, cuticle pusher, dappen dish, acrylic brush, nail primer, top coat, lint-free wipes, cuticle oil). Do not mix powder from one brand with monomer from another on your first sets — the systems are formulated to work together.
The acrylic system (the two non-negotiables)
- Acrylic powder (polymer) — start with a nude, natural, or clear shade. Pale powders forgive uneven application far better than bright or dark ones, and you can paint any color over them later.
- Liquid monomer — this is the part to buy carefully. Choose a product from a reputable professional nail brand, labeled for nail use, with full ingredient information. Avoid anything containing MMA (methyl methacrylate) — professional systems use EMA (ethyl methacrylate); MMA-based products are harder to remove and harsher on nails. If a cheap kit will not say what is in the liquid, do not buy it.
Extensions: tips or forms
- Nail tips — pre-shaped plastic extensions glued onto the natural nail’s tip. Recommended for beginners: far easier than forms.
- Nail forms (optional alternative) — paper or foil templates tucked under the free edge to sculpt the extension directly. More control, more skill.
- Nail glue + tip cutter — for attaching and trimming tips.
Tools
- Acrylic brush (oval, kolinsky-style synthetic) — the tool you will actually learn. It picks up the bead, places it, and shapes it. Treat it well: clean it in monomer, never in acetone, and never leave it soaking.
- Dappen dish — the small glass dish you pour monomer into. Pour only what you need; never dip your brush back into the bottle.
- Nail primer — improves adhesion between the natural nail and the acrylic. Use the thinnest possible layer and keep it off the skin.
- Nail file (180 grit for prep; a 100/180 for shaping the set) — plus a soft buffer block.
- Cuticle pusher (wooden stick or metal pusher) — for tidying the cuticle line. No cutting needed.
- Lint-free wipes — for wiping the brush and cleaning the nail surface.
- Top coat (regular air-dry polish top coat works fine) — the glossy seal.
- Cuticle oil — for finishing and for every day after.
A note on the monomer smell: liquid monomer has a strong, sharp odor — this is normal and expected, not a sign something is wrong. It is also the reason ventilation is a safety rule rather than a comfort suggestion: work with a window open and air moving, pour small amounts, and keep the bottle capped when you are not actively dipping. If you are sensitive to strong smells, this system may not be pleasant for you, and that is a legitimate reason to choose dip powder or gel instead.
How difficult is it, and how long does it take?
Acrylic nails are beginner-friendly with practice — the difficulty is about 6 out of 10 for a first set, because one skill (the liquid-to-powder bead ratio) takes a few tries to feel natural. Expect around 2 hours for your first full set including prep; experienced home users do it in 60–90 minutes. Plan a calm evening, not a rushed hour before an event.
The time goes roughly like this: 15 minutes of prep and tip fitting, 10 minutes of station setup, about 5–8 minutes per nail once you find your rhythm (the beads get faster as you go), and 20 minutes of filing, buffing, and finishing. The beads are where beginners lose time — not because the step is long, but because a too-wet or too-dry bead forces you to stop, wipe the brush, and start that nail again. That is normal. Budget the time, keep the monomer dish small, and let the first three nails be your practice nails rather than your pride.
The steps: how to do acrylic nails at home safely
Read all twelve steps once before opening anything. The sequence is the method — prep, tips, prime, beads, shape, finish — and knowing what comes next is what keeps a first set calm instead of chaotic.
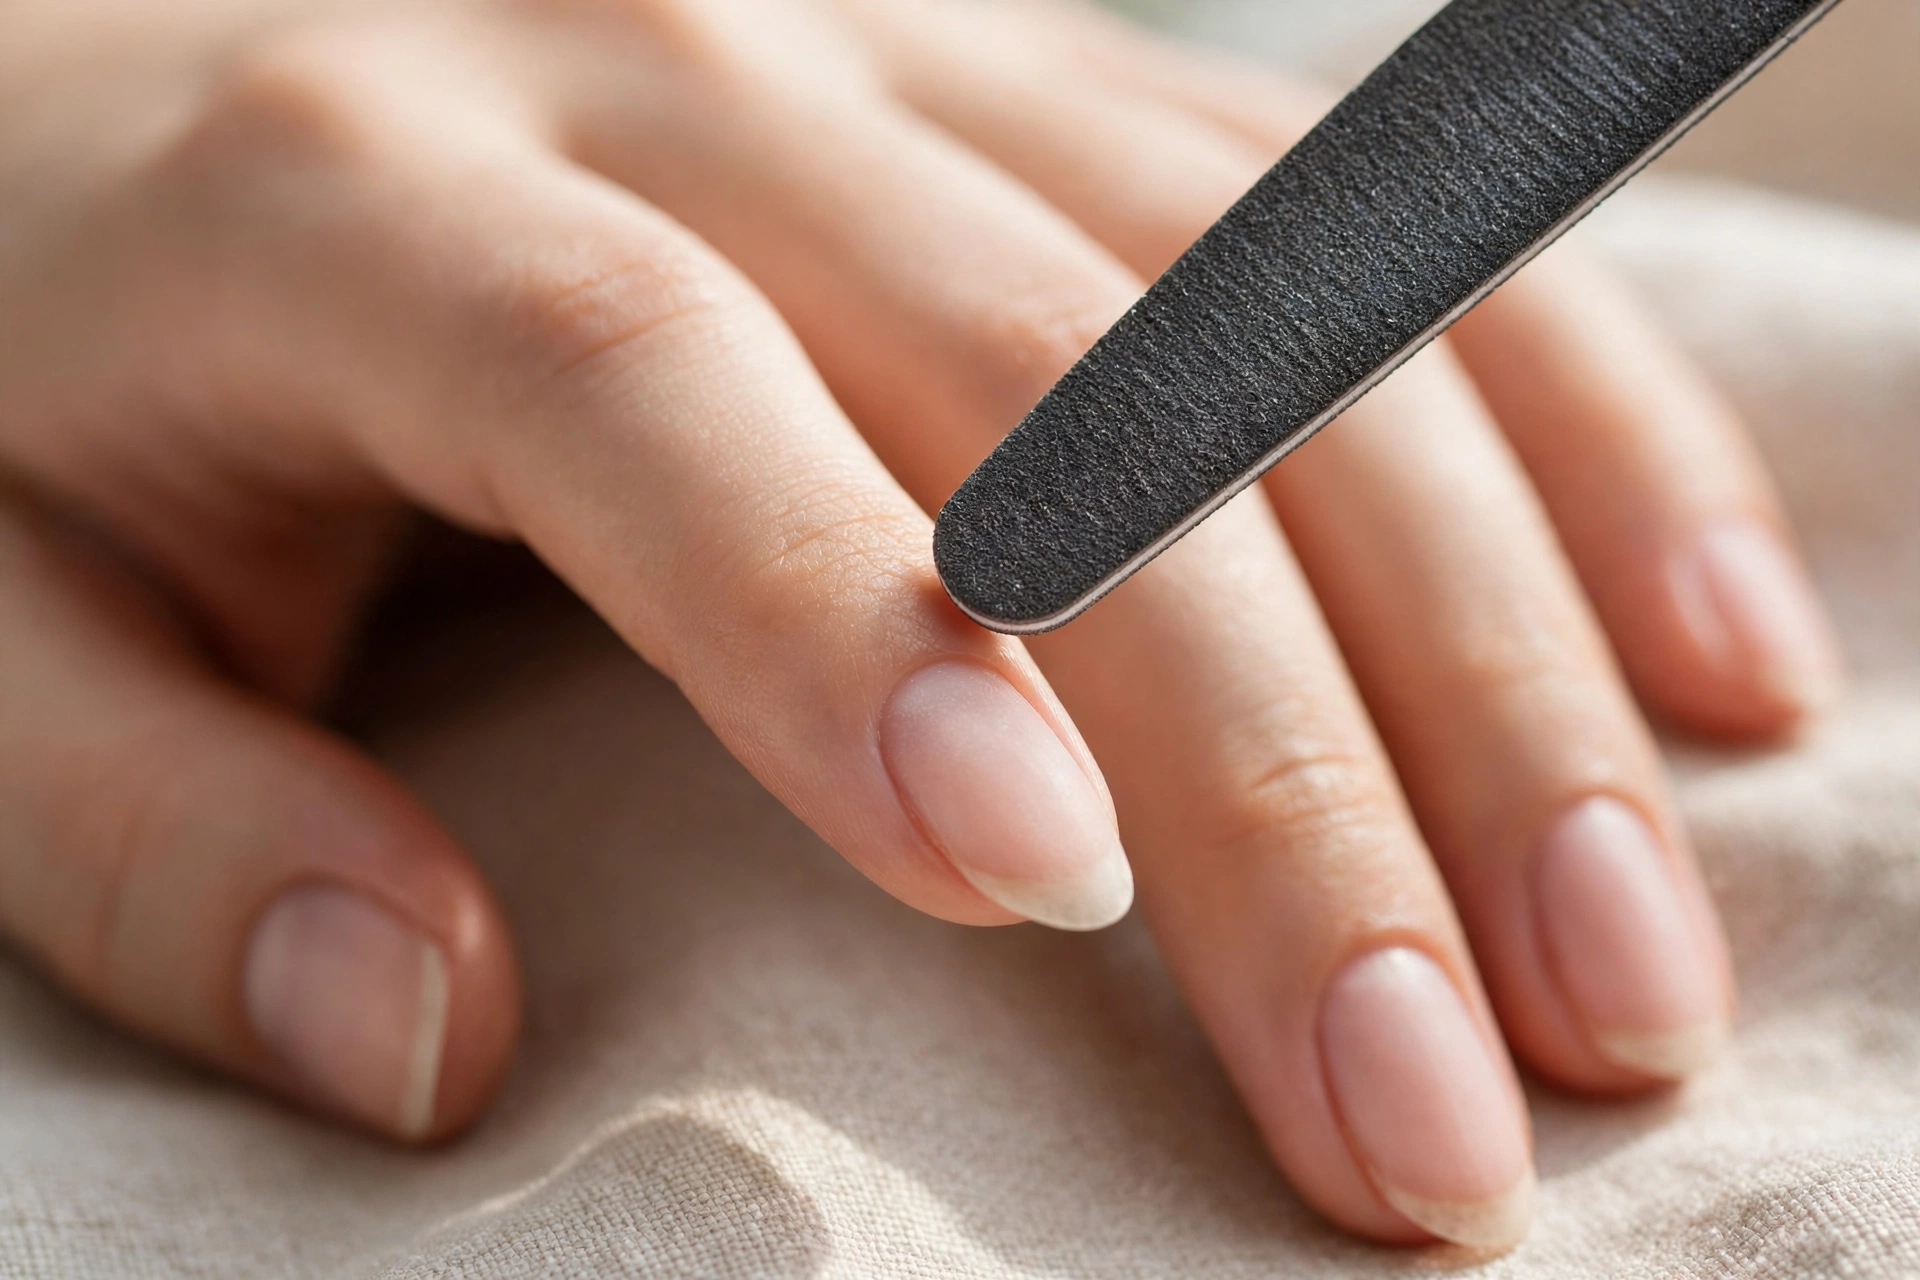
- Prep the natural nail — gently. Remove any old polish. Shape the free edge with the file, then push the cuticles back with the pusher; do not cut them. Lightly remove the shine from the nail surface with the 180-grit side of the file — a few soft strokes, not a sanding session. Over-filing here is the single most common way beginners damage their natural nails. Wipe each nail with a lint-free wipe and from this point avoid touching the nail plates.
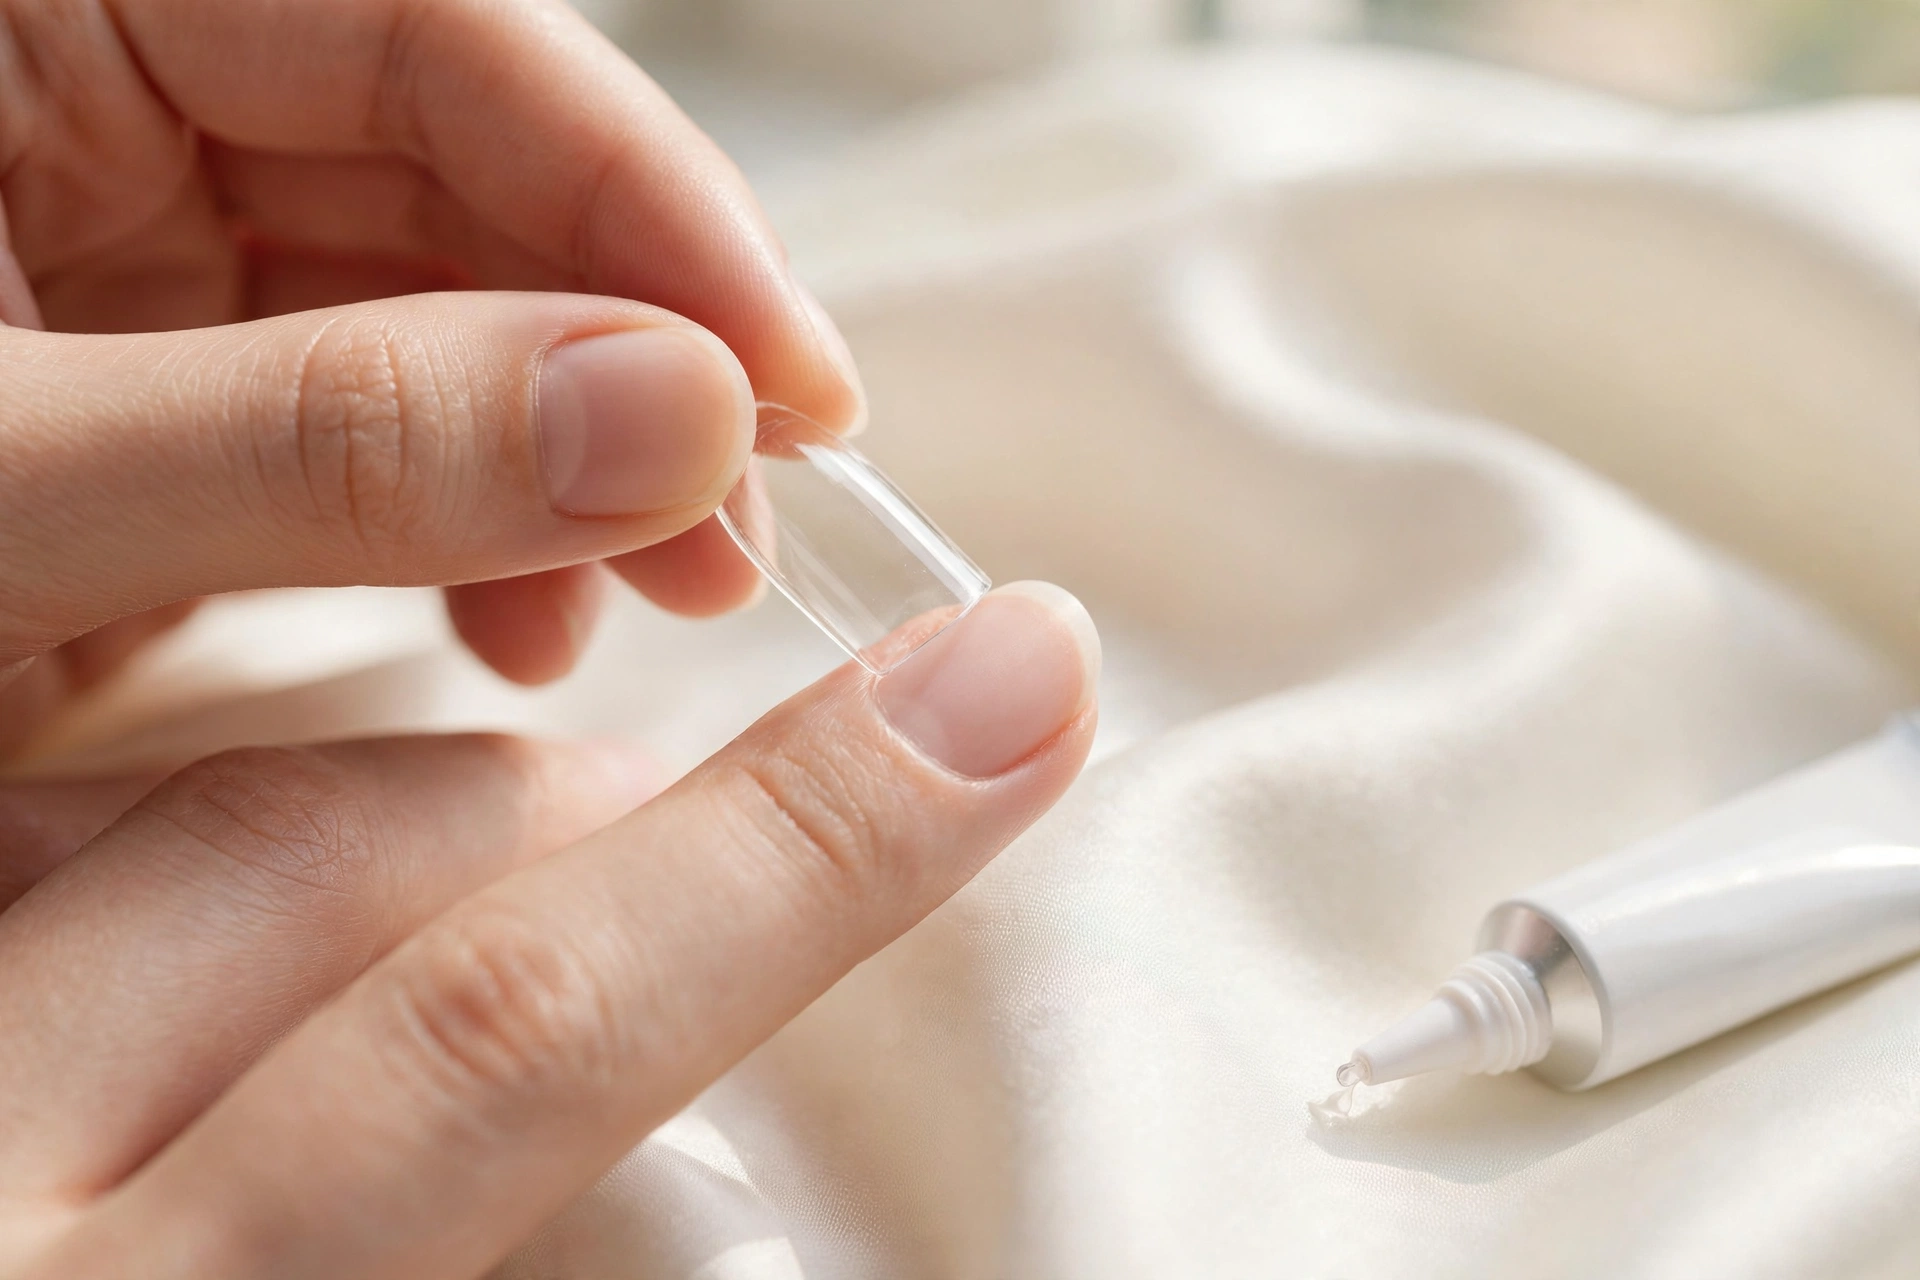
- Find your tip sizes and glue them on. Hold tips against each nail and pick the one that covers the nail from sidewall to sidewall with no gaps and no overlap — a tip that is slightly too wide is better than one that is too narrow, since you will file the sides. Apply a small drop of nail glue to the tip’s well, press it onto the natural nail at a slight angle (tip pointing down), and hold for 5–10 seconds. Fit all ten before moving on.
- Cut and blend the tips. Use the tip cutter to trim to your desired length — always leave them a little longer than the final goal, because filing will take more off than you expect. Then file the seam where the tip meets the natural nail until you cannot feel the ridge, and shape the free edge. A blended tip looks like one continuous nail; an unblended one shows a visible line under the acrylic. Our round, oval, and squoval shape guide helps if you are unsure which shape to file toward.
- Set up a ventilated station. Open a window, put a fan on if you have one, and lay out everything within reach: powder (open), brush, dappen dish with a small pour of monomer, primer, file, buffer, wipes. Cap the monomer bottle. Small pours mean less odor in the room and less product wasted as it evaporates. Keep paper towels handy — monomer drips are inevitable and wipe up easily when fresh.
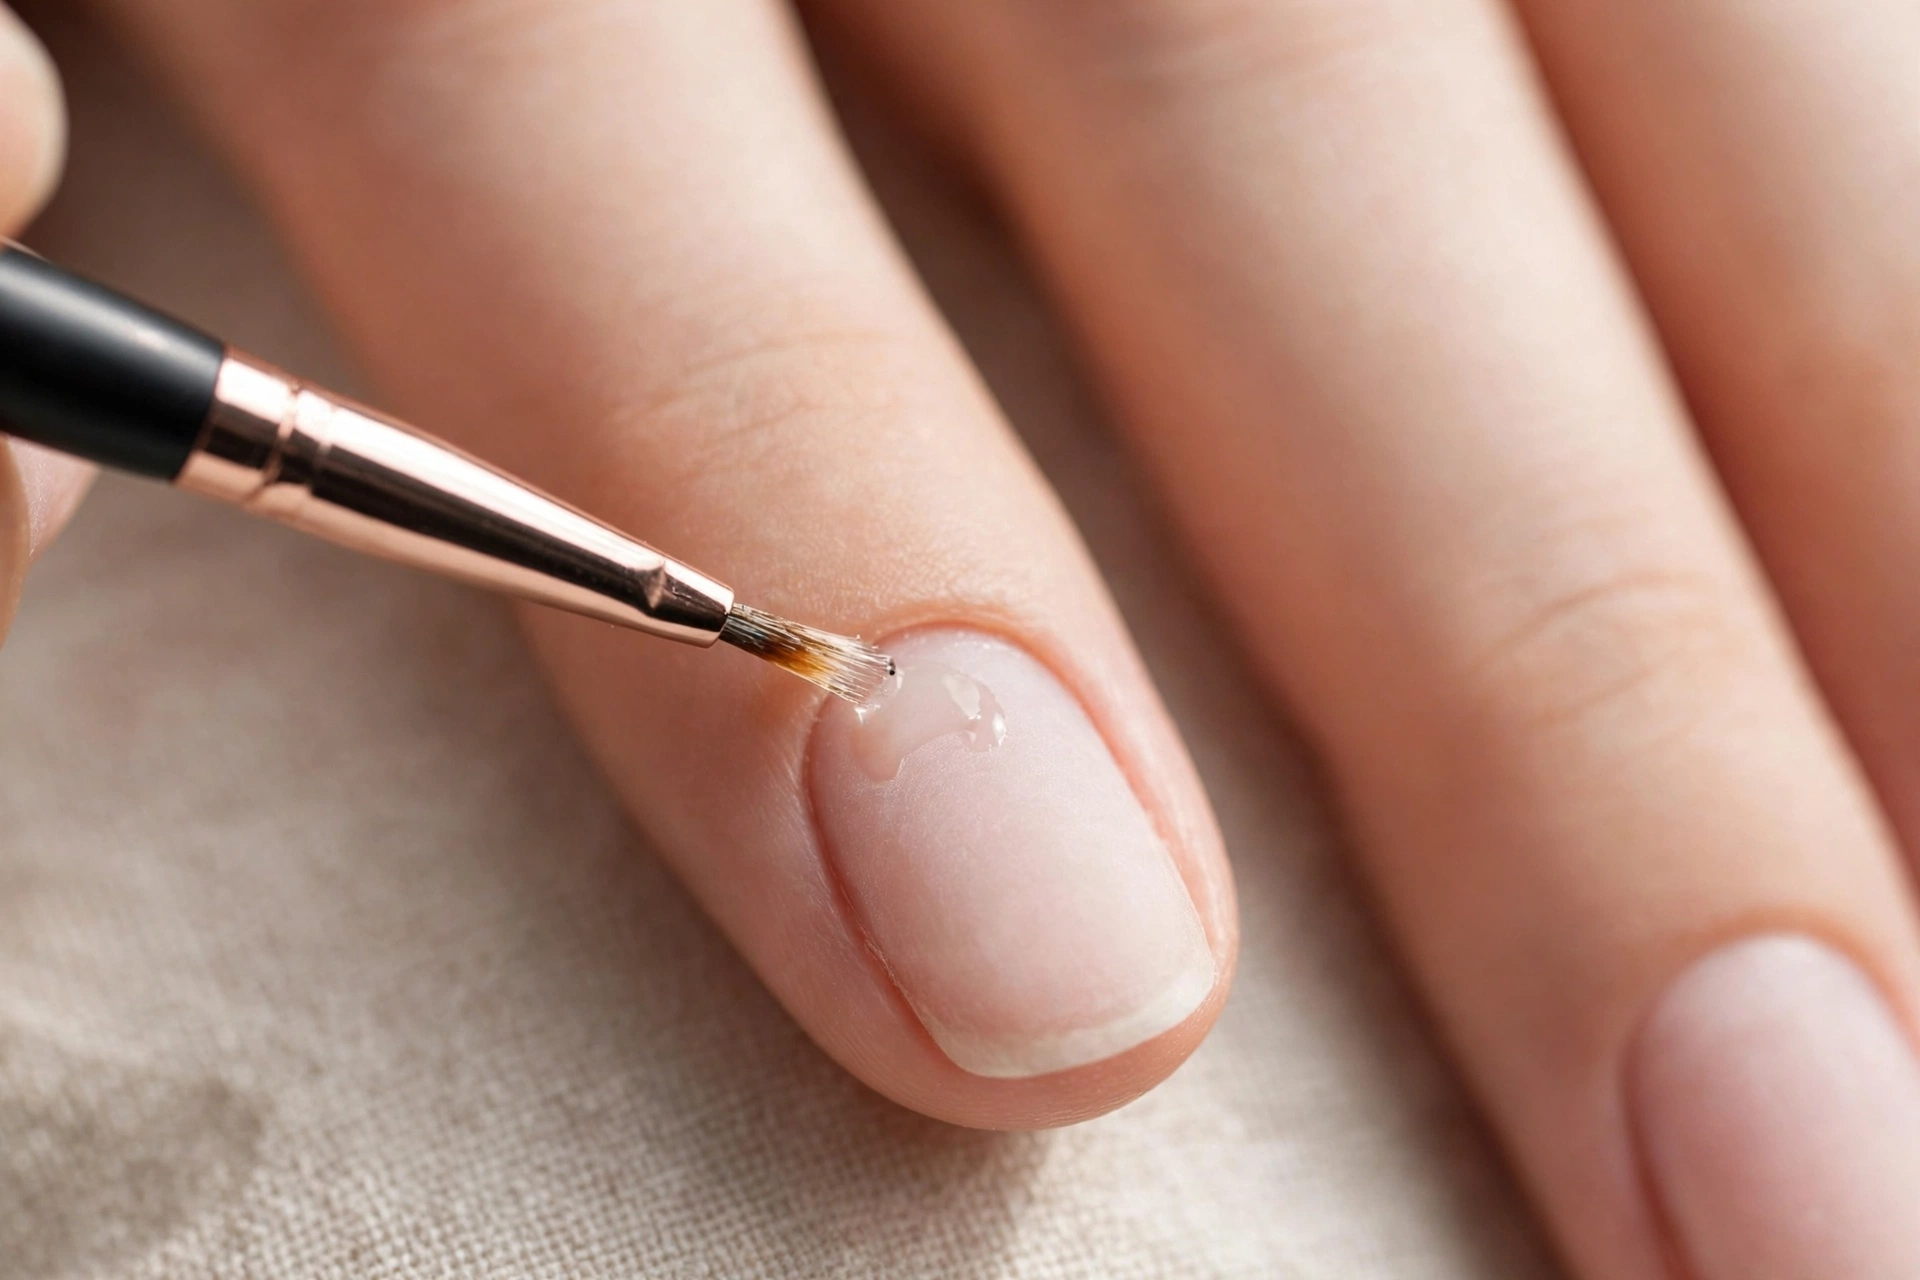
- Apply nail primer — thin, and never on skin. Brush one very thin layer of primer over the natural-nail portion only, keeping it well away from the cuticle and sidewalls. Let it dry until it looks slightly chalky or matte. Primer on skin causes lifting later and can irritate; a thin, nail-only layer is doing its whole job. If you flood it, wipe with a lint-free wipe and redo — thirty seconds now saves a lifting nail next week.
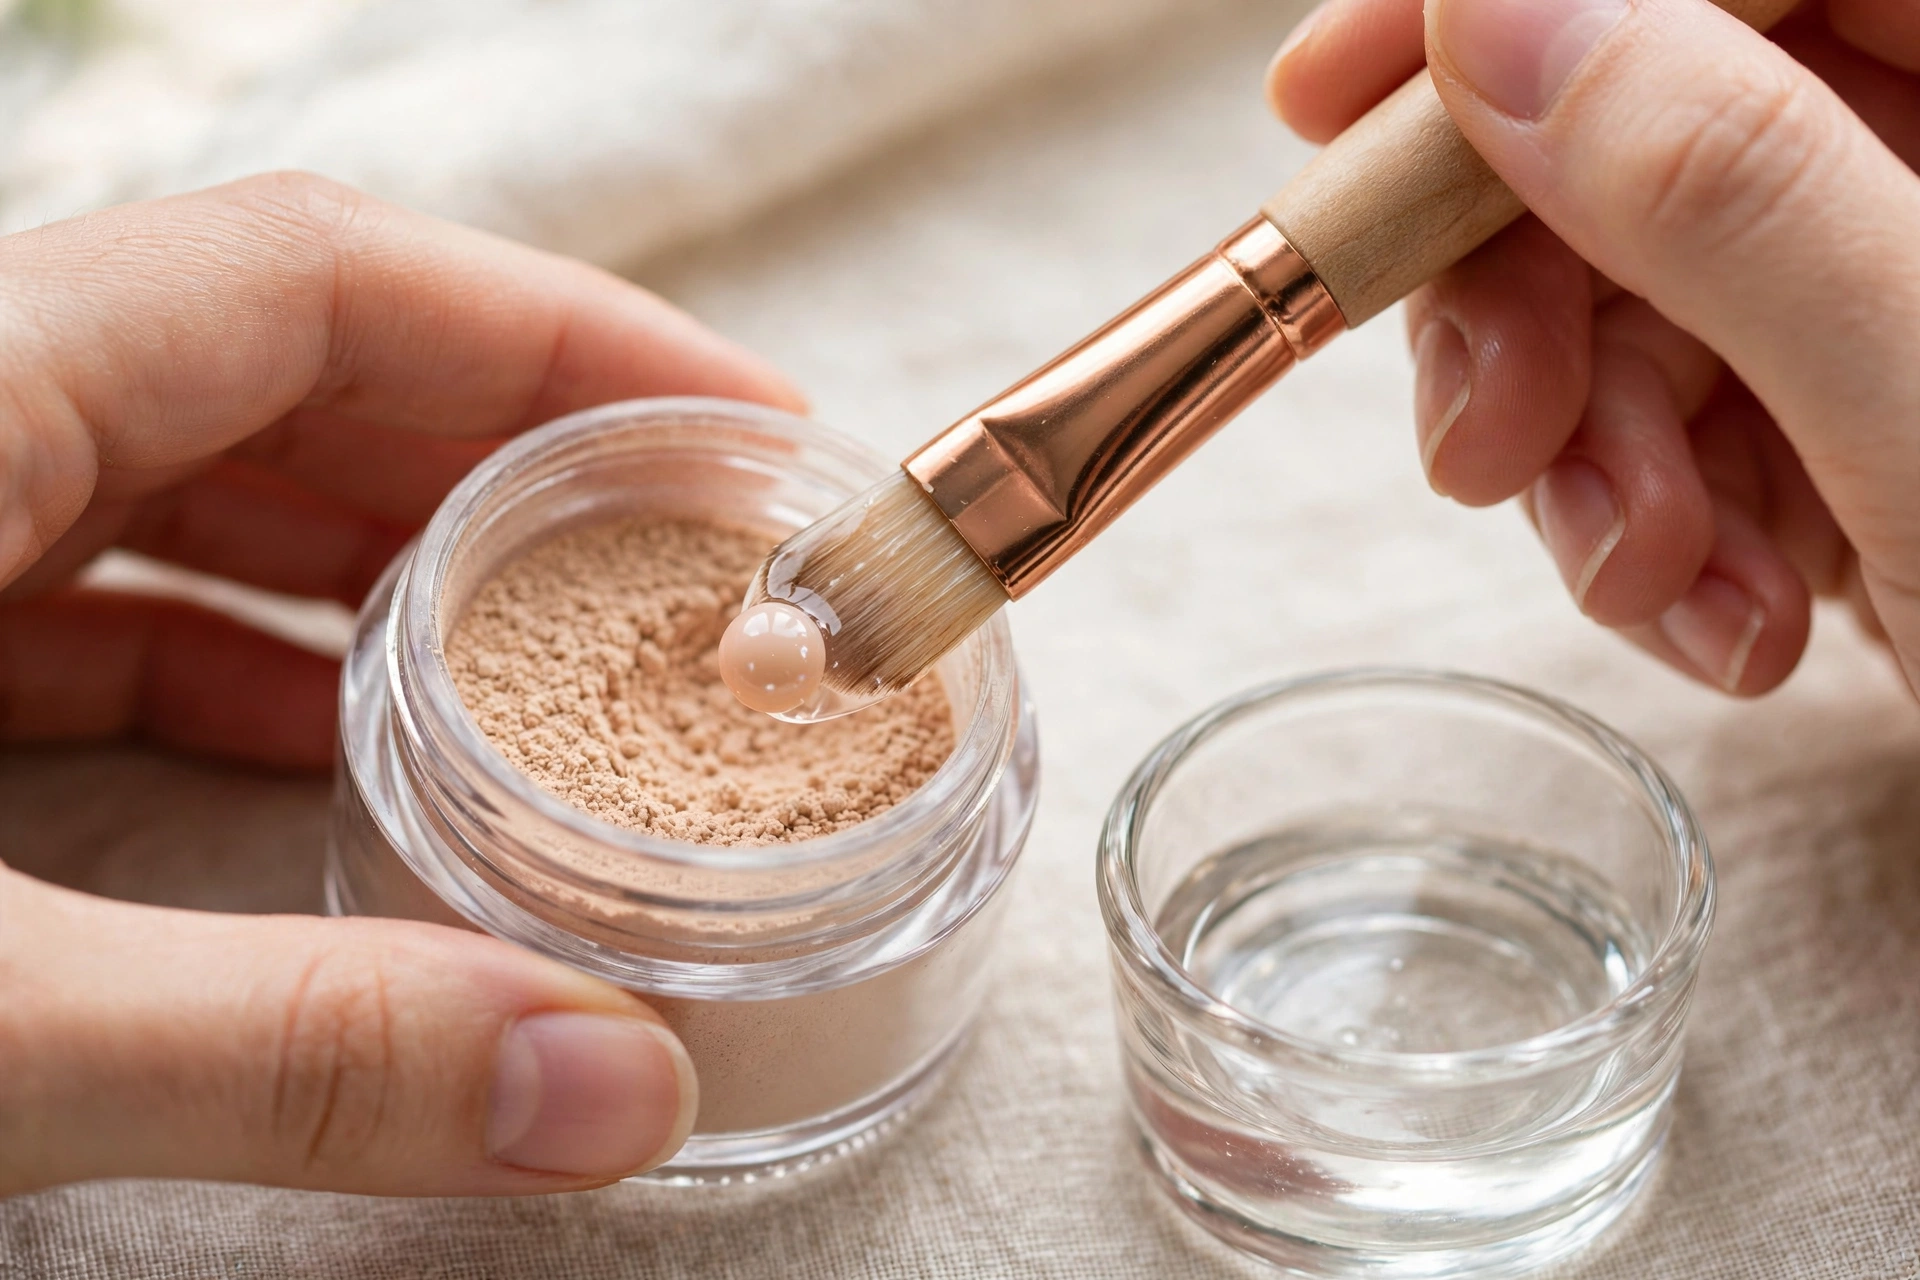
- Learn your bead before you touch a nail. Dip the brush fully into the monomer, then press it against the inside of the dappen dish to release excess — the brush should be wet but not dripping. Touch the flat of the brush to the powder surface and drag slightly; a bead will form on the bristles. You want a bead about the size of a small pearl that looks smooth and glossy, not runny. Too wet and it slides uncontrollably; too dry and it looks grainy and will not glide. Do this three or four times onto a paper towel until the bead looks the same every time. This practice step is the whole tutorial in miniature — do not skip it.
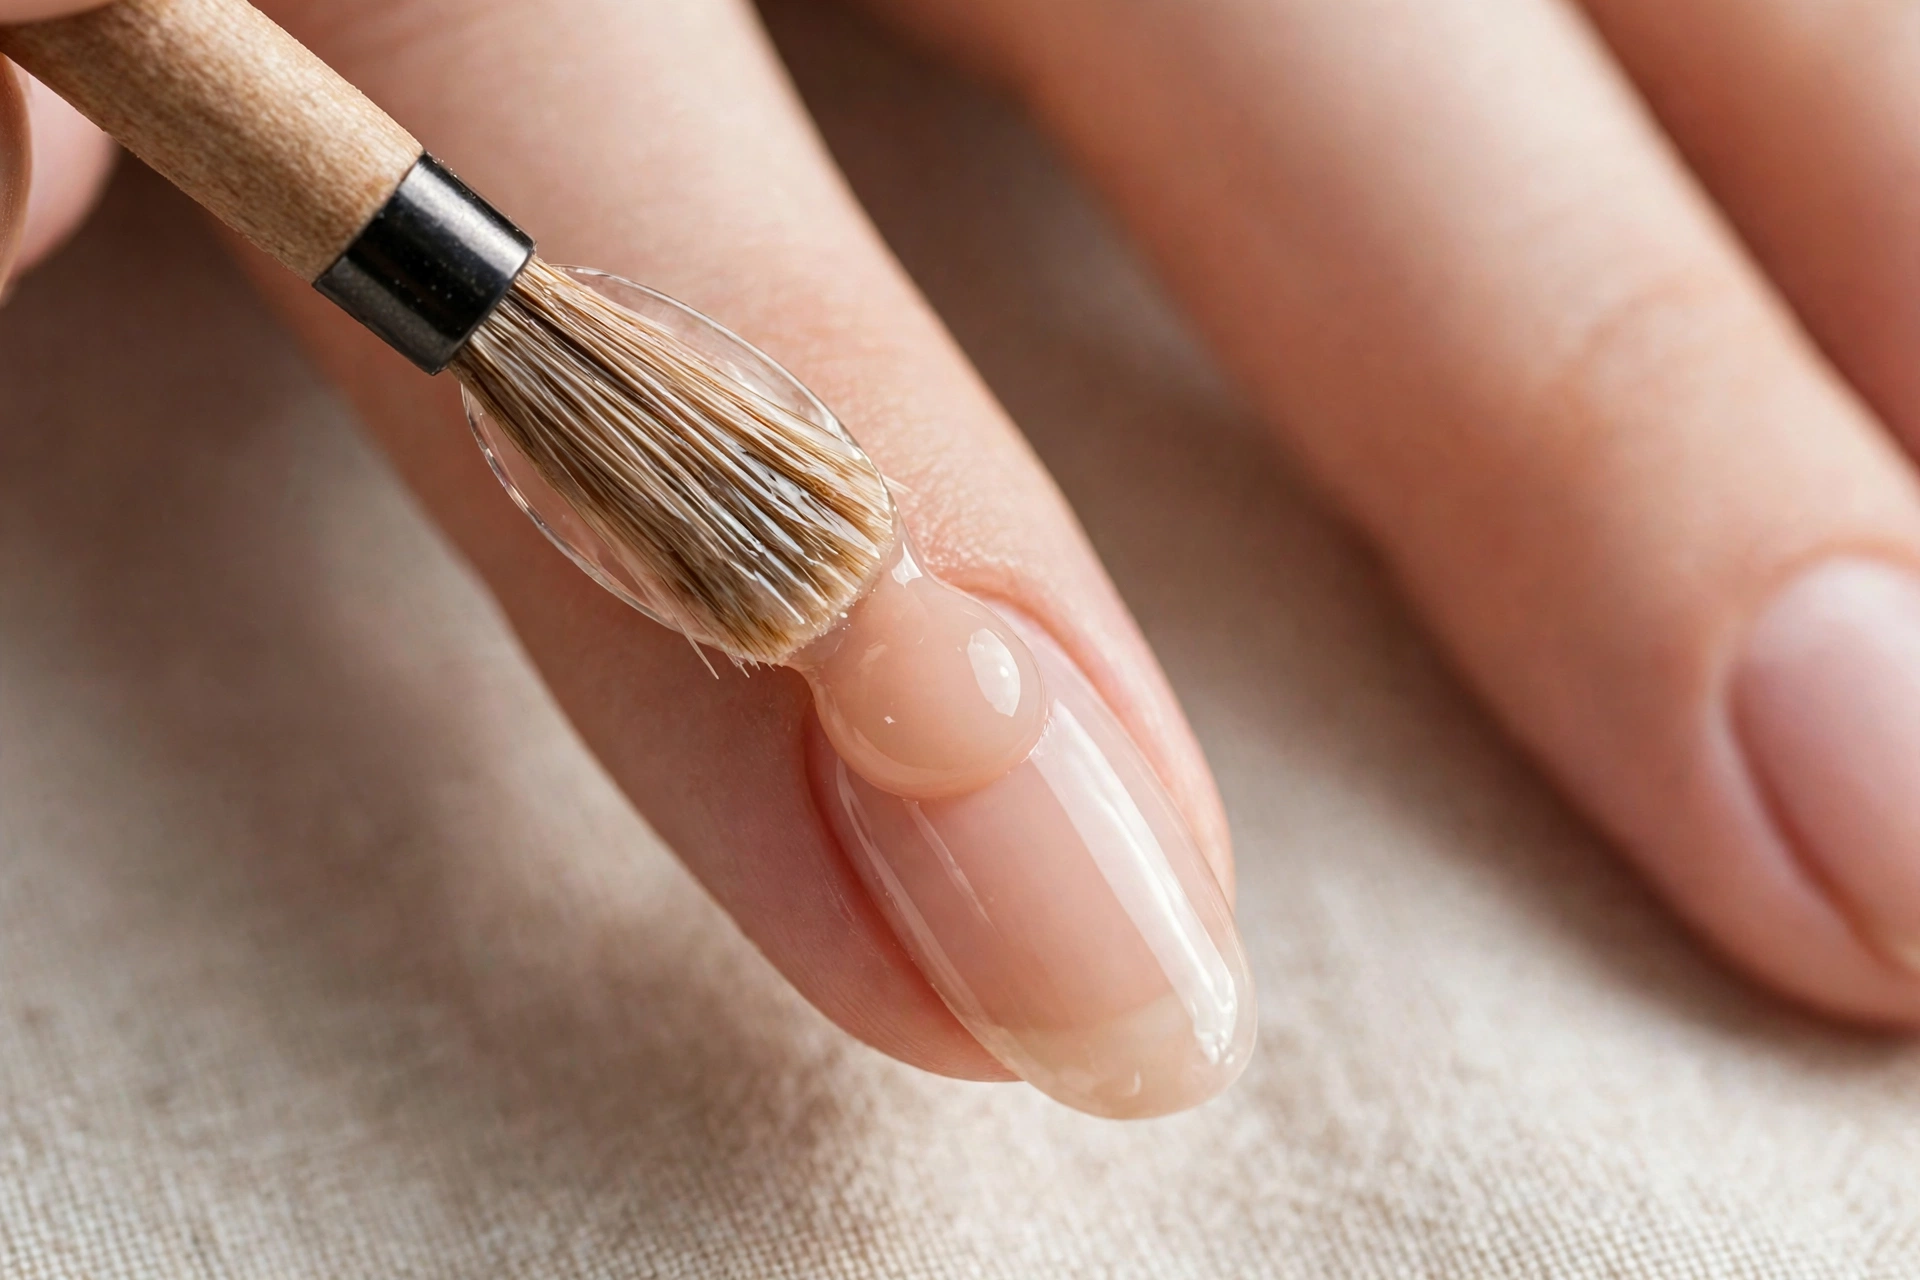
- Place the first bead at the cuticle area. Pick up a fresh pearl-sized bead and touch it to the middle of the nail, just in front of the cuticle — not on the cuticle, and never touching skin. Use the flat of the brush to pat it down and gently guide it toward the cuticle, leaving a hairline gap, then stroke it toward the free edge. Work with the brush’s belly, not its tip, and use light patting motions; pressing hard pushes product where it does not belong. This middle bead builds the nail’s structure — the slightly thicker zone over the stress area that keeps the tip from snapping.
- Build the free edge with a second bead. Pick up another bead — medium size this time — and place it where the tip meets the natural nail, then work it toward the free edge and along the sidewalls, keeping the edges clean. The goal is even coverage over the whole extension, slightly thicker in the middle (the stress area) and thinner at the cuticle and tip. If the bead starts to set before you finish smoothing, leave it — you will file it later. Fighting setting acrylic is how lumps are born.
- Work nail by nail, one hand at a time. Finish one nail completely — both beads placed and roughly shaped — before starting the next. Most beginners find it easiest to do their non-dominant hand first while their focus is freshest; the dominant hand, done with the weaker hand, will be rougher and need more filing. That is expected, not failure. Keep the monomer dish and brush wiped clean between nails: a dirty brush is the quiet cause of half of all beginner frustration.
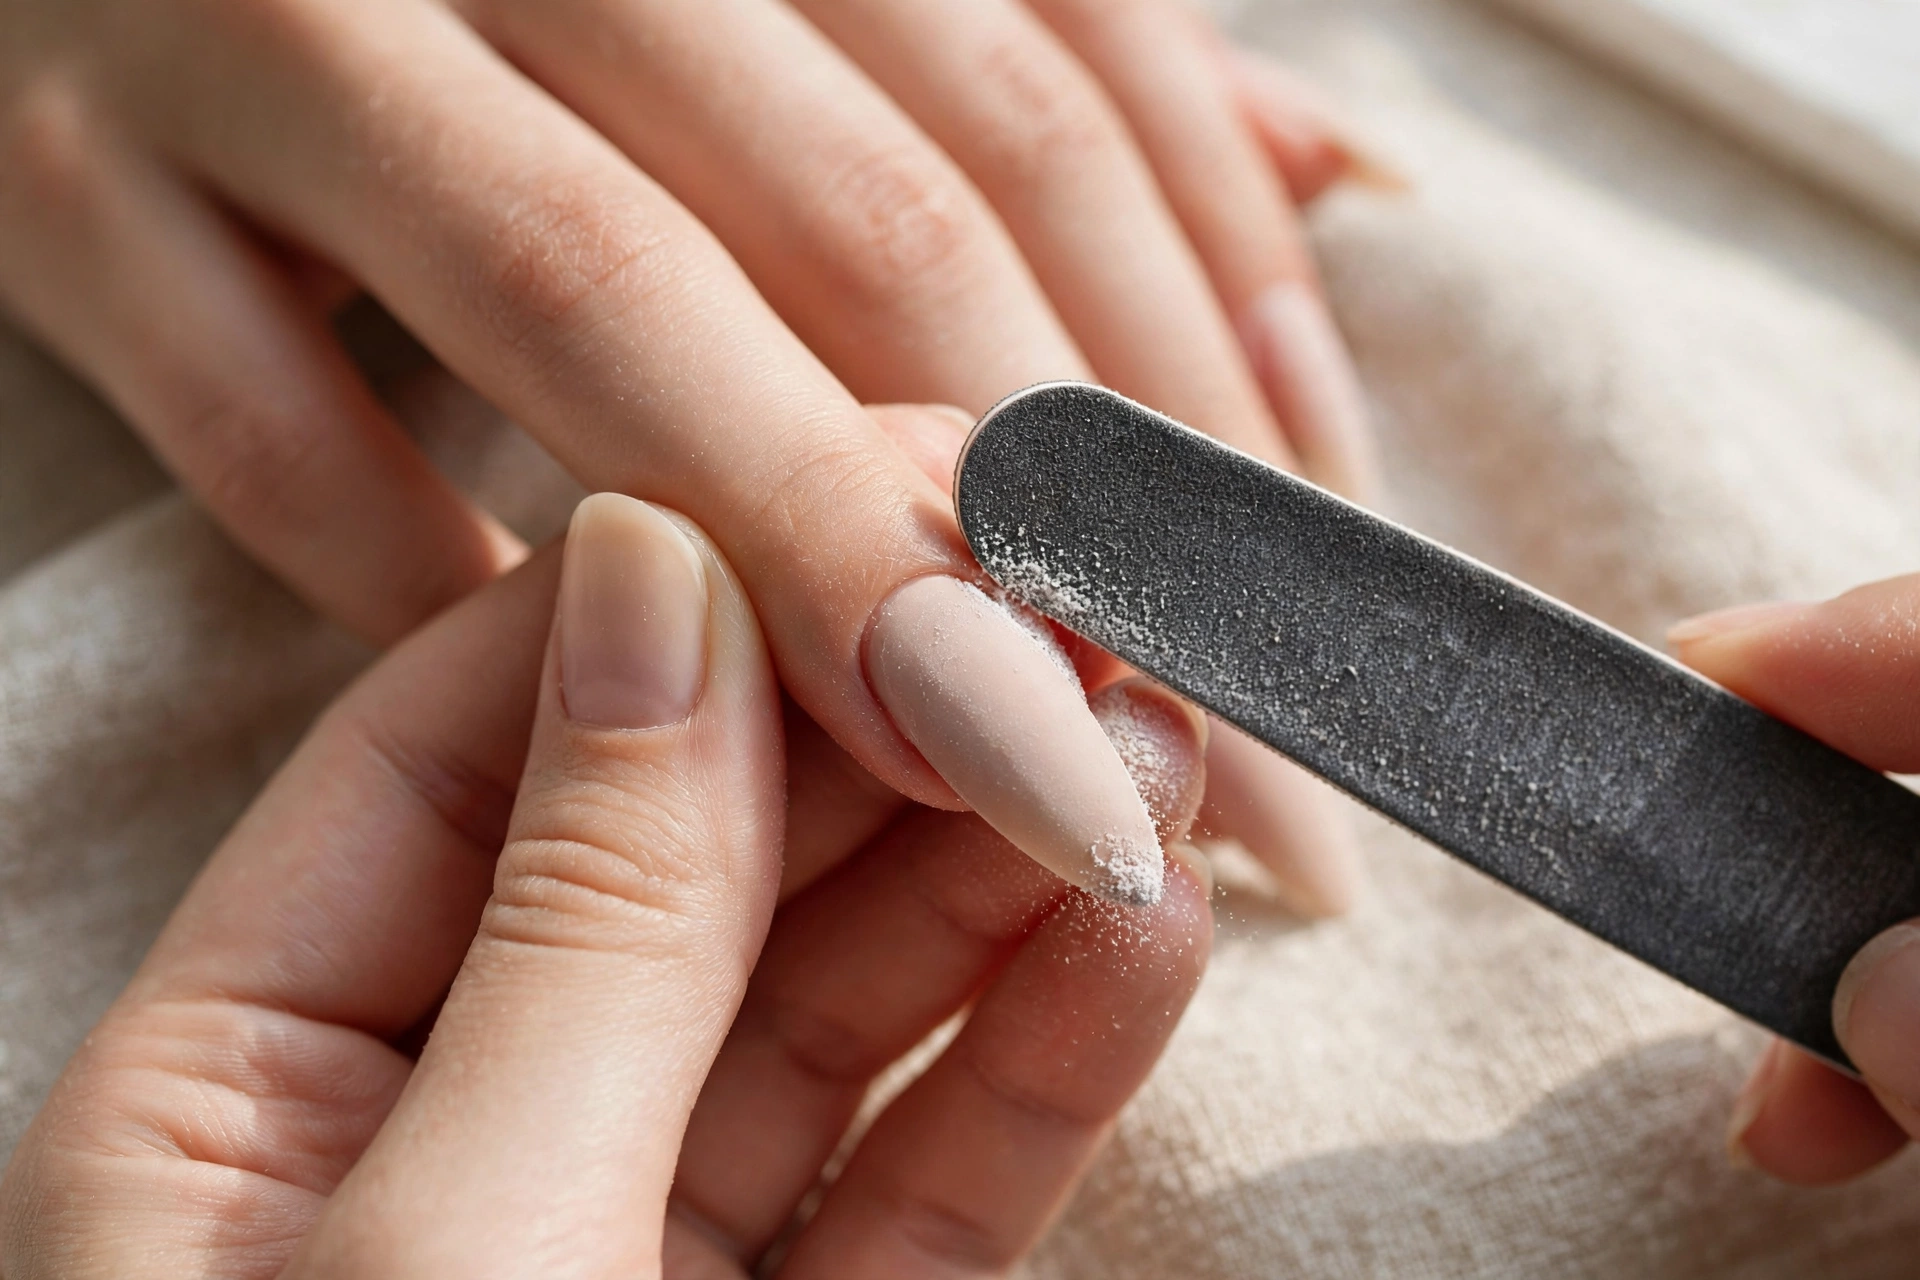
- Let the set firm up, then file and shape. Once all ten nails are done, let the acrylic fully set — the surface should feel hard and make a light tapping sound, not feel soft or tacky. Now file: smooth the sidewalls, refine the free edge to your final shape and length, and level the surface so the nail looks even. File the product, not your natural nail, and use light pressure. This is the step that rescues every wobbly bead — beginners are often surprised how salon-like a rough set looks after ten focused minutes of filing.
- Buff smooth and check by touch. Go over every nail with the buffer until the surface feels glassy under your fingertip — touch detects ridges that eyes miss. Wipe all the filing dust away with a lint-free wipe. If you spot a thin area or a dip after buffing, you can add one small bead of acrylic over it, let it set, and file again. The system is forgiving after the fact, even when it is unforgiving mid-bead.
- Top coat, oil, and done. Apply a thin layer of top coat over each nail, capping the free edge, and let it air-dry fully. Then massage cuticle oil generously around every nail — this is not decorative; it keeps the skin supple so the seal at the cuticle does not crack. Wear gloves for housework in the first 24 hours, and oil daily after that. Your set is finished.

How long do acrylic nails last?
Acrylic nails typically last 2–4 weeks, making them the longest-wearing of the home nail systems. How long yours last depends mostly on three things: whether product touched skin during application (it lifts from there first), how much abuse your hands take, and whether you oil the cuticles daily. Plan a fill or a fresh set around week three — growth at the cuticle is the honest limit.
To get the long end of the range: keep that hairline gap at the cuticle during application, wear gloves for dishes and cleaning, and apply cuticle oil every day — dry skin pulls away from the product and starts the lifting cycle. If a nail lifts slightly at the edge, do not pick at it; a lifting nail traps moisture underneath. Either file it back and reseal, or plan your removal. And if three weeks of length feels like more commitment than you want, our guide on making press-on nails last covers a much quicker route to a polished look.
How do you remove acrylic nails safely?
Remove acrylic nails by clipping the length, filing off the top seal, then soaking in 100% acetone for 20–30 minutes until the product softens enough to push off gently with a cuticle pusher. Never pry, peel, or bite them off — forcing acrylic off tears up layers of your natural nail, and that damage takes months to grow out. If it resists, soak longer, not harder.
The technique is the same soak-off family as gel removal — our safe gel polish removal guide walks through the wrap method in detail — but acrylic is thicker, so it takes longer and needs more patience:
- Clip the extensions down to a short length with the tip cutter, then file the top coat and as much of the acrylic’s shiny surface as you can — you do not need to file down to the nail, just break the seal so the acetone can reach the product.
- Protect the skin: a thin layer of cuticle oil or petroleum jelly around each nail keeps the acetone from drying your fingers out badly.
- Soak cotton pads in 100% acetone, press one onto each nail, and wrap tightly with foil. Check after 20 minutes: the acrylic should look softened and crumbly and push off with gentle pressure from the pusher.
- If any nail resists, re-wrap and give it another 10 minutes. Repeat until it is all off. Scrape gently, never dig.
- Wash your hands, gently buff away any roughness, and massage in cuticle oil. Give your nails at least a few days of rest — or a simple strengthening base — before the next set.

The 7 most common acrylic mistakes (and their instant fixes)
Almost every failed home acrylic set traces to one of seven mistakes: a bead with the wrong liquid-to-powder ratio, product touching the cuticle, over-filing the natural nail, using a cheap MMA-based monomer, poor ventilation, panicking when a bead sets mid-nail, or prying the set off instead of soaking. Each has a fix — and most are preventable once you know what to watch for.
- Runny or dry beads (wrong ratio) → lumpy, uneven nails. The bead is the whole craft: too wet and it floods the cuticle; too dry and it will not glide or bond. Fix: wipe the brush and pick up a fresh bead — never try to rescue a bad one mid-nail. Prevention: do the paper-towel practice from step 6 until your bead looks identical every time.
- Acrylic touching skin or cuticles → lifting and irritation. Product bonded to skin always lifts, and uncured product on skin can irritate or sensitize. Fix: while wet, wipe the edge immediately with an orange stick wrapped in a lint-free wipe. After it sets, carefully file the hardened edge away from the skin.
- Over-filing the natural nail → thin, sore nails. Beginners file hard out of nervousness, especially during prep. Fix: there is no undoing it — let the nail rest and grow. Prevention: prep means removing the shine with a few soft strokes, nothing more. When shaping the set, file the acrylic, not the nail underneath.
- Cheap MMA monomer → harsh, hard-to-remove product. Some ultra-cheap kits use MMA (methyl methacrylate) instead of EMA. It sets harder, smells harsher, and is far more difficult to soak off — and it is not what salons use. Fix: check your product’s ingredient information before you buy; if it will not disclose it, choose a different system from a reputable brand.
- No ventilation → headaches and a miserable evening. Monomer odor is strong and the fumes are not something to breathe deeply for two hours. Fix: open a window, run a fan, pour small amounts, and cap the bottle between nails. If the smell still bothers you badly, this may simply not be your system — and that is fine.
- Fighting a setting bead → lumps and ridges. Acrylic starts setting the moment the bead forms, and beginners freeze when they feel it firming up. Fix: stop touching it. Let it set, then file it smooth in step 10. Filing fixes nearly everything that panic creates.
- Prying or peeling the set off → months of thin, flaky nails. Peeling takes nail layers with it every single time, and the damage people blame on “acrylics” is almost always removal damage. Fix: there is no shortcut — commit to the acetone soak described above. Thirty patient minutes beats three months of recovery.
Doing acrylics at home: the safety rules that matter
Home acrylics are safe when four rules are treated as non-negotiable: buy a reputable monomer system with disclosed ingredients (no MMA), work in a ventilated room, keep uncured product off your skin and cuticles, and follow your manufacturer’s own instructions for application and setting. These are not cautious extras — they are the method itself, and every beginner problem with acrylics comes from breaking one of them.
Let me put the safety picture in plain terms, because this system deserves more respect than gel or dip. Liquid monomer is a reactive chemical: in the bottle and on the brush it is uncured, and uncured product does not belong on your skin — repeated contact can cause irritation or, over time, sensitization, which is the practical reason the cuticle gap matters beyond just preventing lifting. The fumes are strong enough to demand real airflow; an open window and a fan is the minimum, not the ideal. Keep the product away from eyes, do not use it on broken, infected, or visibly unhealthy nails, and keep it out of reach of children and pets.
Two lines that are worth repeating because they get ignored: follow your manufacturer’s instructions, not a random video’s — setting behavior, primer use, and filing guidance differ between systems, and the brand that made your product knows it best. And this tutorial is a guided home method for doing your own nails, not professional training; a licensed nail tech’s education covers chemistry, sanitation, and contraindications in depth that no article can. If anything about your nails’ health worries you, a professional — or a clinician — is the right call, not a cover-up.
Acrylic nails at home: frequently asked questions
How long do acrylic nails last?
Typically 2–4 weeks, the longest-wearing of the home nail systems. The usual reason a set ends early is lifting at the cuticle from product touching skin during application. Daily cuticle oil, gloves for housework, and a fresh top coat midway push most sets comfortably to three weeks.
Are acrylic nails bad for your natural nails?
The acrylic itself is not the problem — the damage comes from application and removal. Over-filing the natural nail during prep, letting product sit on the cuticles, and prying the set off are what cause the thinning people blame on acrylics. Applied gently and removed with an acetone soak, your natural nails come through fine.
Do you need a UV lamp for acrylic nails?
No. Acrylic hardens through a chemical reaction between the powder and the liquid monomer — it air-dries at your table, no lamp involved. This is one of the system’s real advantages for home use: the only “curing equipment” you need is time and a ventilated room.
Can you do acrylic nails at home without tips?
Yes — nail forms let you sculpt the extension directly without glued-on tips, and experienced users often prefer them. But forms are harder to learn, so beginners should start with tips. Master the bead and the filing first; forms become much easier once those two skills are familiar.
How do you remove acrylic nails at home safely?
Clip the length, file off the top seal, then soak each nail in 100% acetone with cotton and foil wraps for 20–30 minutes until the product softens and pushes off gently. If it resists, re-wrap and soak longer. Never pry, peel, or bite the set off — that is what damages natural nails.
Can a beginner really do acrylic nails at home?
Yes, with honest expectations. The bead ratio takes a few tries to learn, and your first set will be imperfect — that is universal. But the system is learnable at a kitchen table: most beginners get a wearable set on the first try and a genuinely polished one within three or four sets, with filing doing the heavy lifting.
Your first set, tonight
The whole method in one breath: prep gently, fit and blend the tips, ventilate the room, prime thin, practice the bead on a paper towel, place two beads per nail — cuticle area, then free edge — never touching skin, let everything set hard, file until it looks like you imagined, buff smooth, top coat, and oil. Soak — never peel — when the weeks are up.
Your first set will not be perfect, and it should not need to be. What matters is that the beads behaved, the tips stayed put, and your natural nails are intact underneath. By the third set, the rhythm will feel familiar — and if you want a design to try on that fresh canvas, our ombre nails tutorial pairs beautifully with an acrylic base, or browse the Nail Inspiration Gallery for the shade that will make the two hours feel worth it.