

Cable-knit sweater nails look like they took a professional two hours and a steady surgeon’s hand. In reality, the 3D texture is built with the same gel polish already sitting in your kit, one thin detail brush, and a pattern so forgiving that slightly wobbly lines read as “hand-knitted” rather than “hand-made.” This tutorial walks you through the full gel method at home — the real 3D texture, a matte velvet finish, and a no-gel alternative if you don’t own a lamp.
TL;DR
- Cable-knit sweater nails are a raised 3D texture painted over a gel base with a detail brush, then cured and sealed with matte top coat.
- Difficulty is confident beginner; plan 60–90 minutes for a full set of ten.
- The one rule that matters: never touch the uncured texture — that is what causes sliding and smearing.
- No lamp? A regular-polish version with layered dots gives a flatter, shorter-lived knit look (details below).
- Removal is a standard soak-off; never peel or force the texture off.
What is the cable-knit texture in nail art?
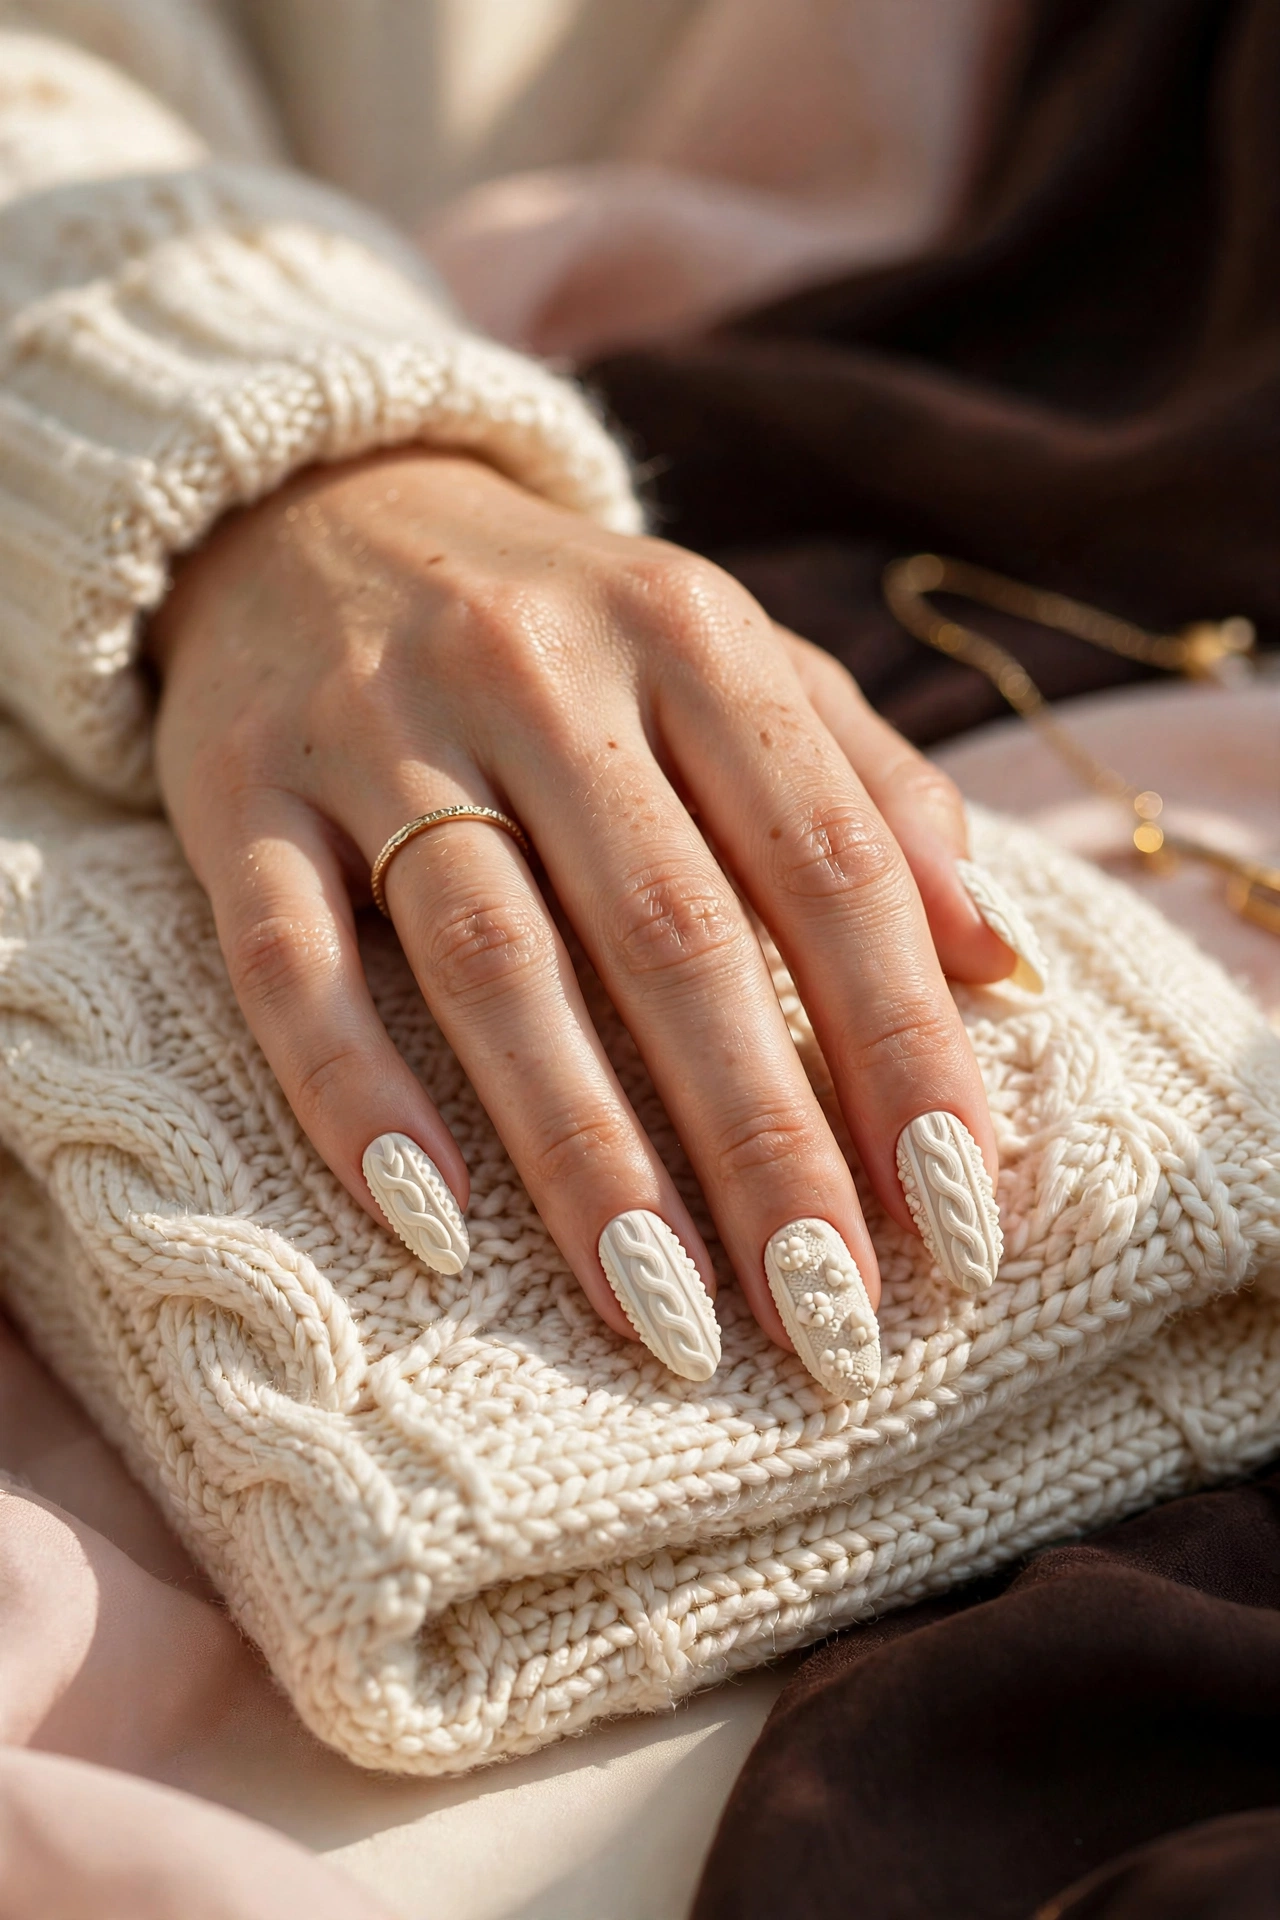
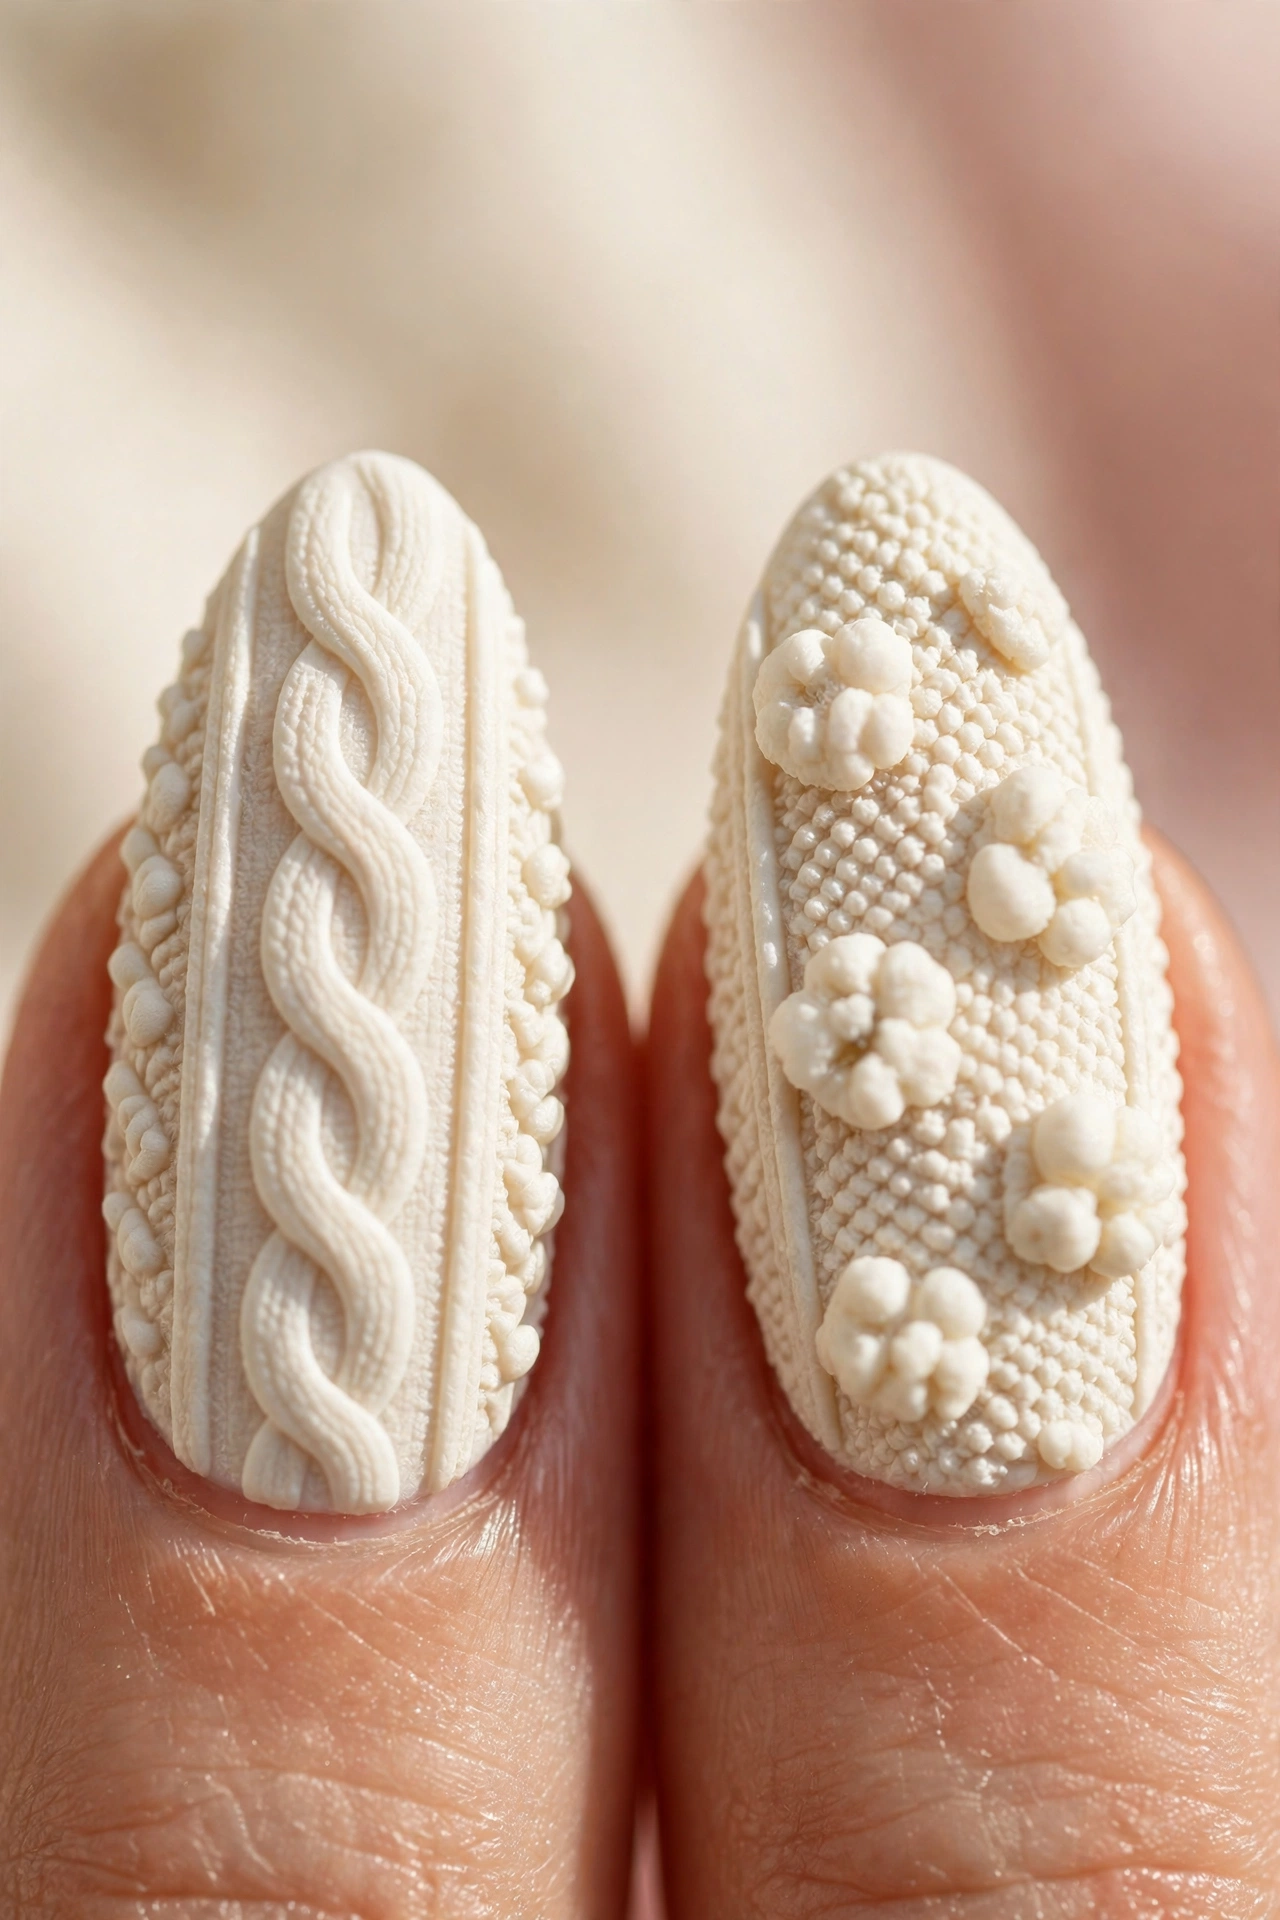
The cable-knit texture in nail art is a raised, three-dimensional pattern that mimics the braided cables and popcorn stitches of a knit sweater, built up on the nail surface with gel polish or acrylic paint. Unlike flat nail art drawn onto the polish, the knit effect has real height — you can feel the braids under your fingertip, and they catch the light the way an actual sweater does. The classic version is monochrome: the texture is the same color as the base, so the design reads through shadow and light rather than color contrast.
What should your nails look like before you start?
Start with clean, shaped nails and healthy cuticles: filed to an even almond (or your preferred) shape, cuticles pushed back, the nail surface lightly buffed and free of oils. Cable-knit nails need length — the pattern needs room to breathe. If your nails are very short, the braid will look cramped; medium to long nails carry the design best. This is not a technique to try over lifting, peeling, or damaged nails — fix the foundation first, because 3D texture adds weight and will punish weak adhesion.
If you’re undecided on shape, almond and oval flatter the knit pattern most — the taper echoes the lines of the braid. Our guide to round, oval and squoval nail shapes breaks down which lengths suit which hands if you want to compare before filing.
What do you need? The full tools and materials list
Gather everything before you open a single bottle. Once gel is on the nail, the clock is running — you don’t want to be hunting for a brush with wet product curing (or in this case, waiting to cure) on your nails.
- Gel base coat — any brand you already use and trust
- Gel color — creamy oat-milk ivory, or any solid shade; the texture color should match the base
- Matte gel top coat — the velvet finish is what sells the “sweater” illusion
- UV/LED lamp — whatever you already own; follow your brand’s cure instructions, not a number from the internet
- Detail liner brush — a long, thin nail-art brush; this is the one tool worth buying if you don’t have it
- Dotting tool — for the popcorn-stitch dots (a toothpick works in a pinch)
- Nail file + gentle buffer — 180 grit or finer; no aggressive filing
- Cuticle pusher — wood or metal, used gently
- Lint-free wipes + nail cleanser/dehydrator
- Cuticle oil — for aftercare, not during
- A steady surface and good light — texture work punishes poor lighting
How difficult is this, and how long does it take?
Cable-knit nails are a confident-beginner technique taking 60–90 minutes for a full set. The drawing itself is simpler than freehand florals — you’re repeating three or four simple strokes. The real skill is patience: thin lines, no touching, and curing each stage before moving on. Your first hand will take twice as long as your second; that’s normal, not a sign you’re doing it wrong.
How do you do cable-knit sweater nails at home? The 11 steps
Work one nail at a time through the texture steps (5–8). Gel doesn’t dry in air, so there’s no rush — but there’s also no fixing a smudge except wiping it off and redrawing, so treat every stroke as deliberate.
Step 1 — Shape to almond
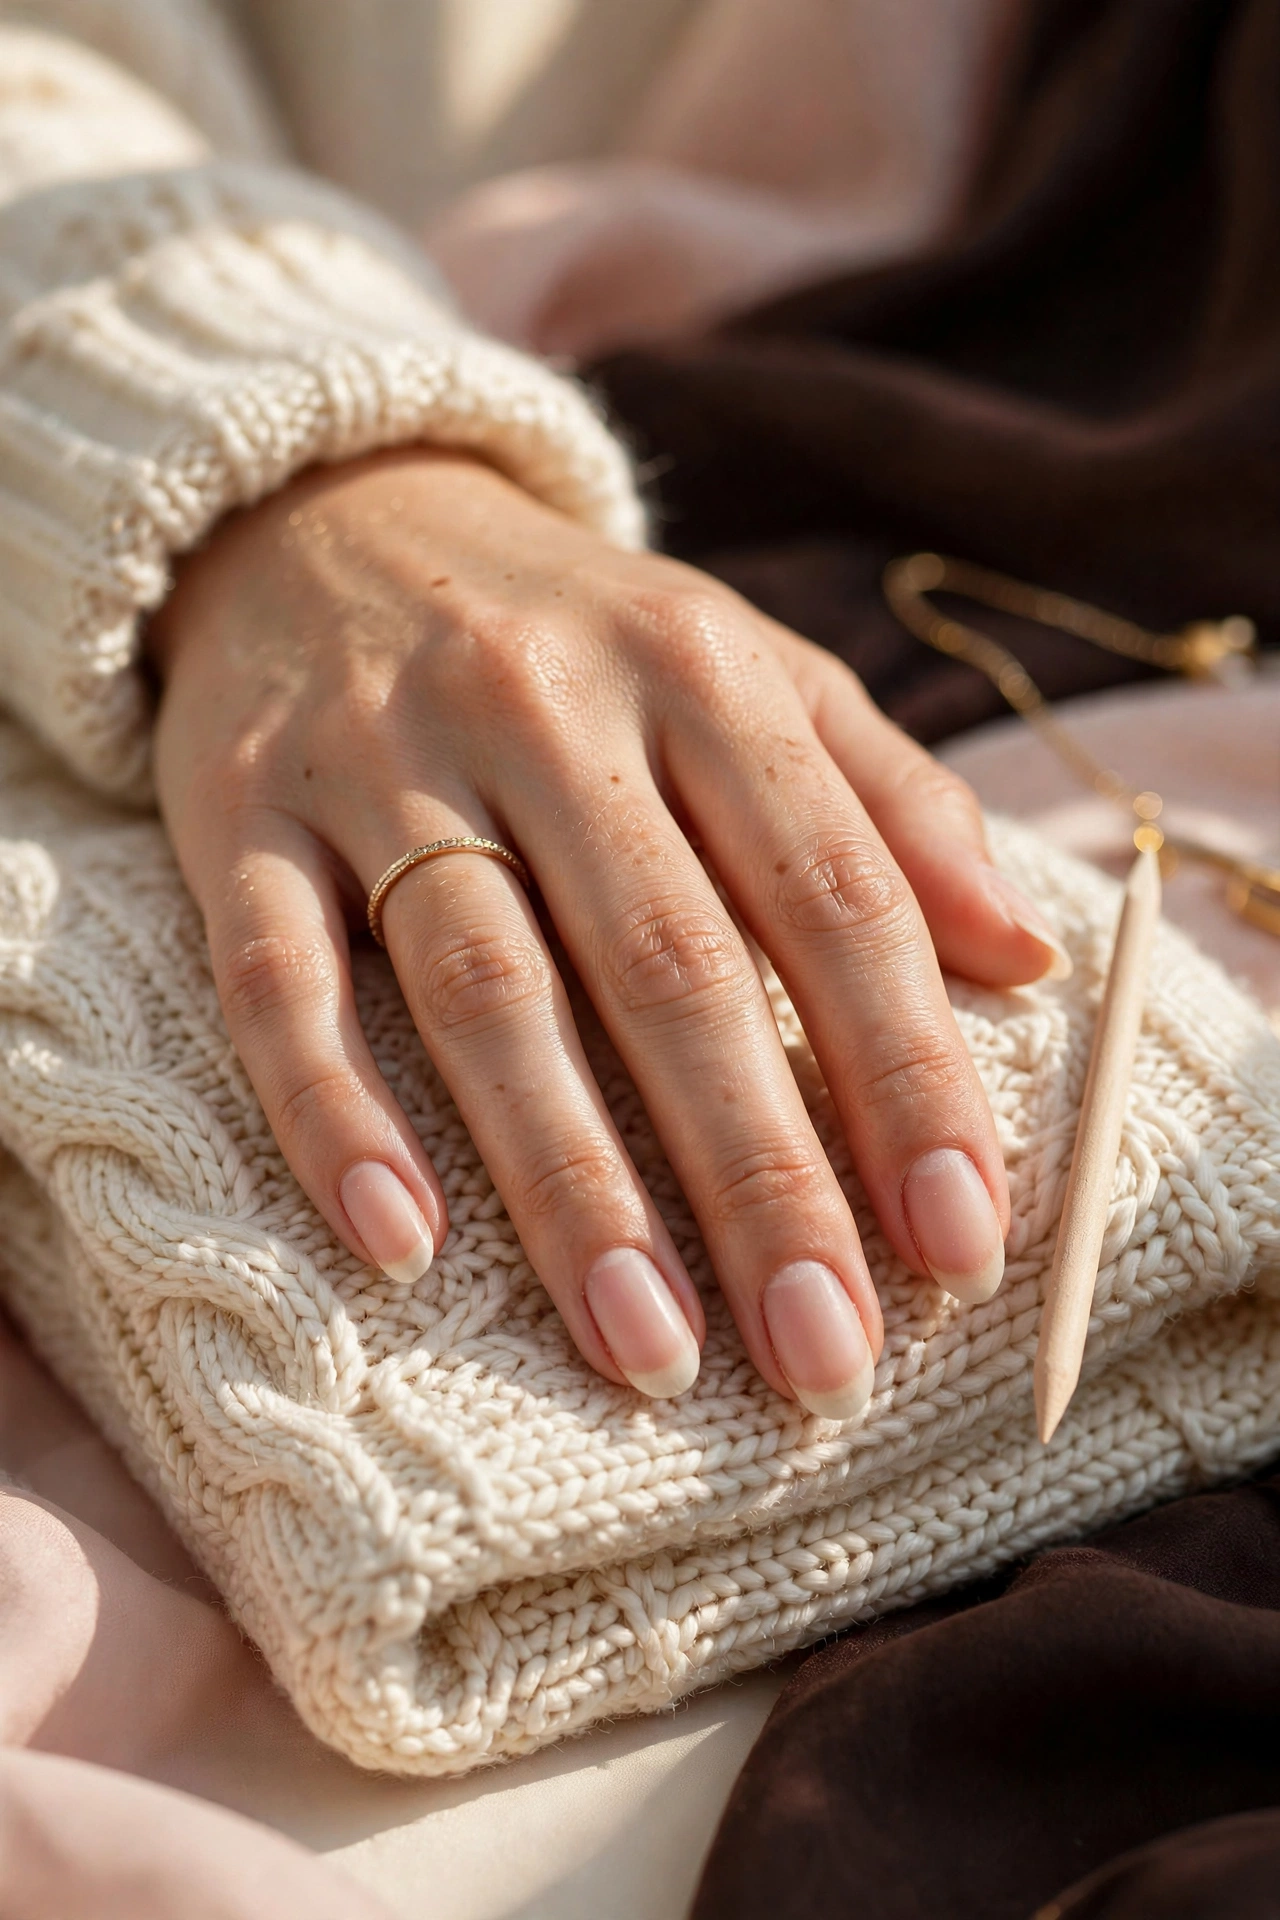
File all ten nails to a matching almond shape: straight sidewalls, a tapered rounded tip. Check symmetry by flipping your hand over and looking at the nails against the light — uneven lengths are far more visible once texture draws the eye. Use a 180-grit file with light strokes; aggressive filing thins the nail and weakens everything you’re about to build on it.
Step 2 — Prep and dehydrate
Gently push back cuticles — never cut living tissue. Lightly buff the shine off the nail plate with a fine buffer (a few passes, no more). Wipe each nail with a lint-free wipe and dehydrator. Oils and dust are the main reason 3D texture lifts later, so this step deserves more attention than it usually gets.
Step 3 — Base coat and cure
Apply a thin gel base coat, cap the free edge, and cure according to your gel brand’s instructions. A thin base is structural: it gives the color something to grip. If you’ve done gel before, this is familiar territory — our chrome nails tutorial covers the same base-and-cure rhythm if you want a refresher on working cleanly around the cuticle.
Step 4 — Two thin color coats
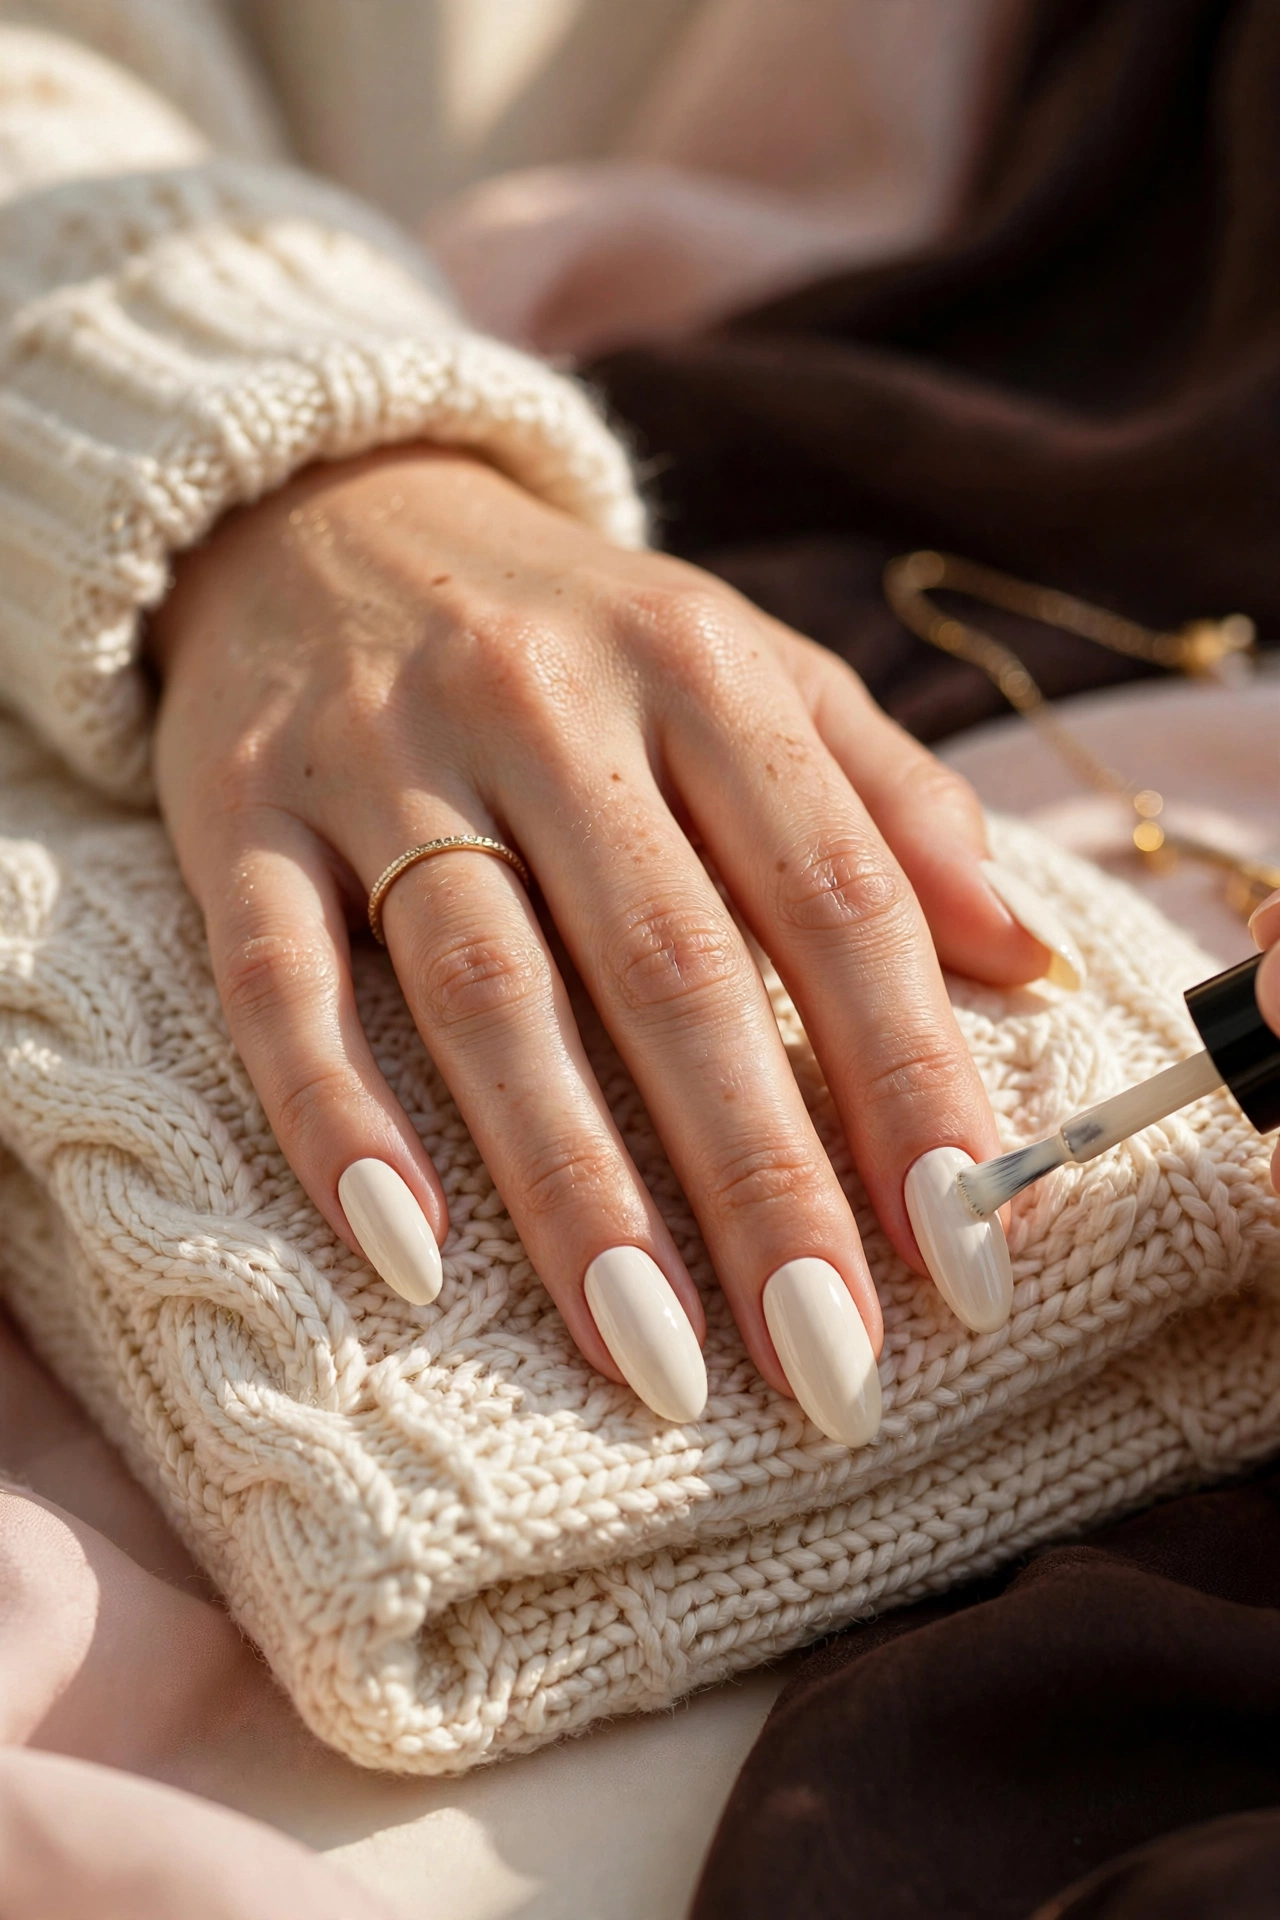
Apply your ivory (or chosen shade) in two thin coats, curing per your brand’s instructions after each. Thin coats cure evenly; one thick coat stays soft underneath and will wrinkle under your texture. The color should be fully opaque and smooth — this is the canvas.
Step 5 — Plan the knit layout
Before touching a brush, decide the pattern. The classic layout: one twisted cable braid running down the center of the nail, flanked by two straight ribbed lines, with tiny popcorn dots filling the outer lanes. Keep it consistent across all ten nails — pick one layout and repeat it. Variation between nails reads as sloppy; repetition reads as design.
Step 6 — Draw the center cable
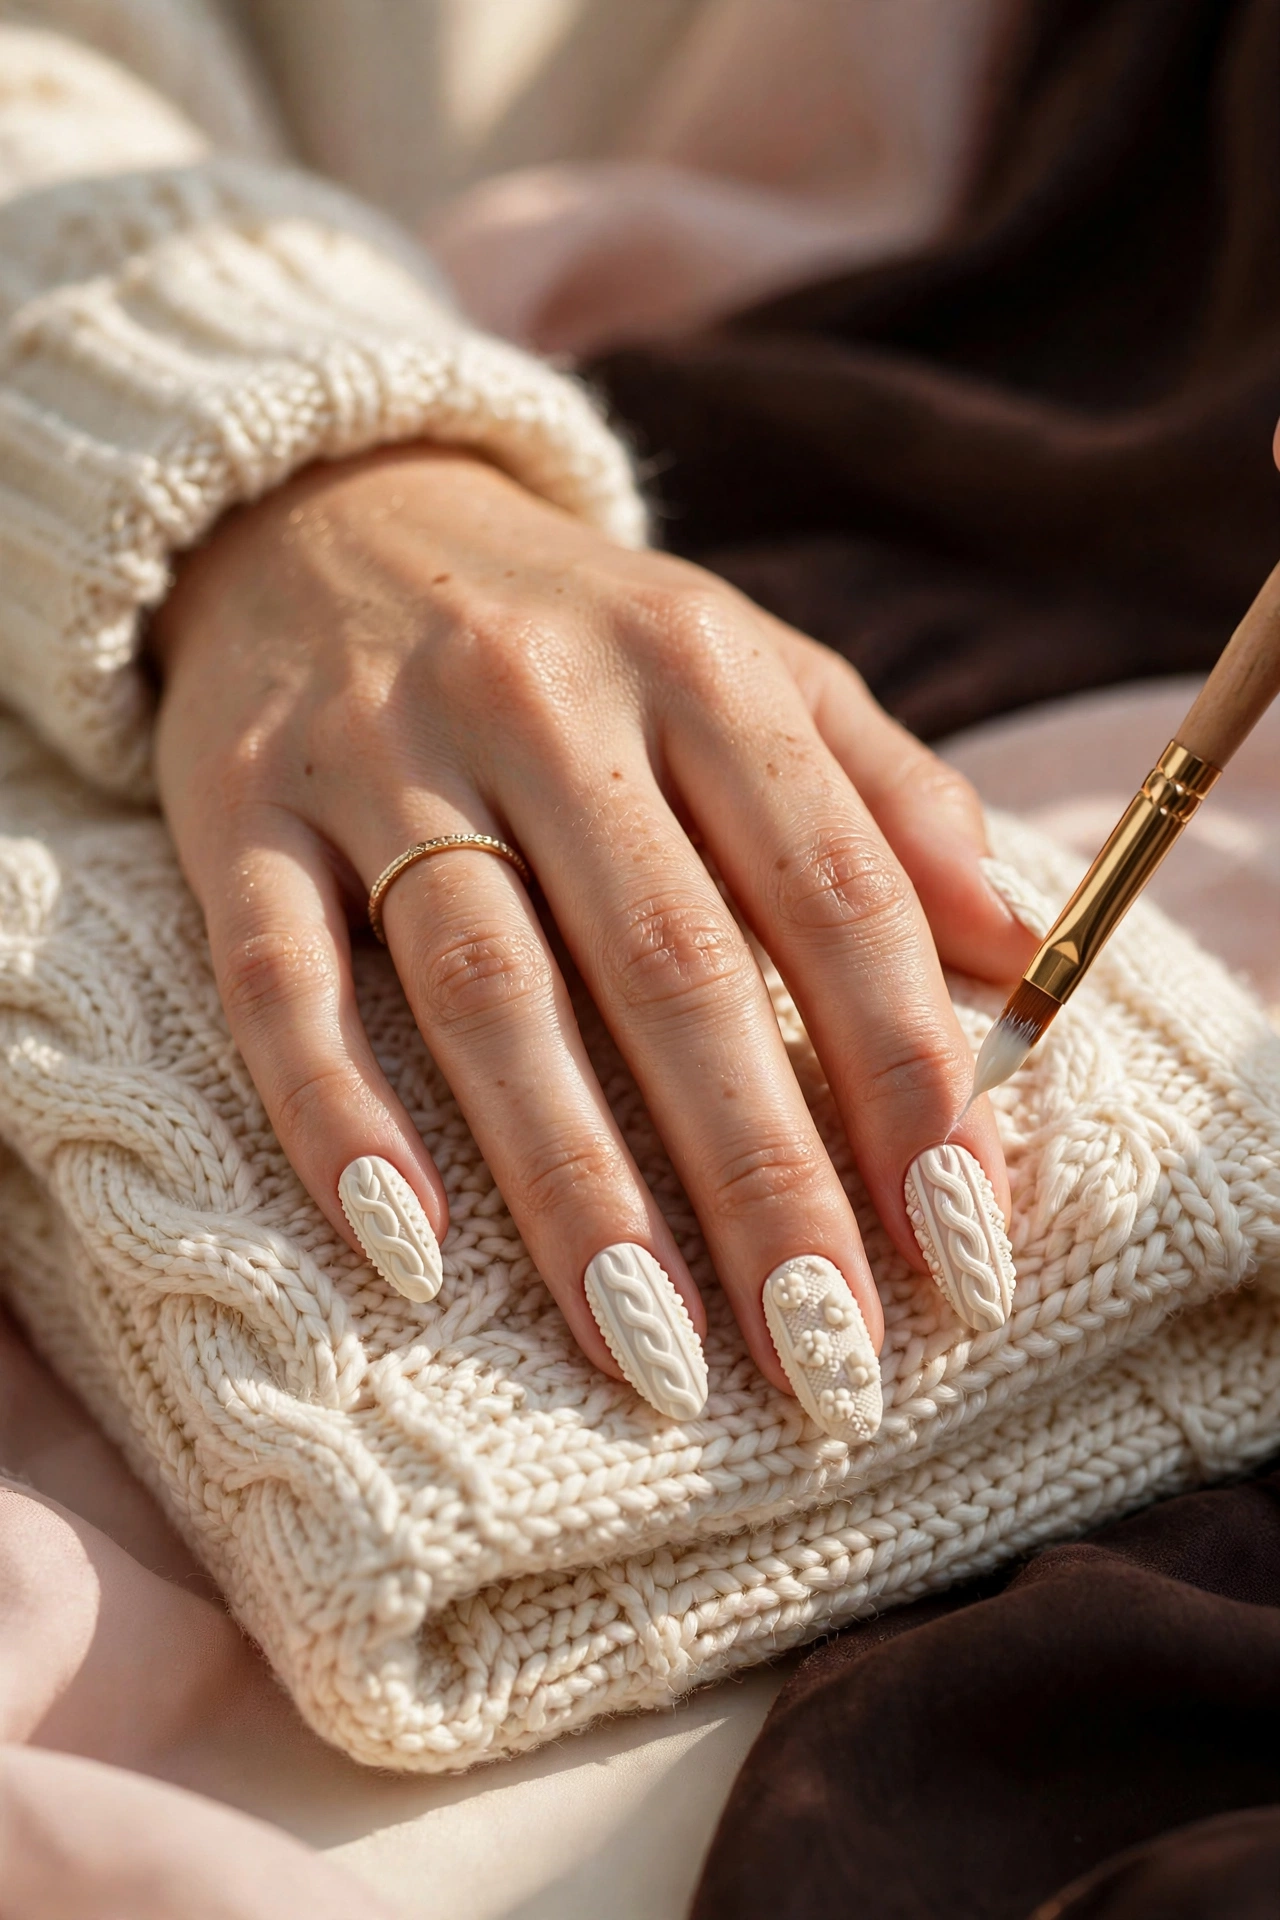
Load your detail brush with a small bead of the same gel color — not top coat, not a different product. Paint a thin wavy center line, then add short diagonal strokes crossing it alternately left and right to form the braid. Keep the gel raised: use the tip of the brush and let the product sit on the surface rather than dragging it flat. Thin, deliberate strokes beat thick ones — gel self-levels, and thick lines will melt into a blurry rope.
Step 7 — Side cables and popcorn dots
Paint two straight raised lines flanking the braid, about a millimeter from the nail’s sidewalls. Then, with your dotting tool, place tiny dots in the lanes between the braid and the side lines — three to five per lane, evenly spaced. These “popcorn stitches” are what make the nail read as knitted fabric rather than just striped. Step back and check the nail at arm’s length: the pattern should look balanced, not crowded.
Step 8 — Cure the texture
Cure the patterned nail according to your gel brand’s instructions. This is the moment people ruin: do not touch the texture to check if it’s done. Uncured gel on skin is something to avoid, and a fingertip will flatten the braids you just built. Trust the lamp, not your fingers. If a nail needs a second look, cure it again rather than touching it.
Step 9 — Matte top coat, thinly
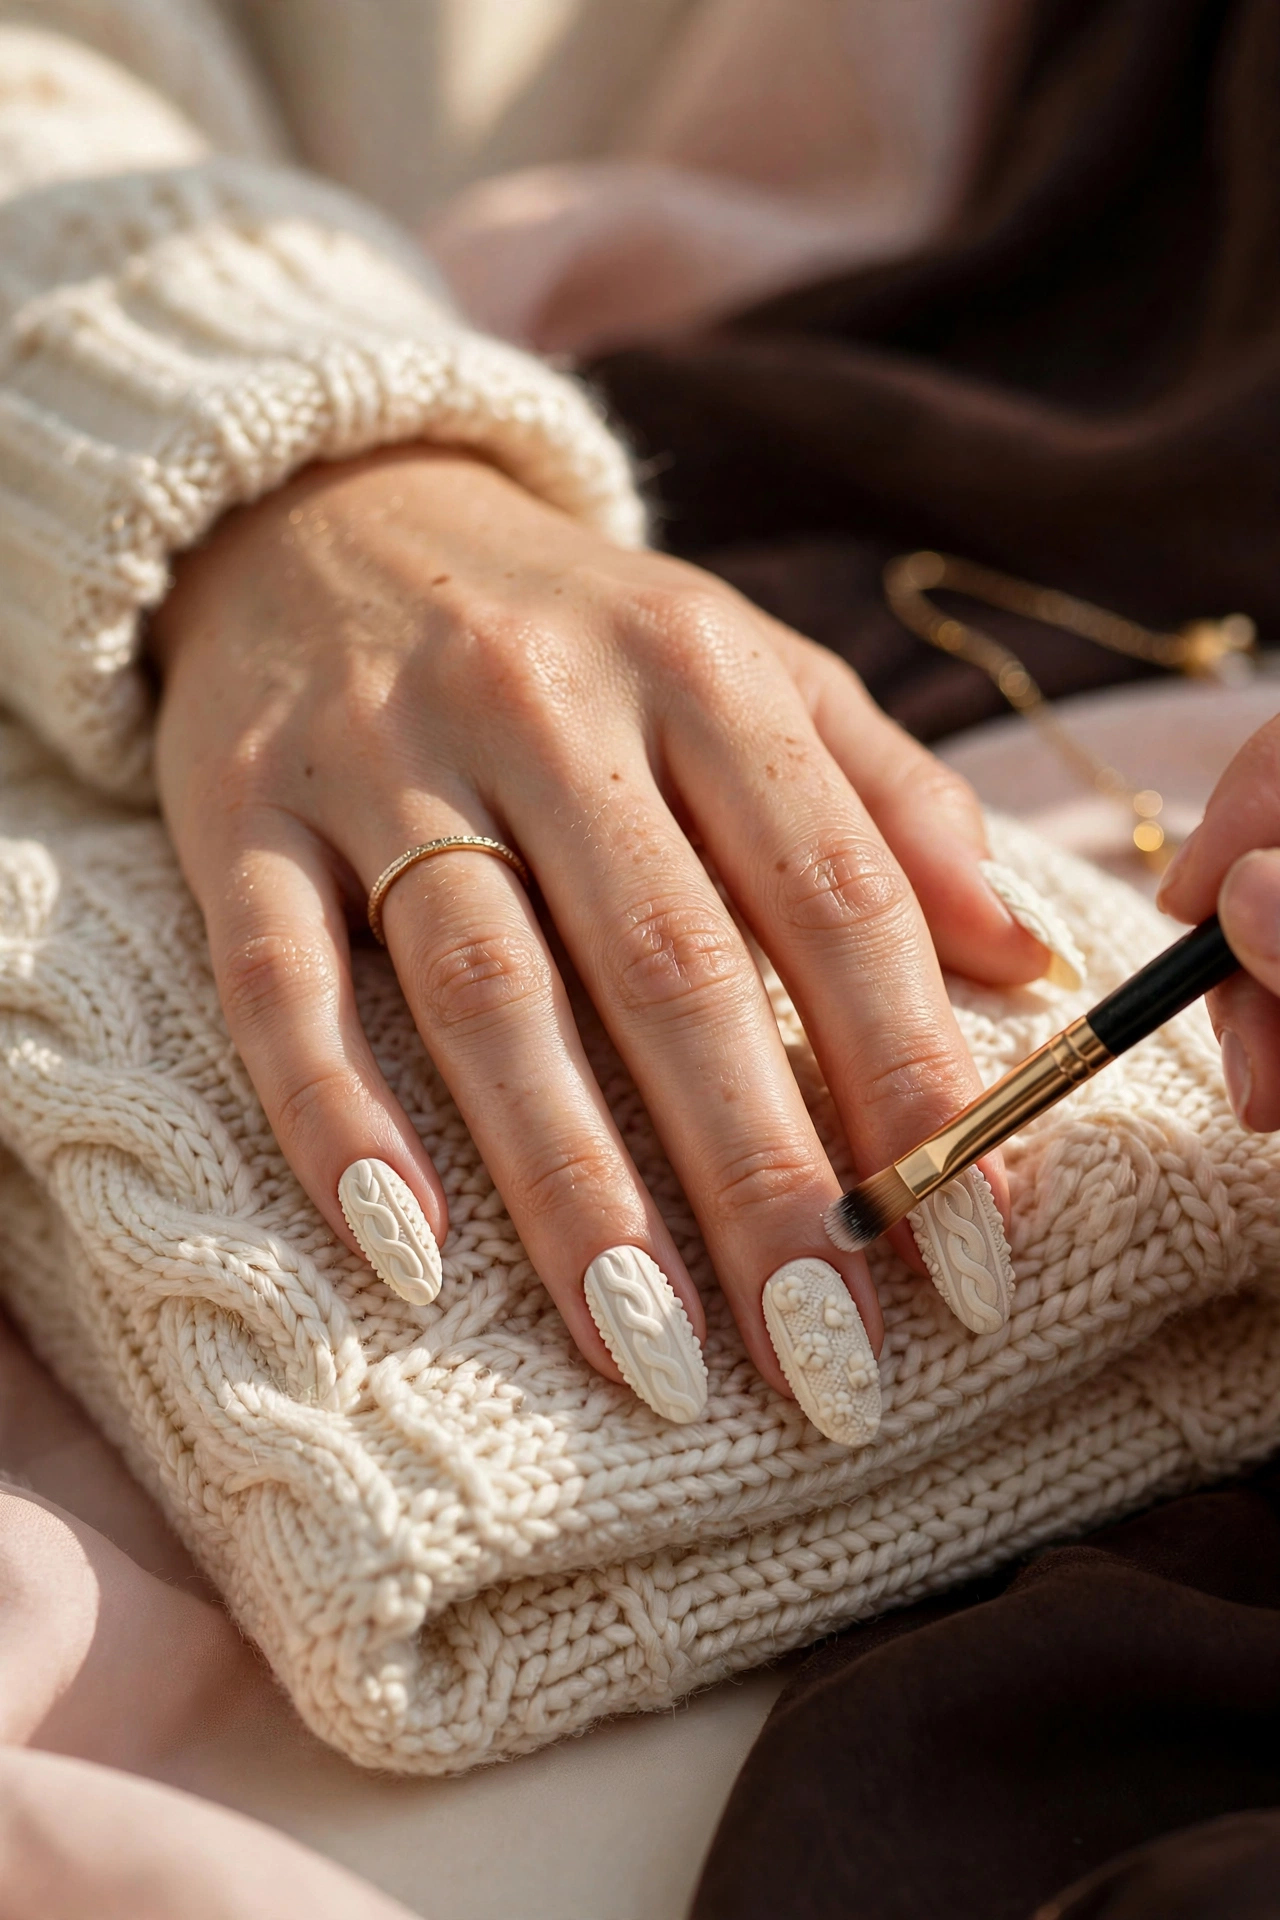
Apply matte top coat in one very thin layer, floating the brush over the texture rather than pressing into it. A thick top coat will flood the valleys between your braids and erase the 3D effect — this is the single most common way a good knit pattern dies at the finish line. Cure per your brand’s instructions.
Step 10 — Clean edges and oil
Wipe any tacky residue per your top coat’s instructions. If gel flooded a cuticle during the process, you should have cleaned it before curing — cured gel on skin lifts and looks messy; file any rough edge gently after curing instead of picking at it. Finish with cuticle oil massaged around (not over) the texture.
Step 11 — Inspect and wear in
Check all ten nails in daylight. Run a fingertip beside the texture, not across it, to feel for sharp edges. The texture will feel slightly rough for the first day — that’s correct; it’s knit, not glass. Avoid using your nails as tools for the first 24 hours while everything settles.
Why does the knit texture slide, smear, or look blurry?
The texture slides or smears almost always because it was touched before curing, or because the gel lines were painted too thick and self-leveled into a blur. Gel stays liquid until it’s cured — unlike regular polish, there’s no “almost dry” stage. Every other defect has a similarly mechanical cause, and each one is fixable. Run through the table before your next attempt:
| Mistake | Why it happens | Fix |
|---|---|---|
| Texture slides sideways | Touched or bumped before curing | Never touch uncured texture — wipe the nail clean with cleanser and redraw, then cure untouched |
| Braids look blurry, melted | Gel lines too thick; product self-leveled | Paint thinner lines; build height in two thin passes, curing between |
| 3D effect disappears under top coat | Matte top coat applied too thick, flooding the valleys | Float one very thin top-coat layer; keep the brush off the texture |
| Texture lifts after a few days | Oils under the gel, or gel flooded onto cuticle/skin | Dehydrate properly in Step 2; clean edges with a brush before curing |
| Pattern looks crowded or lopsided | No planned layout; improvised per nail | Sketch one layout and repeat it on all ten nails |
| Dots look like blobs | Dotting tool overloaded; dots placed too close | Wipe the tool between dots; space them one dot-width apart |
Matte or glossy — which finish looks best on sweater nails?
Matte is the classic choice: it kills the shine that would otherwise fight the fabric illusion, and it makes the raised texture read through shadow instead of reflection. That said, finish is a style decision, not a rule. A glossy top coat gives a wetter, more modern look — think glazed knit. Some people do a hybrid: matte on the textured nails, glossy on one or two smooth accent nails. If you’re choosing colors beyond ivory — espresso, blush, deep burgundy — try a swatch nail in each finish first; dark shades look richer matte, while pale shades can look washed out without a little sheen.
For color inspiration beyond the classic monochrome ivory, browse our cozy sweater nail designs for winter — the same knit language in twenty different palettes, which pairs nicely with this tutorial’s technique.
How do you take 3D sweater nails off safely?
Remove cable-knit nails exactly like any gel manicure: gentle surface buffing to break the top coat, then an acetone soak per your product’s instructions until the layers release on their own. The texture makes removal slightly slower because there’s more product to dissolve — budget extra soak time rather than extra force. Never peel, pry, or bite the texture off; peeling takes layers of your natural nail with it, and the damage shows for months. After removal, wash, rehydrate with cuticle oil, and give your nails a few days before the next set.
Can you do sweater nails without gel polish?
Yes — you can fake the knit look with regular polish, but expect a flatter, shorter-lived result. The method: paint your base color, let it dry fully, then use a dotting tool and a striper brush with the same polish (or acrylic craft paint for opacity) to draw the braid and dots. Build the dots in two or three dried layers for a little height. Seal with a matte top coat.
Be honest with yourself about the trade-off: regular polish can’t hold true 3D height the way gel does, and the raised dots chip faster. It lasts days, not weeks. But for a weekend, a holiday dinner, or a first attempt before investing in a lamp, it’s a perfectly respectable version — and the drawing skills transfer directly when you move to gel.
Which method is right for you?
| Gel method (this tutorial) | Regular polish method | Press-on / 3D sticker method | |
|---|---|---|---|
| Texture depth | True 3D, holds its shape | Mostly flat, slight dot height | Pre-made 3D, consistent |
| Wear time | 2–3 weeks with proper prep | A few days | 1–2 weeks depending on adhesive |
| Difficulty | Confident beginner | Beginner | Easiest — no art skill needed |
| What you need | Gel kit + lamp + detail brush | Polish + dotting tool | Pre-made set + adhesive |
| Best for | The real sweater look, custom colors | Trying the trend for a weekend | An event, zero learning curve |
If you go the press-on route, prep still decides everything — our guide on how to make press-on nails last covers the adhesion steps most people skip.
Frequently asked questions
Can I do cable-knit nails without a UV or LED lamp?
Yes, with regular polish and a dotting tool you can paint a convincing flat knit pattern, sealed with matte top coat. It won’t have the true raised 3D texture of gel and will last days rather than weeks, but the drawing technique is the same — it’s a good way to practice the pattern before investing in a lamp.
How long do 3D cable-knit nails last?
With proper prep — dehydrated nail plate, thin base and color coats, no flooded cuticles — a gel cable-knit set typically wears two to three weeks. The texture itself is durable once cured; most wear shows first at the free edge or as slight lifting near the cuticle, exactly like a regular gel manicure.
Why does my knit texture keep sliding or smearing?
Because it was touched, bumped, or brushed over before curing. Gel stays liquid until cured — there is no “almost dry” stage. Paint thinner lines (thick gel self-levels into a blur), keep fingers and tools away from the pattern, and cure per your brand’s instructions without checking by touch.
Do cable-knit nails work on short nails?
They can, but the pattern needs simplification: one slim center cable and no side dots, or the design looks cramped. Medium to long nails carry the full braid-plus-popcorn layout best. If your nails are short, consider doing the full texture on two accent nails and a clean solid color on the rest.
Should I use matte or glossy top coat for sweater nails?
Matte is the classic choice — it removes the shine that fights the fabric illusion and lets the texture read through shadow. Glossy gives a wetter, more modern glazed-knit look. A popular compromise is matte on textured nails with one or two glossy solid accent nails.
How do I remove 3D gel sweater nails without damaging my nails?
Buff the top coat lightly, then soak in acetone per your product’s instructions until the layers release on their own — the extra texture means extra soak time, not extra force. Never peel or pry the design off; peeling removes layers of the natural nail. Follow with cuticle oil and a few rest days.