

Introduction
If you love the look of long, perfectly shaped nails but do not want the dust, the strong smell, or the long salon appointment that often comes with acrylics, soft-gel extensions are worth learning. Gel-X nails give you length and shape in one pre-formed tip, bonded with a soft gel adhesive and set under a lamp. Done carefully, the result looks polished and intentional — not like a first attempt.
This guide is written for a true beginner. It assumes you can paint your own nails reasonably neatly, but have never applied a full-cover tip before. Take your time, work one hand at a time, and remember that neat preparation matters more than speed. A calm first set will always look better than a rushed one.
TL;DR — Key Takeaways
- Gel-X uses pre-shaped, soft-gel, full-cover tips bonded to the natural nail with gel adhesive.
- Preparation is the make-or-break step: clean, gently buffed, dehydrated nails hold tips far better than shiny, oily ones.
- Size each tip to cover the nail from sidewall to sidewall, with no gap and no overlap onto skin.
- Press each tip on from the cuticle area outward to avoid trapped air bubbles, then cure exactly as your lamp and gel manufacturer instructs.
- Keep gel off your skin, file gently, and remove by soaking off — never peel, pry, or force a tip away.
- For a first set, choose a short or medium length and a simple almond, oval, or squoval shape.
What Is Gel-X, Exactly?
Definition box: Gel-X is a soft-gel nail extension system. It uses pre-formed, full-cover tips made from soft gel. Each tip covers the whole natural nail, from near the cuticle to the free edge, and is bonded with a soak-off gel adhesive, then cured under a lamp. Because the tip itself is gel, the whole extension can later be soaked off rather than filed down aggressively.
Gel-X is often confused with press-on nails and with traditional tip-and-acrylic systems, but it sits in its own category. Press-ons are usually stuck on with adhesive tabs or nail glue and taken off within days. Acrylic extensions are sculpted from liquid and powder and are much harder to remove. Gel-X tips arrive already shaped, so you are not sculpting length from scratch — you are fitting, bonding, and finishing a ready-made shape.
That distinction matters for beginners. You still need care and patience, but you do not need to master bead ratios, sculpting forms, or heavy filing. Your main skills are sizing, clean application, and gentle finishing.
Who Is Gel-X Best For — And Who Should Wait?
Gel-X suits you if your natural nails break before they reach the length you want, if you like changing length and shape regularly, or if you want a special-occasion set without committing to a harder, longer-wearing system. It also suits people who prefer a lighter feel on the nail than a thick acrylic set.
Wait, or ask a professional first, if your nails are currently damaged, splitting deeply, lifting from the nail bed, infected, or very sore. Extensions will not repair a damaged nail, and covering a problem can make it harder to notice. If you notice pain, swelling, redness, or a green or dark discolouration, leave extensions alone and let the nail recover. If you have a known sensitivity to gel products, patch-test carefully according to the product instructions, and stop if you notice irritation.
A note on expectations: your first set does not need to be perfect to be wearable. Slight differences in length between hands, or one tip that sits a fraction higher than the rest, are normal while you learn. Choose a forgiving colour — a sheer nude or soft pink — and small imperfections become far less visible.
How Long Do Gel-X Nails Last?
Gel-X nails typically last around two to three weeks with careful wear, though this varies with nail growth, tip fit, preparation, and how hard you are on your hands. They are not designed to be pushed to a month. As your natural nail grows out, the balance of the extension changes, lifting becomes more likely, and the set starts to look grown out at the cuticle.
Plan for a realistic maintenance rhythm instead of hoping for endless wear. Check the edges every few days, keep cuticle oil in your routine, wear gloves for cleaning and washing up, and use your fingertips rather than your nails as tools. If one tip lifts, deal with it promptly rather than letting water and debris sit underneath it.
What You Need Before You Start
Set everything out before you touch a gel product. Gel work is much harder when you are searching for a file halfway through, with adhesive already on a nail.
Tools and materials
- Soft-gel full-cover tips in your chosen shape and length, with a range of sizes
- Gel adhesive made for soft-gel tips, from the same system where possible
- A compatible lamp — check that your lamp type matches your gel products
- A gentle nail file and a soft buffer
- A wooden cuticle stick or a gentle metal pusher
- Nail dehydrator and primer, if your system includes them — follow the product instructions
- Lint-free wipes and a nail cleanser or alcohol-based prep product
- Gel base coat, gel colour, and gel top coat, if you are painting over the tips
- A small brush or wooden stick for cleaning up gel before curing
- Cuticle oil and hand cream for finishing
- Acetone, cotton pads or wraps, and foil for later removal
- A small towel, good daylight or a bright lamp, and a clean, flat surface
Do not substitute regular nail glue for gel adhesive. Gel-X tips are designed to bond with gel and cure under a lamp. Nail glue creates a different bond and will not give you the soak-off removal this system is known for.
How Difficult Is Gel-X, and How Long Does It Take?
Difficulty: Beginner-friendly, with a learning curve. The method itself is straightforward, but neatness takes practice.
Time for a first set: Allow a full, unhurried afternoon — roughly two to three hours including preparation, application, colour, and clean-up. Later sets are usually faster, but do not aim for speed on your first try.
Best first shape: Short to medium almond, oval, or squoval. Very long, sharp stiletto tips are harder to fit, harder to type with, and more likely to catch and lift.
Work in a well-lit room, sit comfortably, and keep your hands still while curing. If you need a break between hands, take it. A paused set is better than a smudged one.
Step-by-Step: How to Do Gel-X Nails at Home
Step 1 — Prepare the natural nail properly
Start with clean, bare nails. Remove any old polish completely, wash your hands, and dry them well. Gently push back the cuticles with a wooden stick — do not cut them, and do not force them. The goal is a clean nail plate with no cuticle skin sitting on it, because gel will not bond well over loose skin.
Lightly buff the shine from each nail with a soft buffer, using gentle pressure and moving in one direction. You are removing surface shine, not thinning the nail. Stop as soon as the nail looks matte. Over-buffing is one of the most common beginner mistakes, and it leaves nails sore and weak.
Clean away dust with a lint-free wipe and your chosen prep product, then apply dehydrator or primer only if your system calls for it, following its instructions exactly. Keep your hands away from face cream, hair oil, and lotion from this point on — oil is the enemy of adhesion.

Step 2 — Size every tip before you apply anything
Lay out ten tips, one for each nail, and fit them dry before any gel comes out of the bottle. Each tip should cover the nail from one sidewall to the other, edge to edge, without pressing into the skin on either side. If a tip is slightly too large, it will lift at the edges. If it is too small, it will leave a visible step and a weak spot where the natural nail shows.
When you are between sizes, choose the larger one and gently file the sides of the tip — not your nail — until it fits. Write down or lay out your sizes in order, from thumb to little finger, for each hand. This small bit of organisation saves a lot of confusion once gel is involved, and it makes your second set much faster.

Step 3 — Apply the tip with gel adhesive
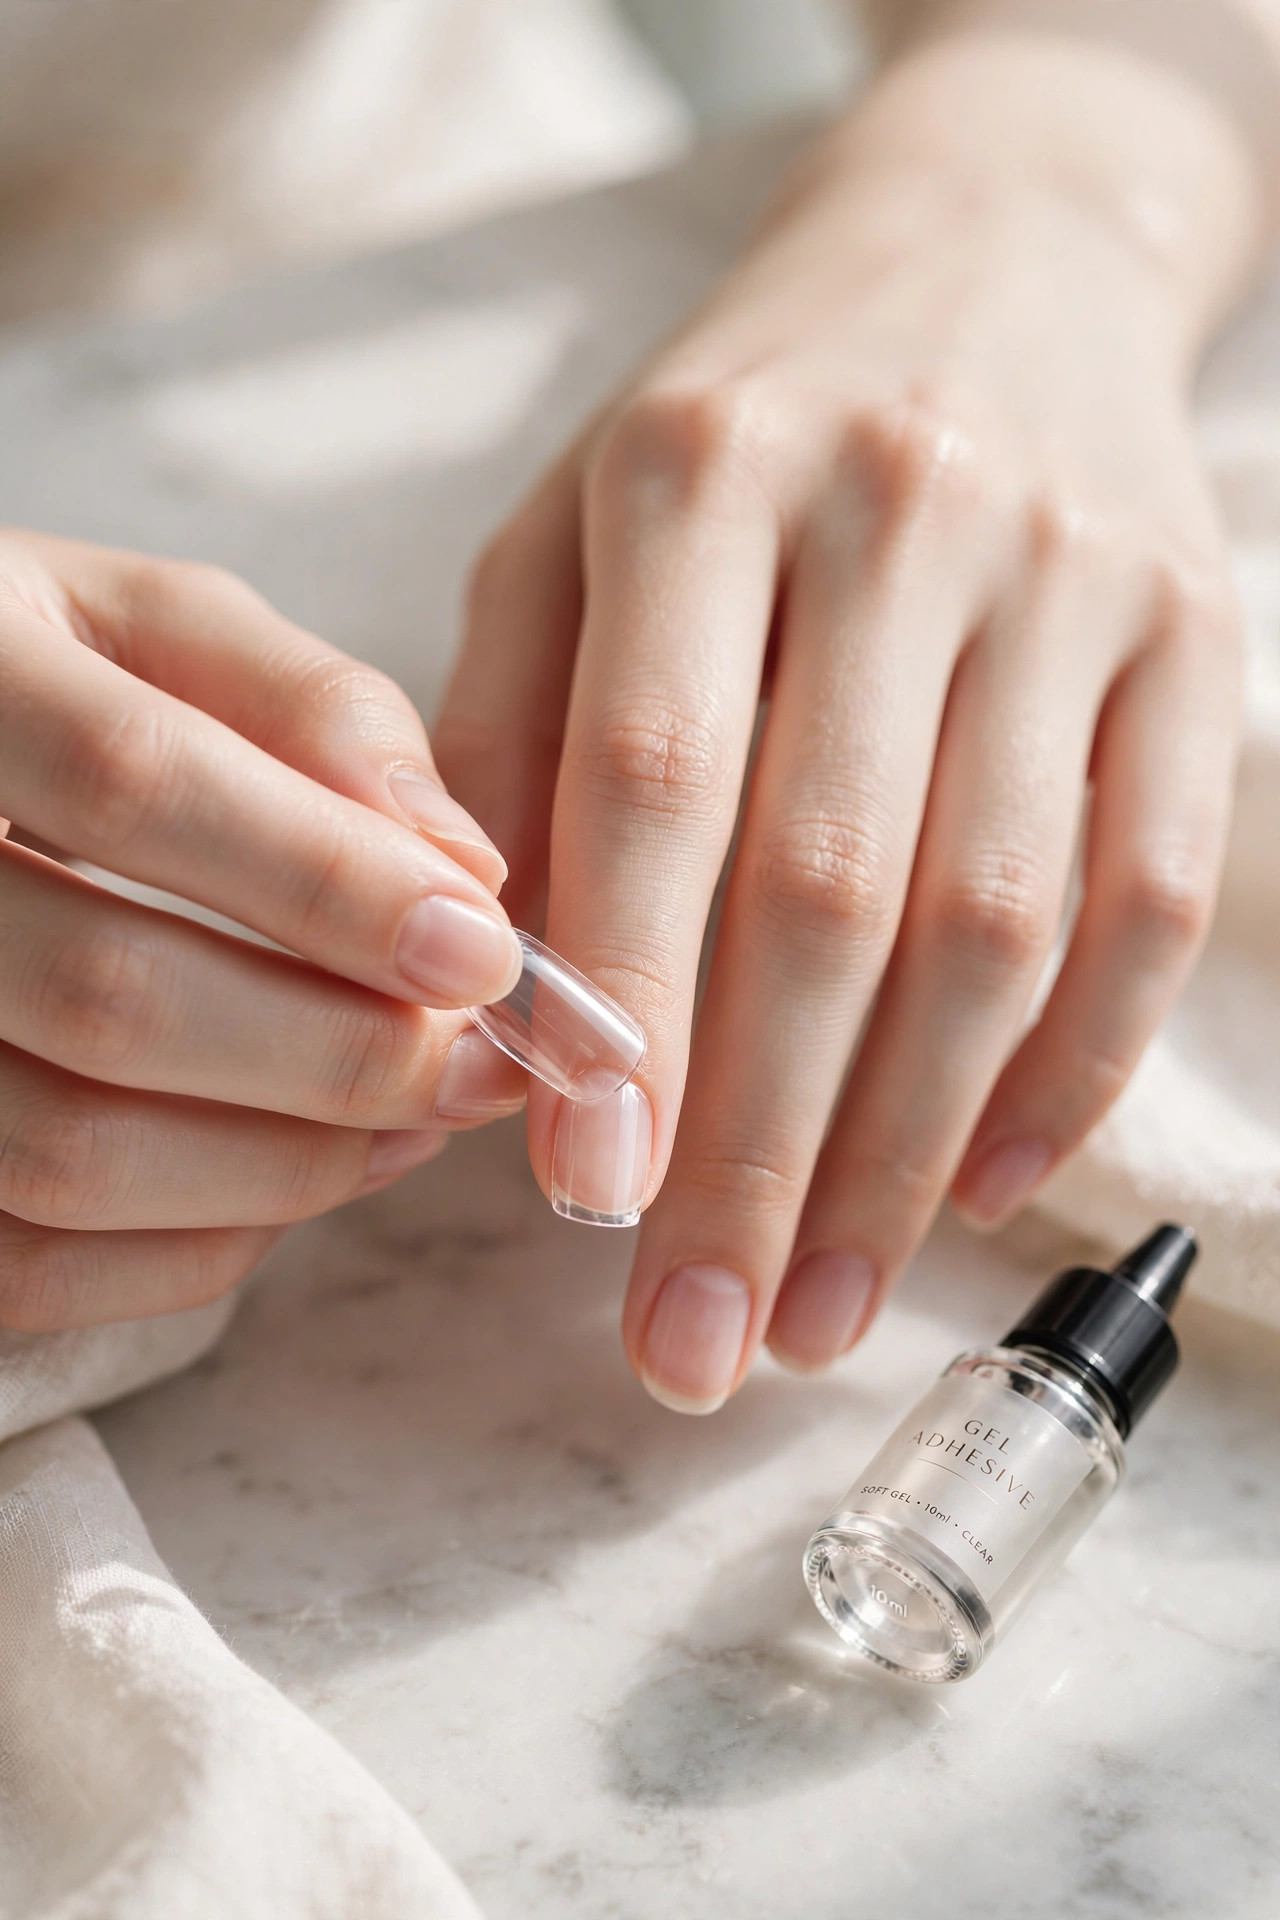
Work one nail at a time, starting with your non-dominant hand if you can. Apply a thin, even layer of gel adhesive to the inside of the tip, following your product instructions. Too much gel will flood the cuticle and sidewalls; too little will leave air pockets.
Hold the tip at a slight angle, place its base near the cuticle area without touching the skin, and roll it slowly down onto the nail toward the free edge. This rolling motion pushes air out ahead of the tip instead of trapping it underneath. Press gently and evenly, and check from the side that the tip sits flush with no visible gap.
Before curing, clean up any gel that has touched the skin with a small brush or wooden stick. Uncured gel should not be left sitting on skin, and it should not be cured there either. Wipe the skin clean, check the cuticle line, and only then move to the lamp.
Step 4 — Cure each tip as instructed
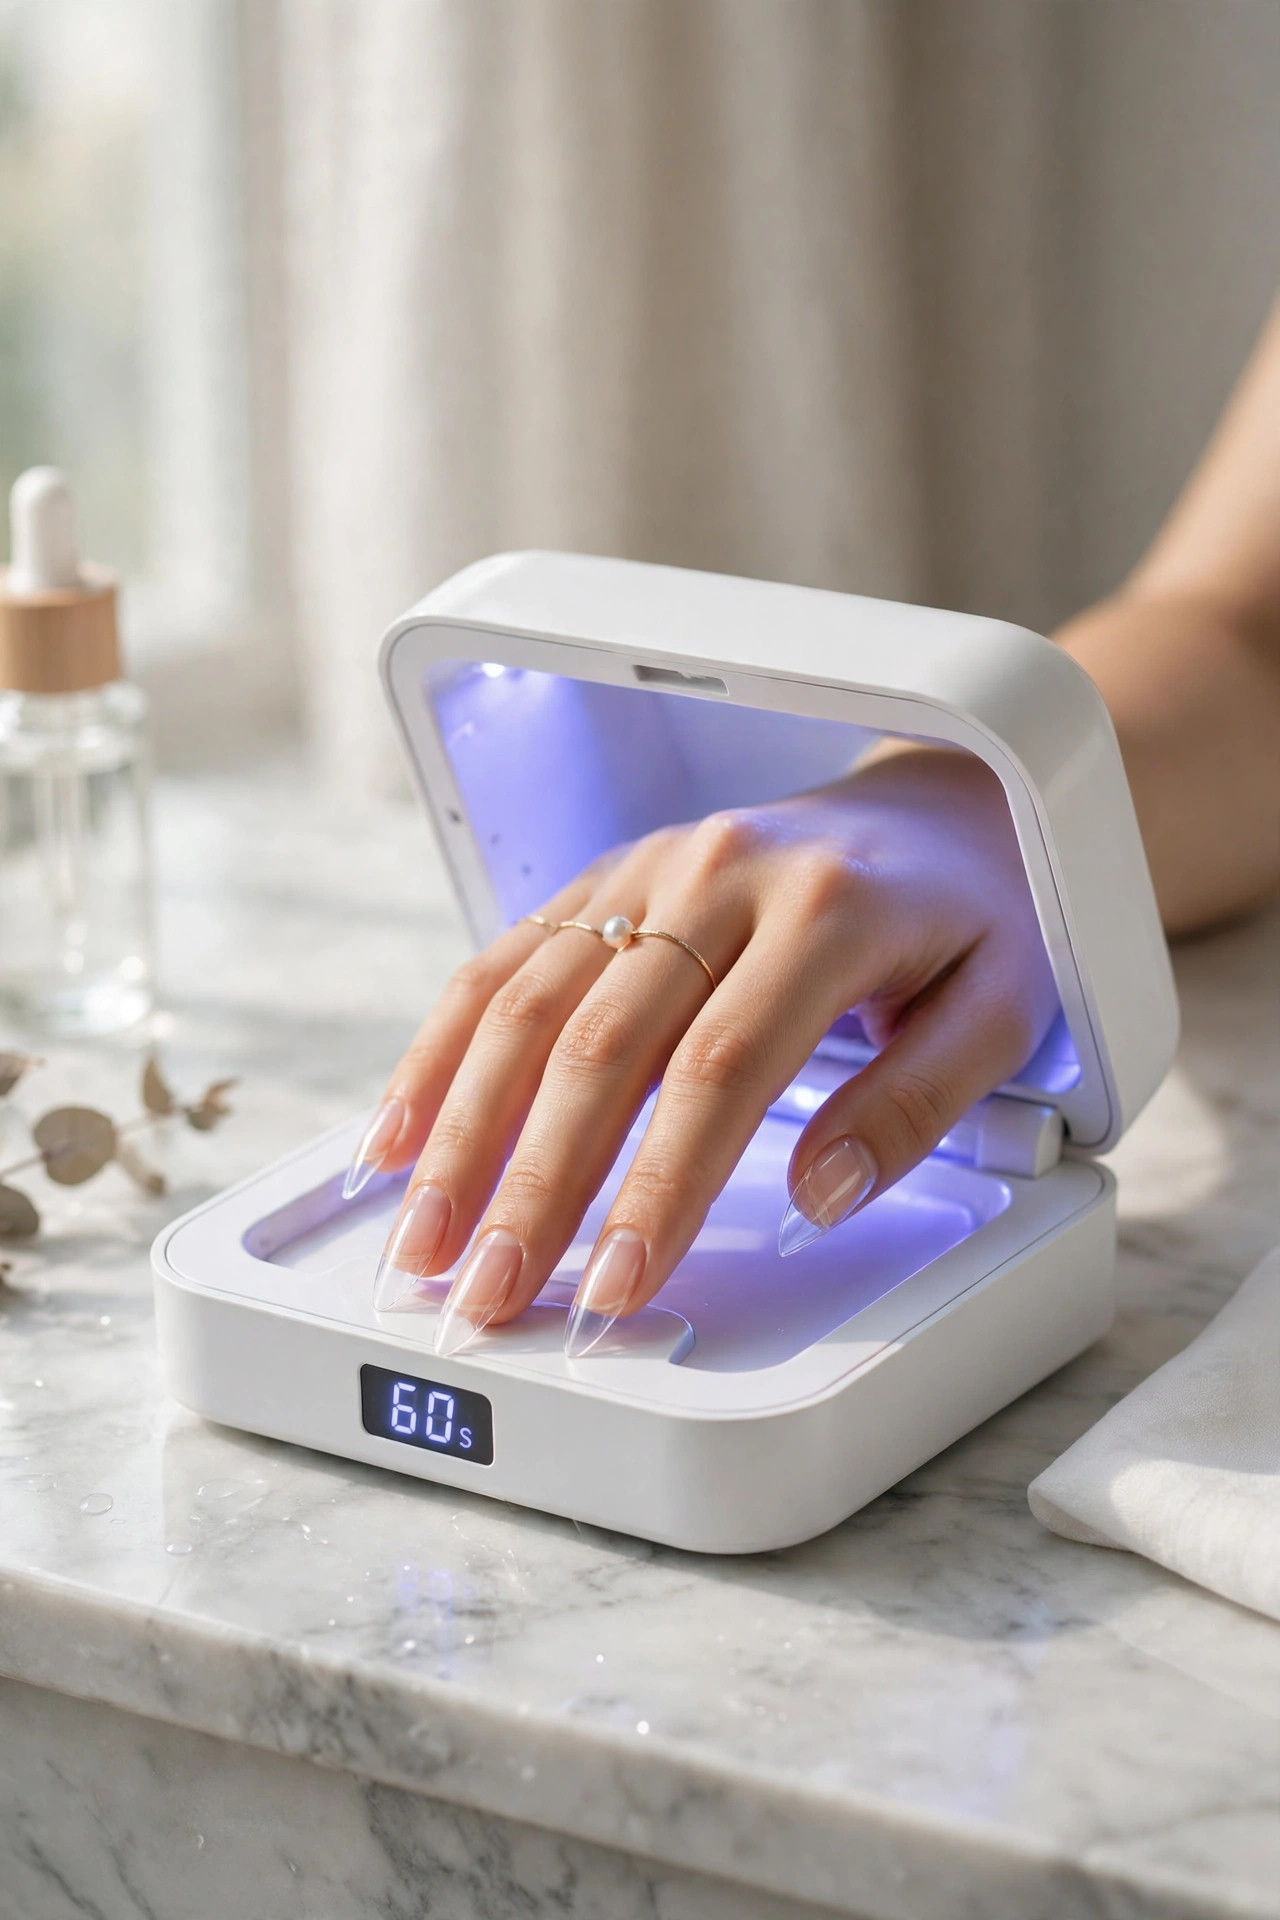
Place the hand in the lamp and cure according to your lamp and gel manufacturer’s instructions. Do not guess at settings, and do not borrow a time from another brand’s tutorial — products are formulated to work as a system, and under-cured gel stays soft and weak.
Keep the hand still and flat while curing. If a tip shifts, remove it before curing, clean up, and reapply rather than trying to fix a cured mistake. For beginners, curing one or two nails at a time can be easier than curing a whole hand at once, especially on the dominant hand. Patience here pays off in wear time later.
Step 5 — Shape and refine gently
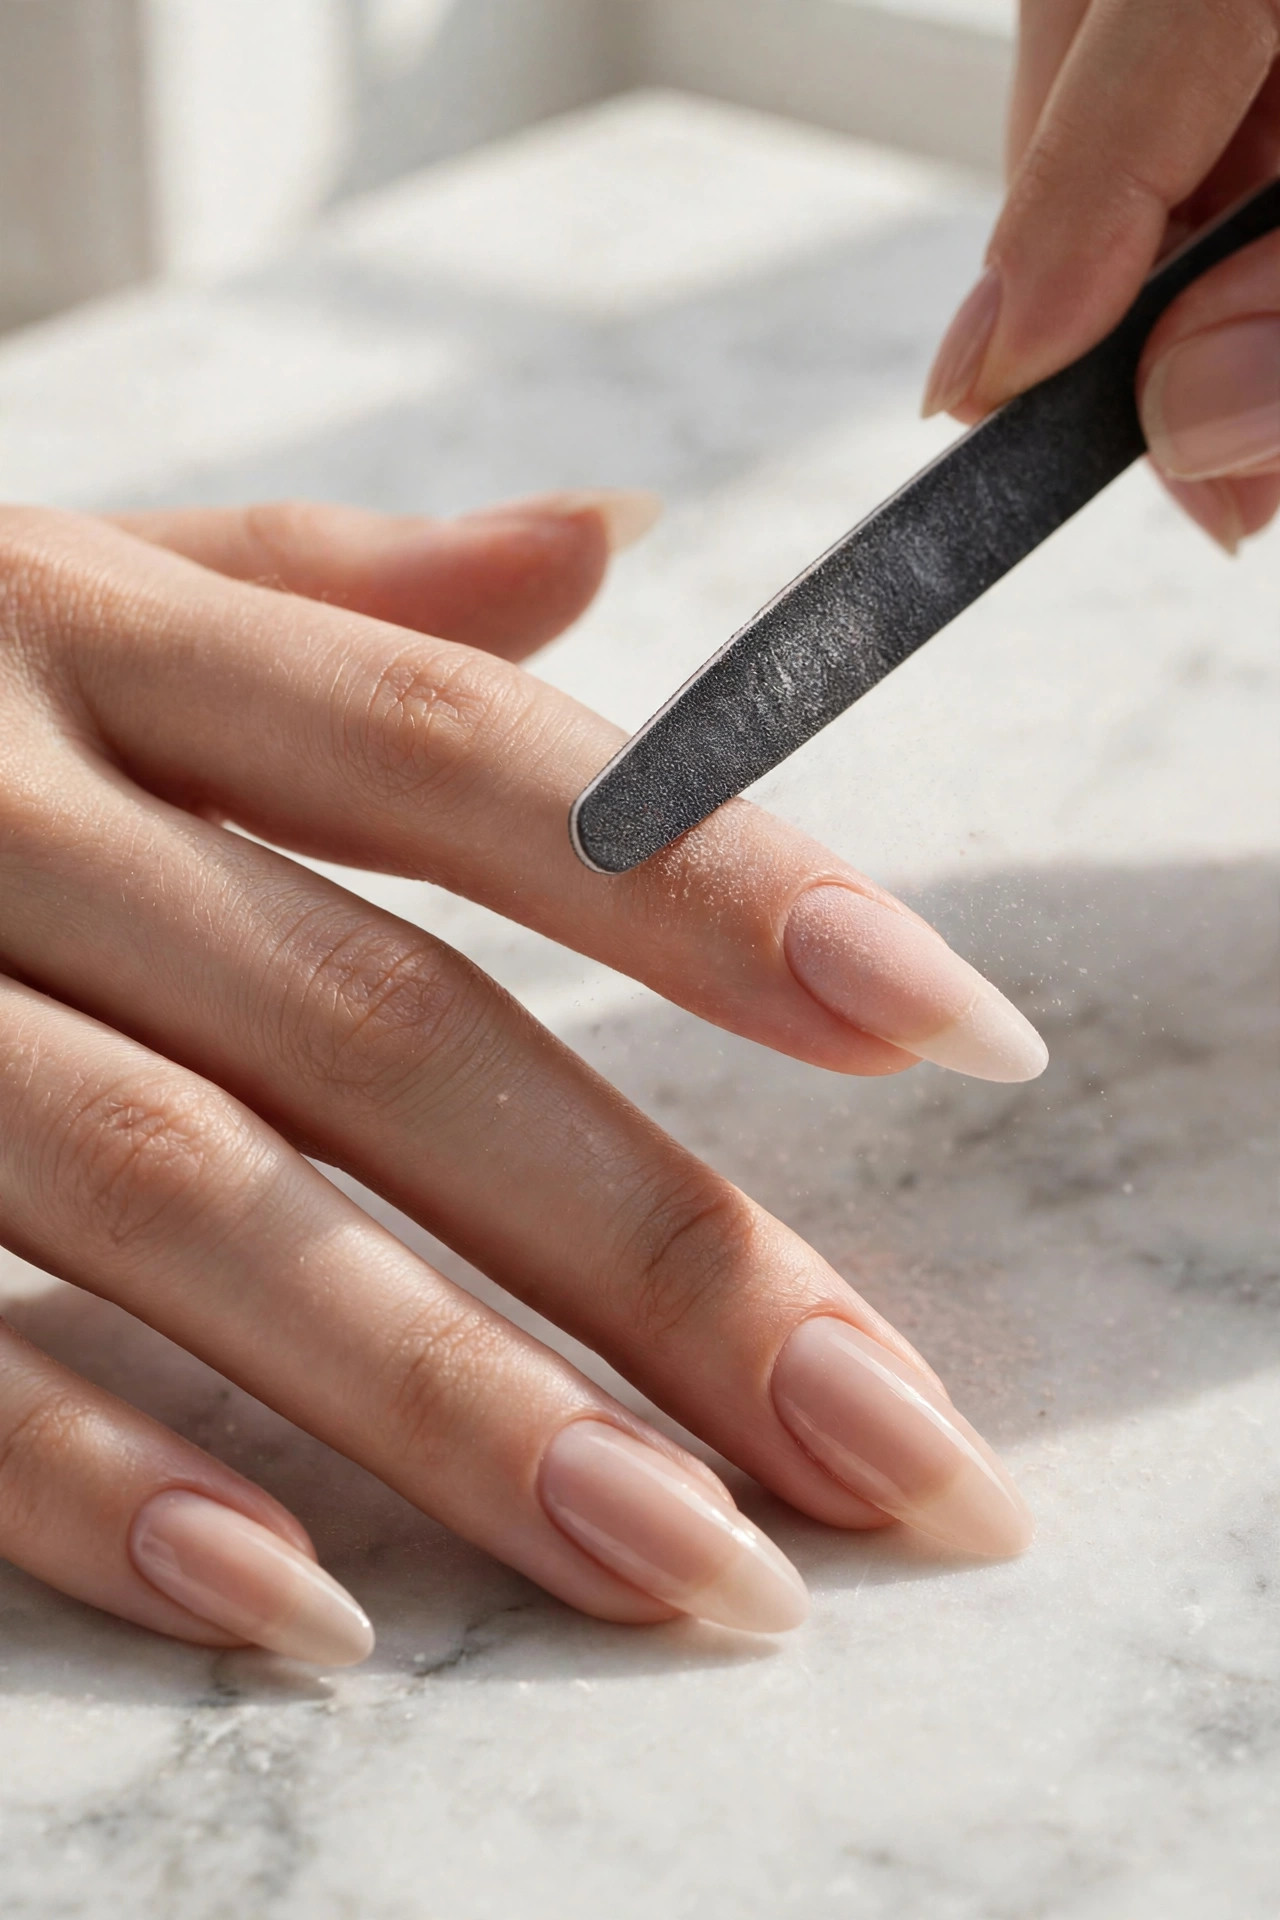
Once all ten tips are applied and cured, look at the set as a whole before you file anything. Check length from the palm side, check symmetry, and decide whether you want to shorten or refine the shape. File the free edge and sidewalls with light, even strokes, moving in one direction rather than sawing back and forth.
Gel-X tips file easily, so use a light hand. Blend the area where the tip meets the natural nail only if your product instructions call for it — many modern tips are designed to sit flush without heavy blending. Dust off the nails, wipe them clean, and check again. A set that looks balanced before colour will look balanced after colour.
Step 6 — Apply gel colour in thin coats
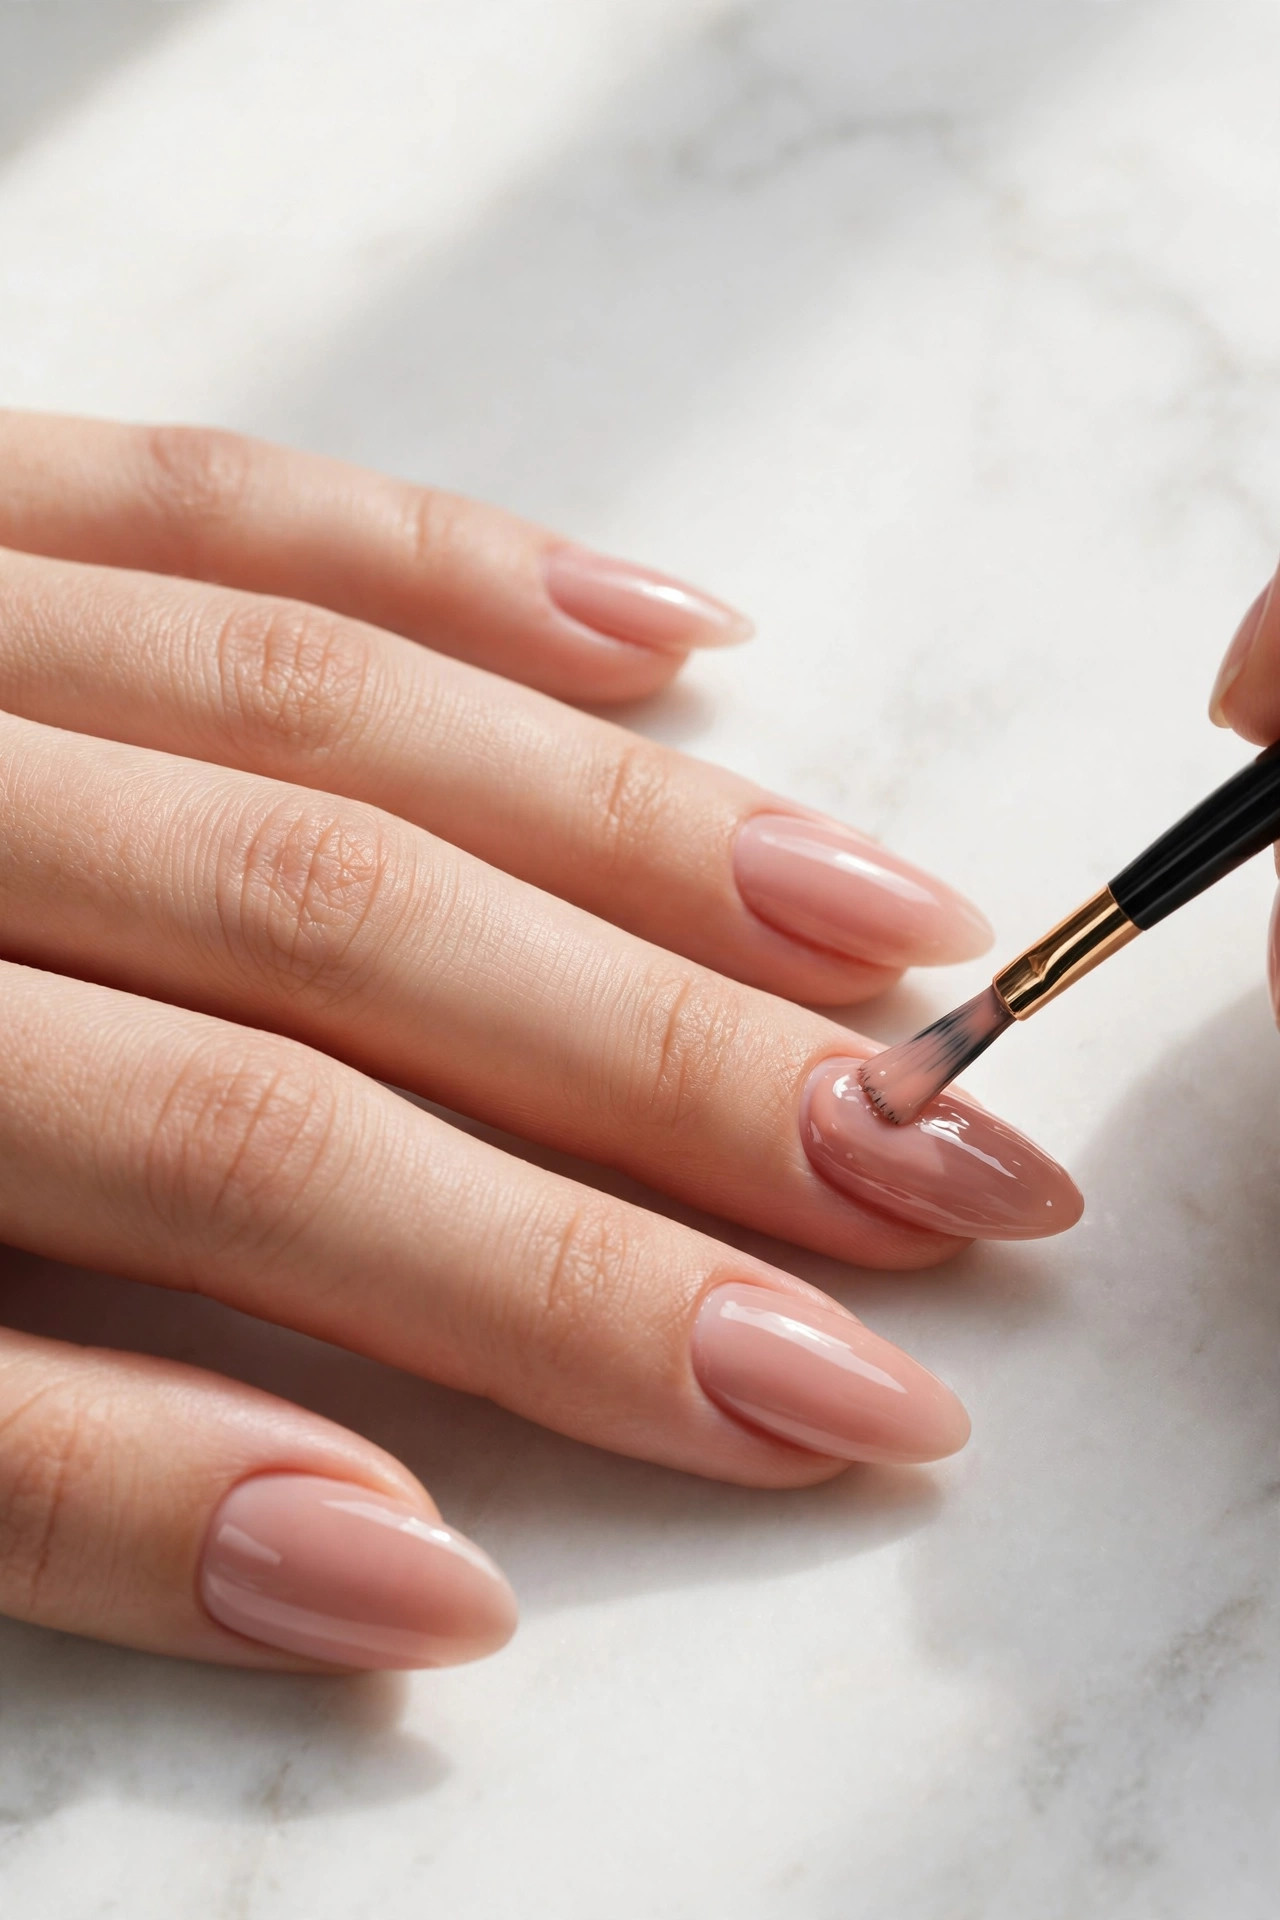
If you are painting over the tips, apply a thin gel base coat if your system requires one, then thin coats of colour, curing each coat as instructed. Two thin coats almost always look better than one thick coat, which is more likely to pool at the cuticle, wrinkle during curing, or peel at the edges.
Paint with the brush slightly away from the cuticle, then ease it toward the skin without touching it, leaving a hairline gap. Cap the free edge lightly — run the brush along the very tip of the nail — to help seal the colour. Clean up any colour on the skin before curing, just as you did with the adhesive.
If you love the look of clear or natural tips, you can skip colour and simply apply a top coat. A sheer nude over a clear tip is another forgiving first-set choice, and it shows off the shape without drawing attention to tiny application differences.
Step 7 — Finish with top coat and a final check
Apply a thin, even gel top coat, cap the free edge, and cure as instructed. Wipe away any sticky residue only if your top coat requires it — some are no-wipe, so check the bottle. Once cured, look at each nail in daylight: check the cuticle line, the sidewalls, the free edge, and the shine.
Finish with a drop of cuticle oil massaged around each nail and a little hand cream. The oil will not undo your work once the gel is fully cured, and it makes the whole set look finished rather than freshly filed. Take a photo in natural light before you start using your hands properly — it is the best way to spot one nail that needs a tiny tidy-up.
Step 8 — Style your finished set
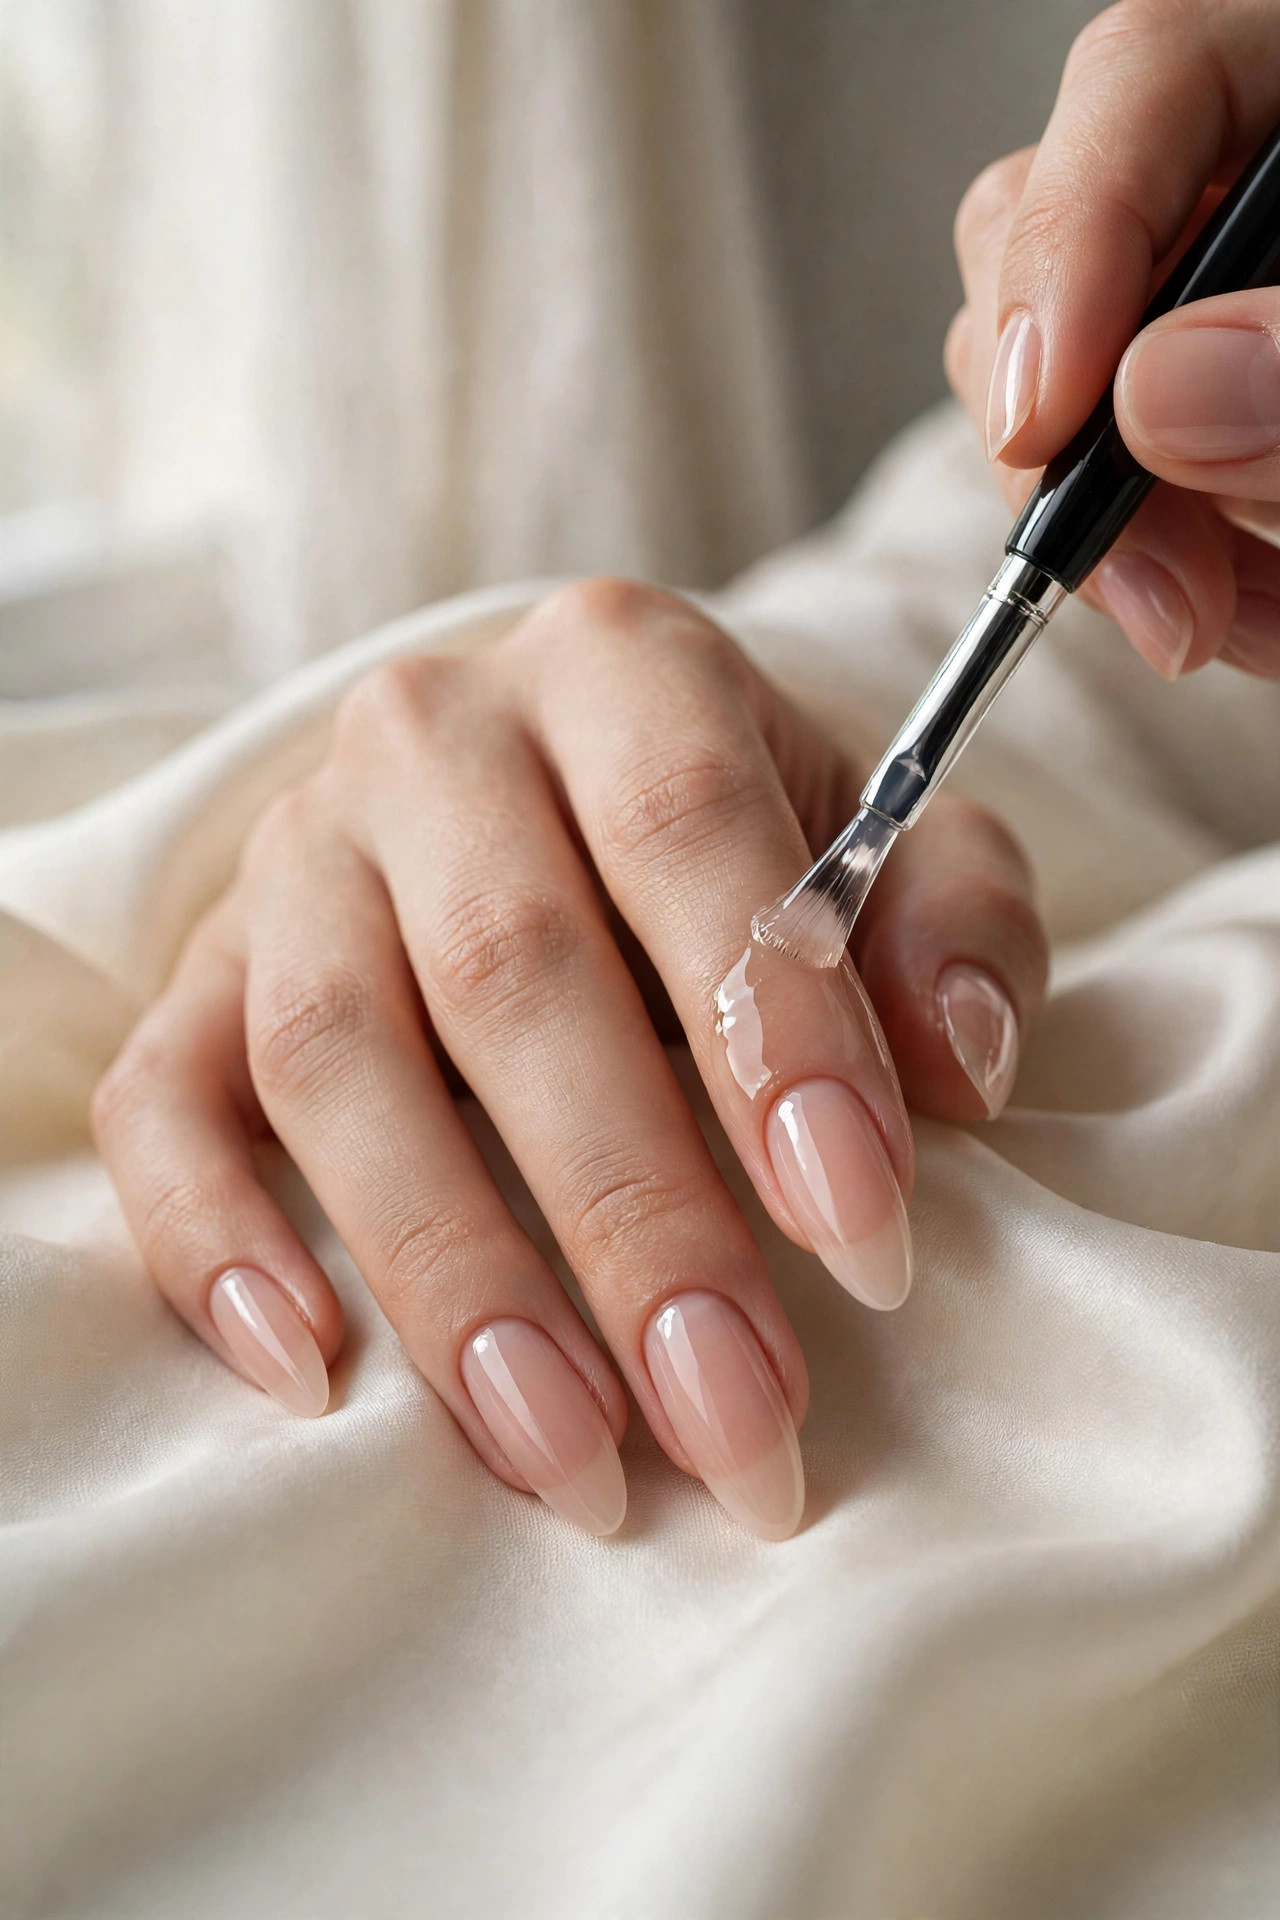
Gel-X nails look their best when the rest of the look stays calm. A nude-pink almond set works with almost anything, from a white shirt and jeans to a silk dress, because it reads as polished rather than loud. If you want a little more personality, add one accent — a fine gold ring, a delicate bracelet, or a single subtle design on the ring fingers — rather than a different design on every nail.
For everyday wear, keep the length practical. You should be able to type, button a shirt, and pick up small objects without using the very tips of the extensions as tools. If a length feels awkward on day one, it will feel worse by day five. Shortening a set slightly is always easier than repairing a broken one.

For more extension inspiration, see our guide to builder gel nails at home — a different method that builds strength over the natural nail rather than bonding a full-cover tip.
Common Mistakes and How to Fix Them
Air bubbles under the tip
Bubbles usually mean the tip was pressed straight down instead of rolled on, or too little gel was used. On your next nail, add a slightly more even layer of gel and roll from the cuticle outward, slowly. If you spot a large bubble before curing, remove the tip, clean up, and reapply. A bubble cured into place is a weak spot and a likely lifting point.
Lifting at the cuticle or sidewalls
Lifting most often traces back to preparation or sizing. Gel on cuticle skin, oil on the nail plate, or a tip that is too narrow or too wide will all lift early. Next time, spend longer on gentle prep, keep gel off skin, and size dry with extra care. If a tip has already lifted and water can get underneath, do not glue it back down — remove it properly and redo that nail.
Gel flooding the cuticle
Too much adhesive, or pressing too hard, pushes gel onto the skin. Use less product, press evenly rather than forcefully, and clean up before curing. Flooded cuticles do not just look untidy; cured gel on skin is uncomfortable to remove and can irritate.
Thick, uneven colour
Thick coats pool, wrinkle, and peel. Wipe most of the polish off the brush before you start, paint thinly, and cure each coat fully as instructed. If a coat wrinkles, it was almost certainly too thick or under-cured — remove that coat gently and repaint thinly rather than painting over the problem.
One nail keeps breaking
Check three things: length, shape, and how you use your hands. Very long, narrow tips break more easily. A slightly shorter, rounder shape is stronger. Also notice whether you open cans, scrape labels, or type with the nail tips — those habits break extensions faster than any product flaw.
Sore or irritated skin
Stop and remove the product gently if you notice persistent redness, itching, swelling, or pain. Do not keep curing gel over irritated skin, and do not try to push through discomfort to finish a set. Healthy nails and skin matter more than any manicure, and a break will not ruin your next set.
How to Look After Gel-X Nails Day to Day
Aftercare is simple, but it makes a real difference to how long a set lasts. Use cuticle oil daily, especially in cold weather or after washing your hands often. Keep nails and hands moisturised, but avoid soaking your hands in very hot water for long periods, which can soften the bond and encourage lifting.
Wear gloves for cleaning, gardening, and washing up. Avoid using your nails to open tins, peel stickers, or scrape surfaces. If you type all day, keep the length at a level where your fingertips, not your extensions, meet the keys. These small habits protect both the tips and the natural nails underneath.
Check the set every few days. If an edge starts to lift, keep it clean and dry and plan a prompt, gentle removal for that nail rather than catching it repeatedly. A lifted tip that keeps snagging is more likely to break or damage the natural nail.

How to Remove Gel-X Nails Safely
Safe removal is part of doing Gel-X well, not an afterthought. The whole point of a soft-gel system is that it can be soaked off gently.
How do I remove Gel-X nails safely at home? Gel-X nails should be removed by gently filing off the top coat and colour, then soaking the soft gel in acetone until it softens and can be pushed away with a wooden stick, without force, peeling, or aggressive filing of the natural nail.
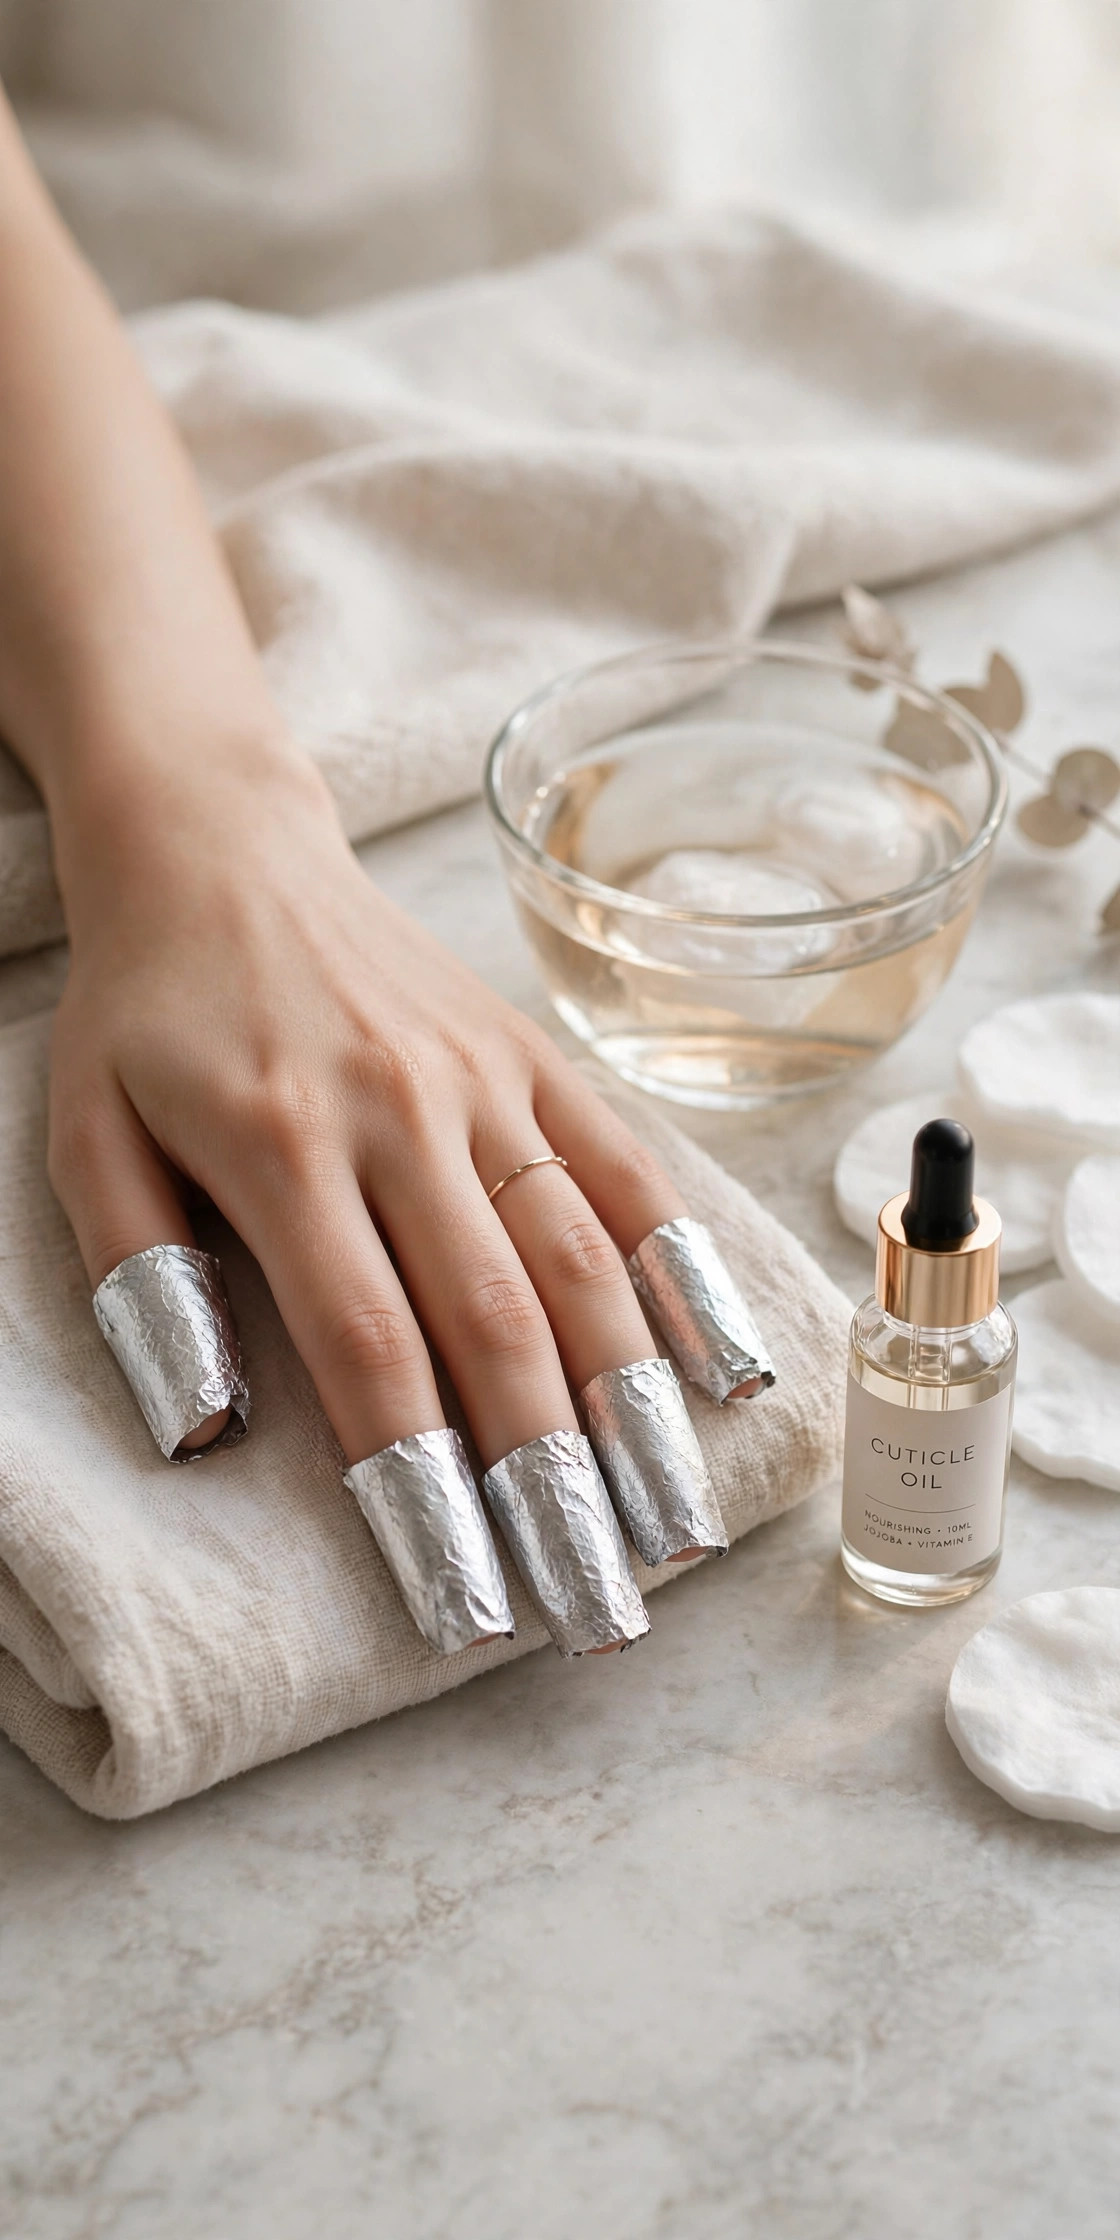
In practice: shorten the extensions first, then file just the shiny top layer until it looks matte — you are breaking the seal, not filing down to your natural nail. Soak cotton pads in acetone, place one on each nail, wrap with foil, and wait patiently. Check one nail after a sensible interval, following your product instructions. If the gel has softened, gently push it away with a wooden stick. If it resists, re-wrap and soak longer. Never peel, pry, or rip a tip away, and never file aggressively into the natural nail to hurry the process.
After removal, wash your hands, push back cuticles gently, apply cuticle oil, and give your nails a short break before your next set if they feel dry or thin. A few days of oil and rest will do more for nail health than any hardening treatment applied immediately over stressed nails.
For a fuller walkthrough of gentle gel removal, see our guide on how to remove gel polish safely.
Gel-X vs Acrylic vs Dip Powder vs Press-Ons
| Method | Typical wear | Removal | Skill level | Best for |
|---|---|---|---|---|
| Gel-X (soft-gel tips) | Around 2–3 weeks | Acetone soak-off | Beginner-friendly | Natural-feeling length with a lighter finish |
| Acrylic | Around 3–4 weeks | Soak-off, often with more filing | Advanced | Maximum strength and very long or sculpted shapes |
| Dip powder | Around 2–4 weeks | Acetone soak-off | Intermediate | Strong colour over natural nails or short extensions |
| Press-ons | A few days to about a week | Gentle peel or warm soak, depending on adhesive | Easiest | A short-term look, events, or trying a shape first |
Use this table as a starting point, not a promise. Wear time depends on your nails, your preparation, and your daily routine. If you want strength above all else and do not mind a heavier feel, acrylic may suit you better. If you want the easiest possible change, press-ons win. Gel-X sits in the middle: lighter than acrylic, longer-lasting than press-ons, and genuinely learnable at home.
A Few Beginner Tips Worth Remembering
Choose your first colour wisely. Sheer nudes, soft pinks, and milky whites forgive uneven edges and make regrowth less obvious. Dark, opaque colours show every wobble at the cuticle, so save them for your second or third set.
Buy a little extra. Keep spare tips in your sizes, because one dropped or mis-sized tip should not stop a whole set. Spare tips also let you redo a single nail without starting over.
Practise on one hand first if you are nervous. A five-nail trial teaches you more about pressure, gel amount, and curing than reading three more tutorials. You can always do the second hand the next day.
Finally, keep your workspace tidy. Gel on a phone screen, a laptop keyboard, or a favourite jumper is no fun to clean up, and a cluttered table makes it easy to knock over a bottle mid-application.
Frequently Asked Questions
How long do Gel-X nails last at home?
Gel-X nails usually last around two to three weeks at home with careful preparation, correct sizing, and gentle daily wear. Growth, lifting, and how hard you are on your hands all affect wear, so plan to remove or redo a set when regrowth or lifting appears rather than pushing it further.
Are Gel-X nails safe for natural nails?
Gel-X nails can be gentle on natural nails when applied and removed correctly, with light buffing, gel kept off skin, and soak-off removal. Damage most often comes from over-filing, peeling tips away, or forcing removal, not from the soft-gel tip itself when used as instructed.
Can beginners really do Gel-X nails at home?
Yes, beginners can do Gel-X nails at home because the tips arrive pre-shaped, so there is no sculpting from liquid and powder. Success depends mainly on patient preparation, careful sizing, clean application, and following your own lamp and gel manufacturer’s curing instructions.
Do I need a special lamp for Gel-X nails?
You need a lamp that is compatible with your gel products, as advised by the manufacturer of the gel system you buy. Do not assume any lamp will cure any gel, and follow the lamp and gel instructions together rather than borrowing settings from another brand or tutorial.
Why do my Gel-X nails keep lifting?
Gel-X nails usually lift because of oil or loose cuticle skin left on the nail plate, gel cured onto skin, or a tip that does not fit sidewall to sidewall. Improving gentle preparation, sizing each tip dry before application, and cleaning up gel before curing usually solves most early lifting.
How do I remove Gel-X nails without damaging my nails?
Remove Gel-X nails by filing off the shiny top layer, soaking in acetone until the soft gel softens, and gently pushing it away with a wooden stick. Never peel, pry, or file aggressively into the natural nail, and re-soak if the gel resists instead of forcing it off.