

TL;DR — The short version: Encapsulated nails are designs sealed inside a clear builder or acrylic layer, rather than painted on top of it. Start with clean, gently prepped nails, place your glitter, dried flowers or foil on a thin uncured clear layer, then cover everything with a smooth clear layer and finish with top coat. Work one hand at a time, keep pieces flat and away from the edges, and follow your own products’ instructions for curing and removal.
There is a particular kind of nail that stops people mid-scroll. It does not shout. The glitter does not catch on a sleeve, the petals do not lift at the corners, and the surface feels like still water. Look closely and the design seems to float just beneath the surface, as if it were pressed between two sheets of glass. That is encapsulation, and it is one of the most forgiving ways to make an at-home manicure look genuinely professional — provided you respect the order of the layers.
The idea is simple, and that simplicity is exactly why it works so well. Most nail art sits on top of the nail, where it can chip, snag and dull. Encapsulation turns that arrangement inside out. The decoration goes in the middle, and a clear layer goes over it. The result is depth without bulk, sparkle without texture, and a finish that survives handbags, keyboards and washing up far better than a design left exposed.
This tutorial is for someone who already feels comfortable with a basic gel manicure — you can shape, prep and apply a base coat without rushing — but has never sealed anything inside a nail before. If you are brand new to builder gel, read our builder gel guide first, then come back here; the foundation steps will make much more sense the second time around.
How to Do Builder Gel Nails at Home
What Are Encapsulated Nails?
Direct answer: Encapsulated nails are nails in which decorative pieces — glitter, dried flowers, foil, tiny shells or flakes — are sealed between layers of clear builder gel or acrylic, so the design is fully covered by a smooth, transparent layer and cannot snag, lift or rub away.
Definition box: Encapsulation means trapping a decorative element inside the nail enhancement itself. The decoration is not glued on top and it is not painted over with a single coat of top coat. It is embedded in a clear medium, levelled, and then sealed, so the finished nail is smooth to the touch even though the design inside may be textured, layered or three-dimensional.
Think of it like a paperweight. The flower inside a glass paperweight is not stuck to the outside; it is held in the middle, visible from every angle, protected on all sides. Encapsulated nails work the same way. The clear layer does two jobs at once: it shows the design off, and it protects it.
That distinction matters when you are choosing a look. A chunky glitter that would feel rough as a surface polish feels weightless once it is sealed inside. A dried flower that would crumble if left exposed stays intact under clear gel. And a piece of foil that would crease the moment you brushed over it stays exactly where you placed it.
Is Encapsulation Different From Glitter Polish or 3D Nail Art?
Direct answer: Yes, and the difference is where the decoration lives. Glitter polish leaves sparkle on the surface where it can wear away, 3D embellishments sit proud of the nail by design, and encapsulation buries the decoration under a smooth clear layer so the nail feels flat while the design keeps its depth.
This is worth getting clear before you buy anything, because the three techniques ask for different products and different expectations.
| Technique | Where the decoration sits | Feel of the finished nail | Best for |
|---|---|---|---|
| Surface glitter polish | On top of the nail, under top coat only | Slightly textured, wears at the tips first | A quick sparkle manicure with no extra products |
| Encapsulation | Sealed inside a clear builder or acrylic layer | Completely smooth, glass-like | Glitter, dried flowers, foil and flakes you want to last |
| 3D embellishments | On top of the nail, raised above the surface | Textured and dimensional by design | Charms, pearls and sculptural details that are meant to stand out |
None of these is “better” in the abstract. A raised pearl is beautiful precisely because it catches the light from above; flattening it under gel would defeat the point. But if your frustration is glitter that dulls after three days, petals that peel, or foil that tears, encapsulation is the technique that solves that specific problem. If you love raised details, our guide to dimensional designs will help you place them securely without them popping off.
3D Nail Embellishments for Winter 2026
What Result Should You Expect?
Direct answer: Expect a smooth, glossy, salon-looking manicure with visible depth — glitter that looks suspended rather than painted on — and a design that stays intact for the normal wear of your gel system, as long as every piece is fully covered and the edges are sealed.
Encapsulation is not magic, and it is worth saying what it will not do. It will not make a weak, peeling base coat last longer. It will not fix nails that are lifting at the cuticle. And it will not rescue a design where a petal is poking through the top layer — that petal will catch, lift and eventually take the top coat with it. The glassy finish everyone admires comes from the last millimetre of levelling and sealing, not from the glitter itself.
Set your expectations by your first attempt, too. Most people find their first encapsulated nail looks wonderful and their tenth looks better. The learning curve is in placement — learning how little decoration you actually need, and how flat each piece must lie. Start with two accent nails rather than a full set. You will learn faster, waste less product, and still walk away with a manicure that looks intentional.
Before You Start: Skills, Time and Honest Prerequisites
Direct answer: You need a comfortable basic gel routine, a clear builder gel or acrylic system you already know how to cure, and a quiet, well-lit workspace. Allow around two to two and a half hours for a first full set, including practice placement on one nail.
You do not need professional training to try this, but you do need patience. Encapsulation rewards slow hands. If you are still guessing at base-coat application or you have never cured builder gel before, practise a plain builder set first. The encapsulation steps add decision-making — where does this petal go, is it flat enough, is the layer thick enough — on top of the technique you already have. Removing that extra pressure by knowing your base system well is the single best thing you can do for your first attempt.
Time is the other honest prerequisite. A first full set takes most people around two hours, and closer to two and a half if you are designing each nail individually. That is not a flaw in the method; it is the cost of placing ten tiny designs by hand. Do not start at midnight before an early morning. Give yourself daylight, a clear table, and permission to do one hand, take a break, and then do the other.
Difficulty
Intermediate. Comfortable for anyone who can do a neat gel manicure at home; challenging only in the fiddly placement and levelling steps, both of which improve dramatically with one practice nail.
Tools and Materials You Will Need
Gather everything before you open a single bottle. Once gel is on a nail, you do not want to be hunting for tweezers with your other hand.
Nail prep:
- Nail file and a gentle buffer
- Cuticle pusher and cuticle oil for aftercare
- Lint-free wipes and a nail dehydrator or cleanser, as directed by your product system
- Nail tips or forms only if you are extending length; this tutorial works on natural nails too
Gel system:
- Base coat from your chosen gel system
- Clear builder gel (or clear acrylic, if that is the system you know) — this is your encapsulating layer, so it must be genuinely clear, not milky or tinted
- Clear top coat from the same system
- A lamp compatible with your products — always follow the manufacturer’s instructions for your specific lamp and products
Decoration:
- Nail-safe glitter in one or two sizes — fine glitter for a smooth base, chunky glitter or flakes for accents
- Fully dried, pressed flowers made for nail use, or nail foil cut into small pieces
- A wax pencil, fine tweezers or a silicone tool for placement
- A small dish or palette to lay out your design before you start
Safety and clean-up:
- A small brush for tidying the sidewalls and cuticle area before curing
- Remover, foil wraps or soak-off clips, and a gentle file for removal day
- Good lighting — a daylight lamp or a bright window makes placement far easier
A word on decoration choice: use only items sold for nail use, or items you are confident are fully dry, flat and clean. Fresh flowers, thick petals and anything damp will not behave under gel. Pressed flowers made for nails are thin for a reason. If a piece will not lie flat on a practice nail, it will not lie flat on your real nail either, and that is your cue to choose a flatter piece.
Step-by-Step: How to Do Encapsulated Nails at Home
Step 1 — Prep Gently and Shape First
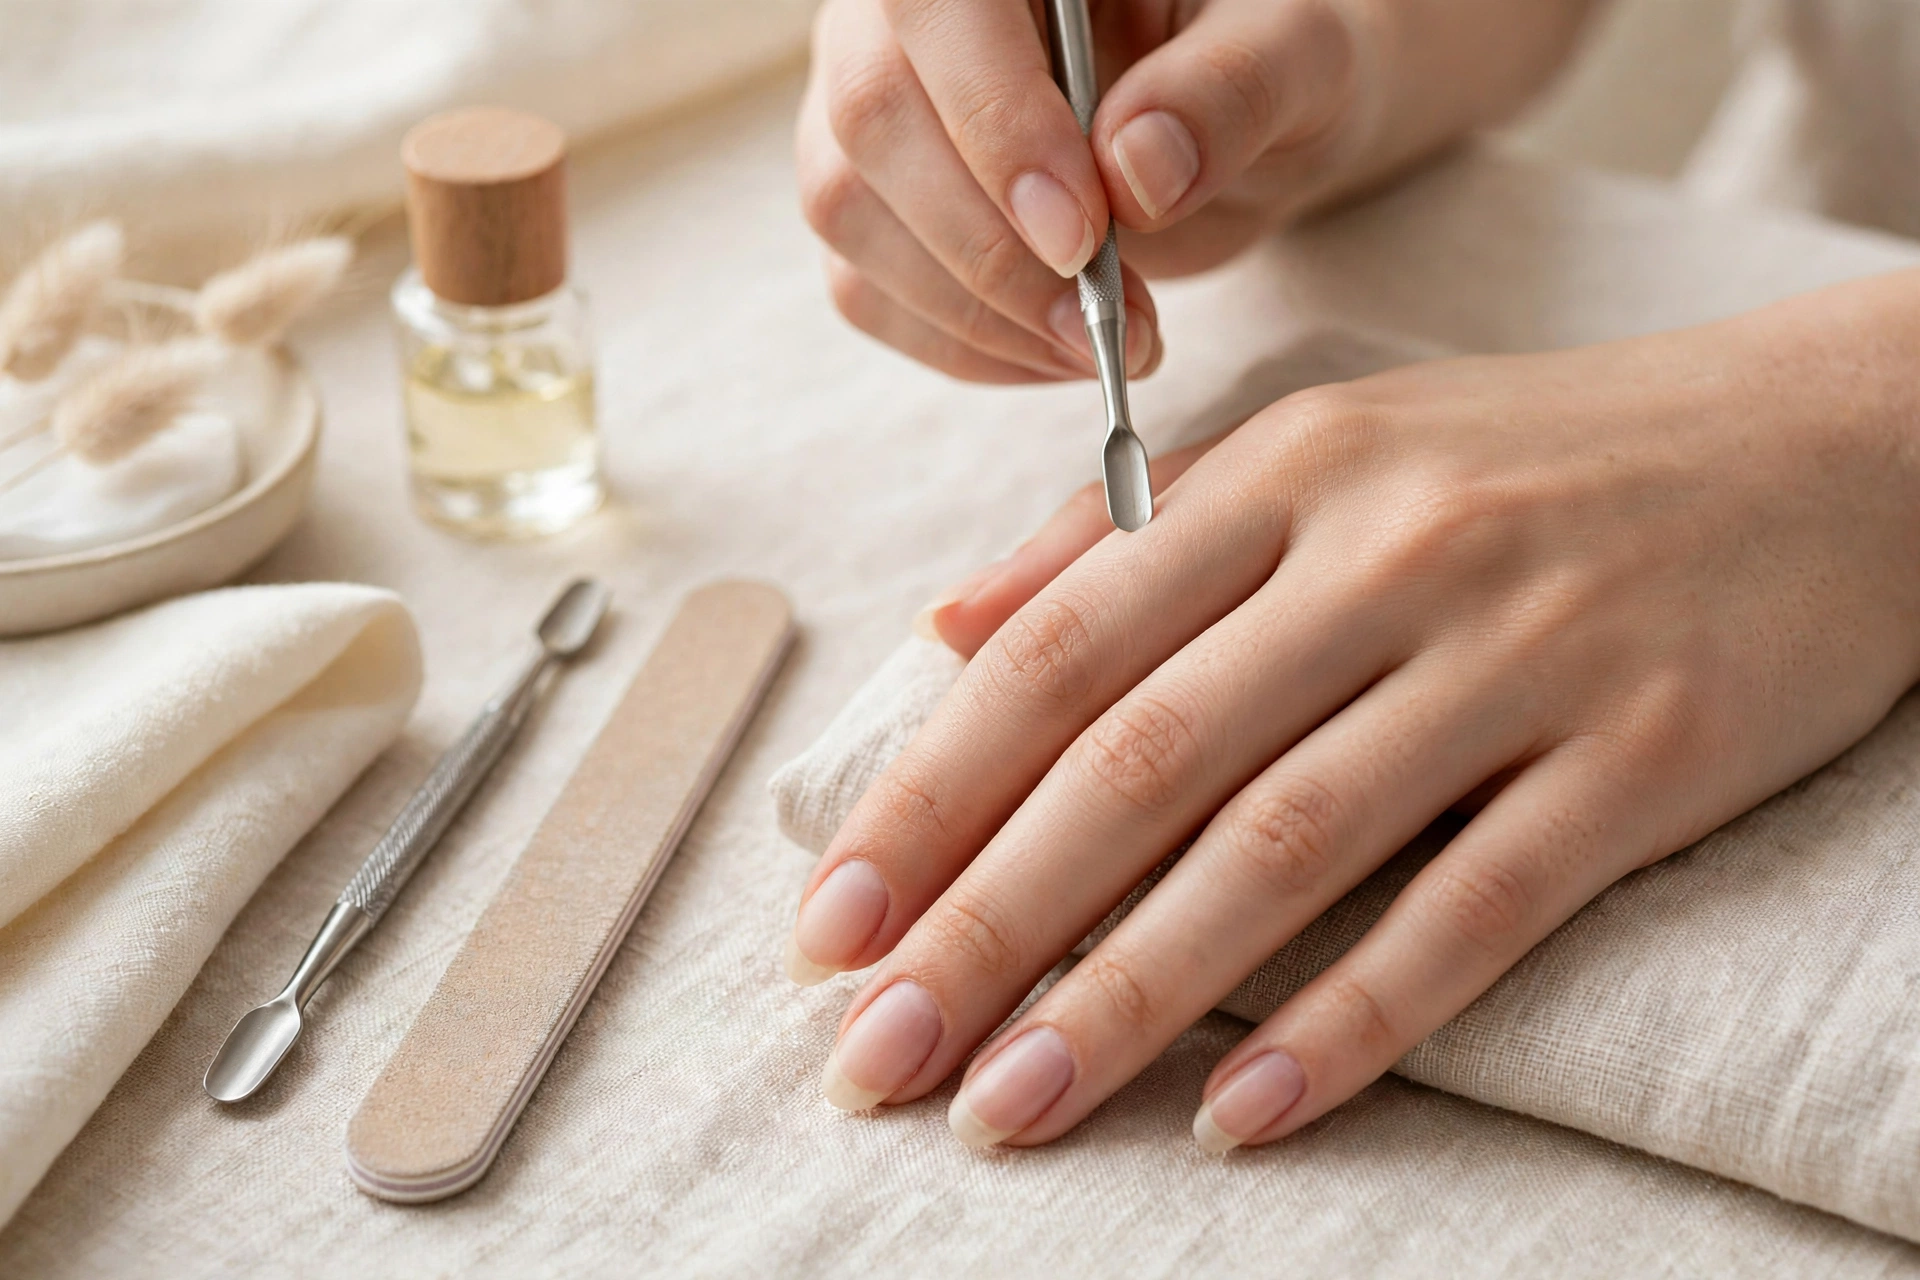
Shape your nails before anything else, and shape them to the length you will actually wear. Encapsulation adds a small amount of thickness, so a nail that already feels long will feel longer once it is sealed. File in one direction with light pressure, then refine the shape — almond and soft oval shapes show off encapsulated designs beautifully, because the eye travels along the nail rather than stopping at a sharp corner.
Push cuticles back gently and remove only the non-living tissue that lifts easily; never cut or force anything that resists. Lightly buff the nail plate just enough to remove shine, following your product system’s guidance, then cleanse and dehydrate the nail as your system directs. The goal is a clean, dry, matte surface that gel can grip — not a roughed-up nail. Over-buffing is one of the most common at-home mistakes, and it weakens the very foundation your design will sit on.
Step 2 — Apply Base Coat and a Thin Clear Layer
Apply base coat to all nails, keeping it off the skin and out of the cuticle area, and cure it exactly as your product instructs. This is the step where “follow the manufacturer’s instructions” is not boilerplate; different gels cure differently, and guessing is how a manicure lifts on day two.
Next, apply a thin layer of clear builder gel to one nail — just one, to begin with. This thin layer is your working surface. Do not cure it yet. It will hold your decoration in place while you arrange it, like a thin coat of glue that you can still nudge. Working one nail at a time is the habit that separates a calm result from a frantic one. Gel that has started to move or level while you are still placing flowers on another nail is gel you can no longer control.
Step 3 — Plan the Layout Before You Place Anything
Direct answer: Before placing a single piece, lay your design out beside the nail — one focal piece, one or two supporting pieces, and breathing space around them — because a planned layout looks deliberate, while pieces added one by one tend to drift into clutter.
This is the step most beginners skip, and it is the step that makes the biggest visual difference. Lay your chosen pieces on a palette or a piece of foil in the arrangement you intend. Decide which nail gets the full design and which nails get a quieter echo of it. A full set in which every nail carries the same dense design looks busy; a set in which two accent nails carry the story and the rest carry a whisper of glitter looks expensive.
A good rule of thumb: one focal point per nail, placed slightly off-centre, with smaller pieces leading the eye toward it. Leave a clear margin around the cuticle and the sidewalls — decoration that touches the edge is decoration that will lift. If your layout needs more than five or six pieces on one nail, it probably needs editing, not more gel.
Step 4 — Place the Decoration While the Layer Is Wet
Using tweezers, a wax pencil or a silicone tool, pick up each piece and set it gently into the wet clear layer. Start with the largest piece and work toward the smallest, pressing each one just enough that it sits in the gel rather than floating on top of it. Check from the side as well as from above: a petal that looks flat from above may be standing on one edge, and that edge is exactly what will poke through your top layer later.
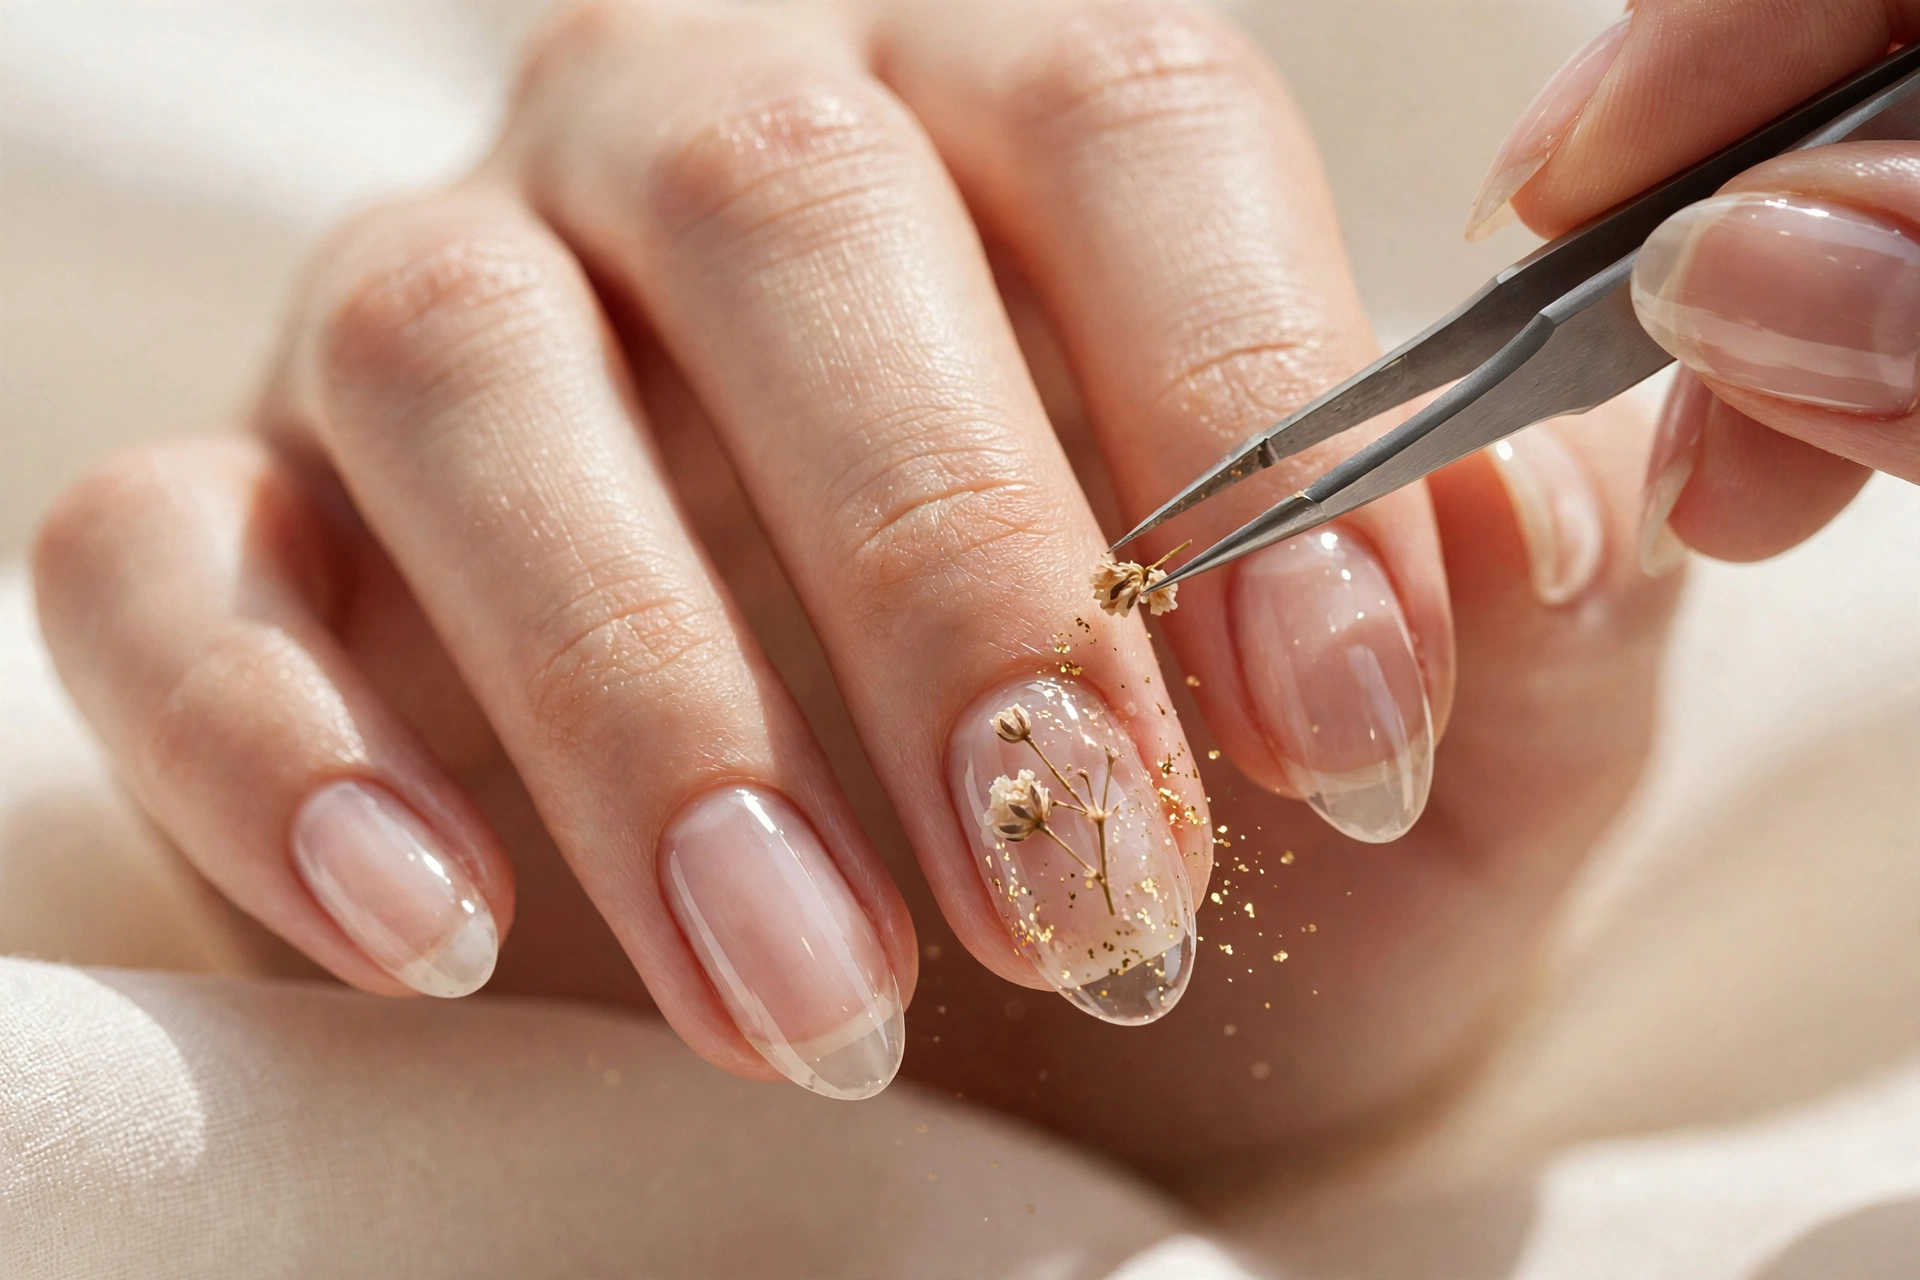
Fine glitter can be sprinkled or tapped on with a dry brush; chunky glitter and foil are better placed piece by piece, so you control where each one lands. If a piece slides, lift it, wipe your tool, and try again rather than chasing it around the nail. And if you change your mind about a piece entirely, it is far easier to remove it now, while the layer is wet, than after it has been sealed.
Once you are happy with the layout, cure the nail as your product directs. This locks the design in place before you build over it, which means your careful placement cannot drift while you apply the next layer.
Step 5 — Seal With a Clear Encapsulating Layer
Now comes the layer that gives the technique its name. Apply clear builder gel over the whole nail, covering every piece of decoration completely. Use a smooth, unhurried stroke from the cuticle area toward the free edge, and let the gel self-level for a moment before you judge it. You are aiming for a layer thick enough to bury the tallest piece of decoration, but not so thick that the nail looks bulky or feels heavy.
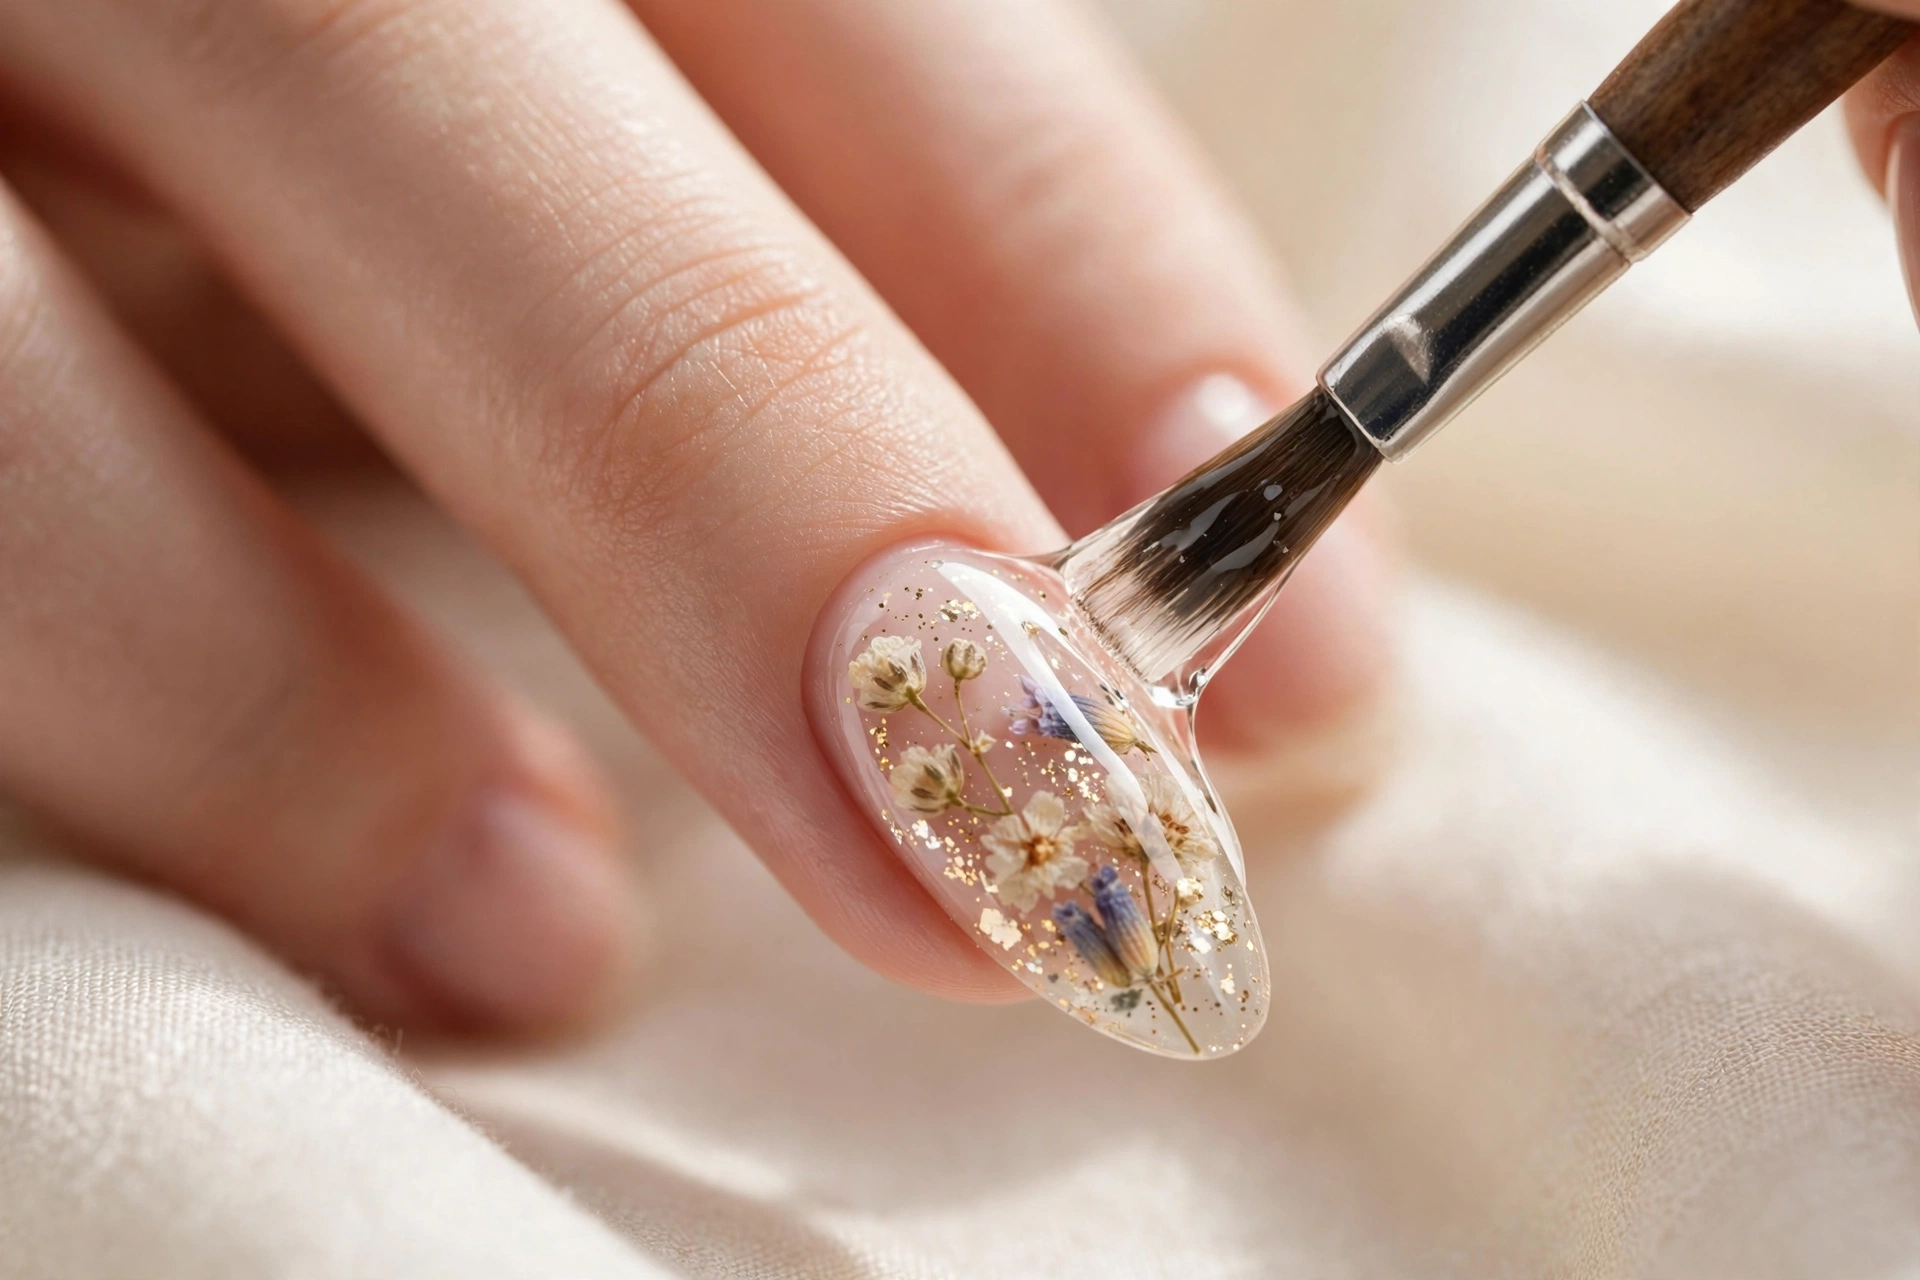
Watch the sidewalls and the free edge as you work. Gel that has flooded the cuticle or run down the side of the nail will not look better after curing, and it is much easier to tidy with a small brush now than to file away later. Keep the gel on the nail plate itself and away from the surrounding skin. If any product touches the skin, remove it before curing, following your product’s guidance.
Cure as your product directs, and then look at the nail honestly before you move on. Run a fingertip — gently — over the surface. If you can feel a piece of decoration, it is not yet fully encapsulated, and it needs another thin clear layer before you proceed. This check takes five seconds and saves the entire manicure.
Step 6 — Build, Level and Check the Shape
If the nail feels smooth but looks slightly uneven, or if one area is thinner than the rest, apply a second thin clear layer to level it. Think of this as smoothing a tabletop rather than adding height. You want an even, gently domed surface — what nail technicians call the apex — that catches the light in one clean reflection rather than in ripples.
This is also the moment to check the shape from every angle: from above, from the side, and with the hand relaxed. A nail that looks perfect from above can look lumpy from the side, and the side view is the one other people actually see when you hold a cup or reach for something. Cure again as directed once you are satisfied.
Step 7 — File and Refine Gently
Once cured, refine the shape with a fine file, using light, even strokes. File the sidewalls and the free edge to restore the crisp outline you shaped at the start, and smooth any tiny ridge where the encapsulating layer meets the natural nail. The keyword here is gentle. You are refining a finished surface, not reshaping the nail from scratch, and aggressive filing will thin the very layer protecting your design.

After filing, brush away dust and cleanse the nail as your system directs. Hold the nail up to the light one more time. The design should look suspended, the surface should look even, and the edges should feel smooth against a fingertip. If anything still catches, a light additional pass with the file — not a heavy one — is the fix.
Step 8 — Top Coat and Final Cure
Apply a clear top coat over the whole nail, sealing the free edge as well, and cure as your product directs. Top coat is what turns a smooth nail into a glassy one. It evens out the last micro-texture from filing and gives the design its wet, suspended look. Two thin coats are better than one thick one if your system allows it, but follow your product’s own guidance rather than layering for the sake of it.
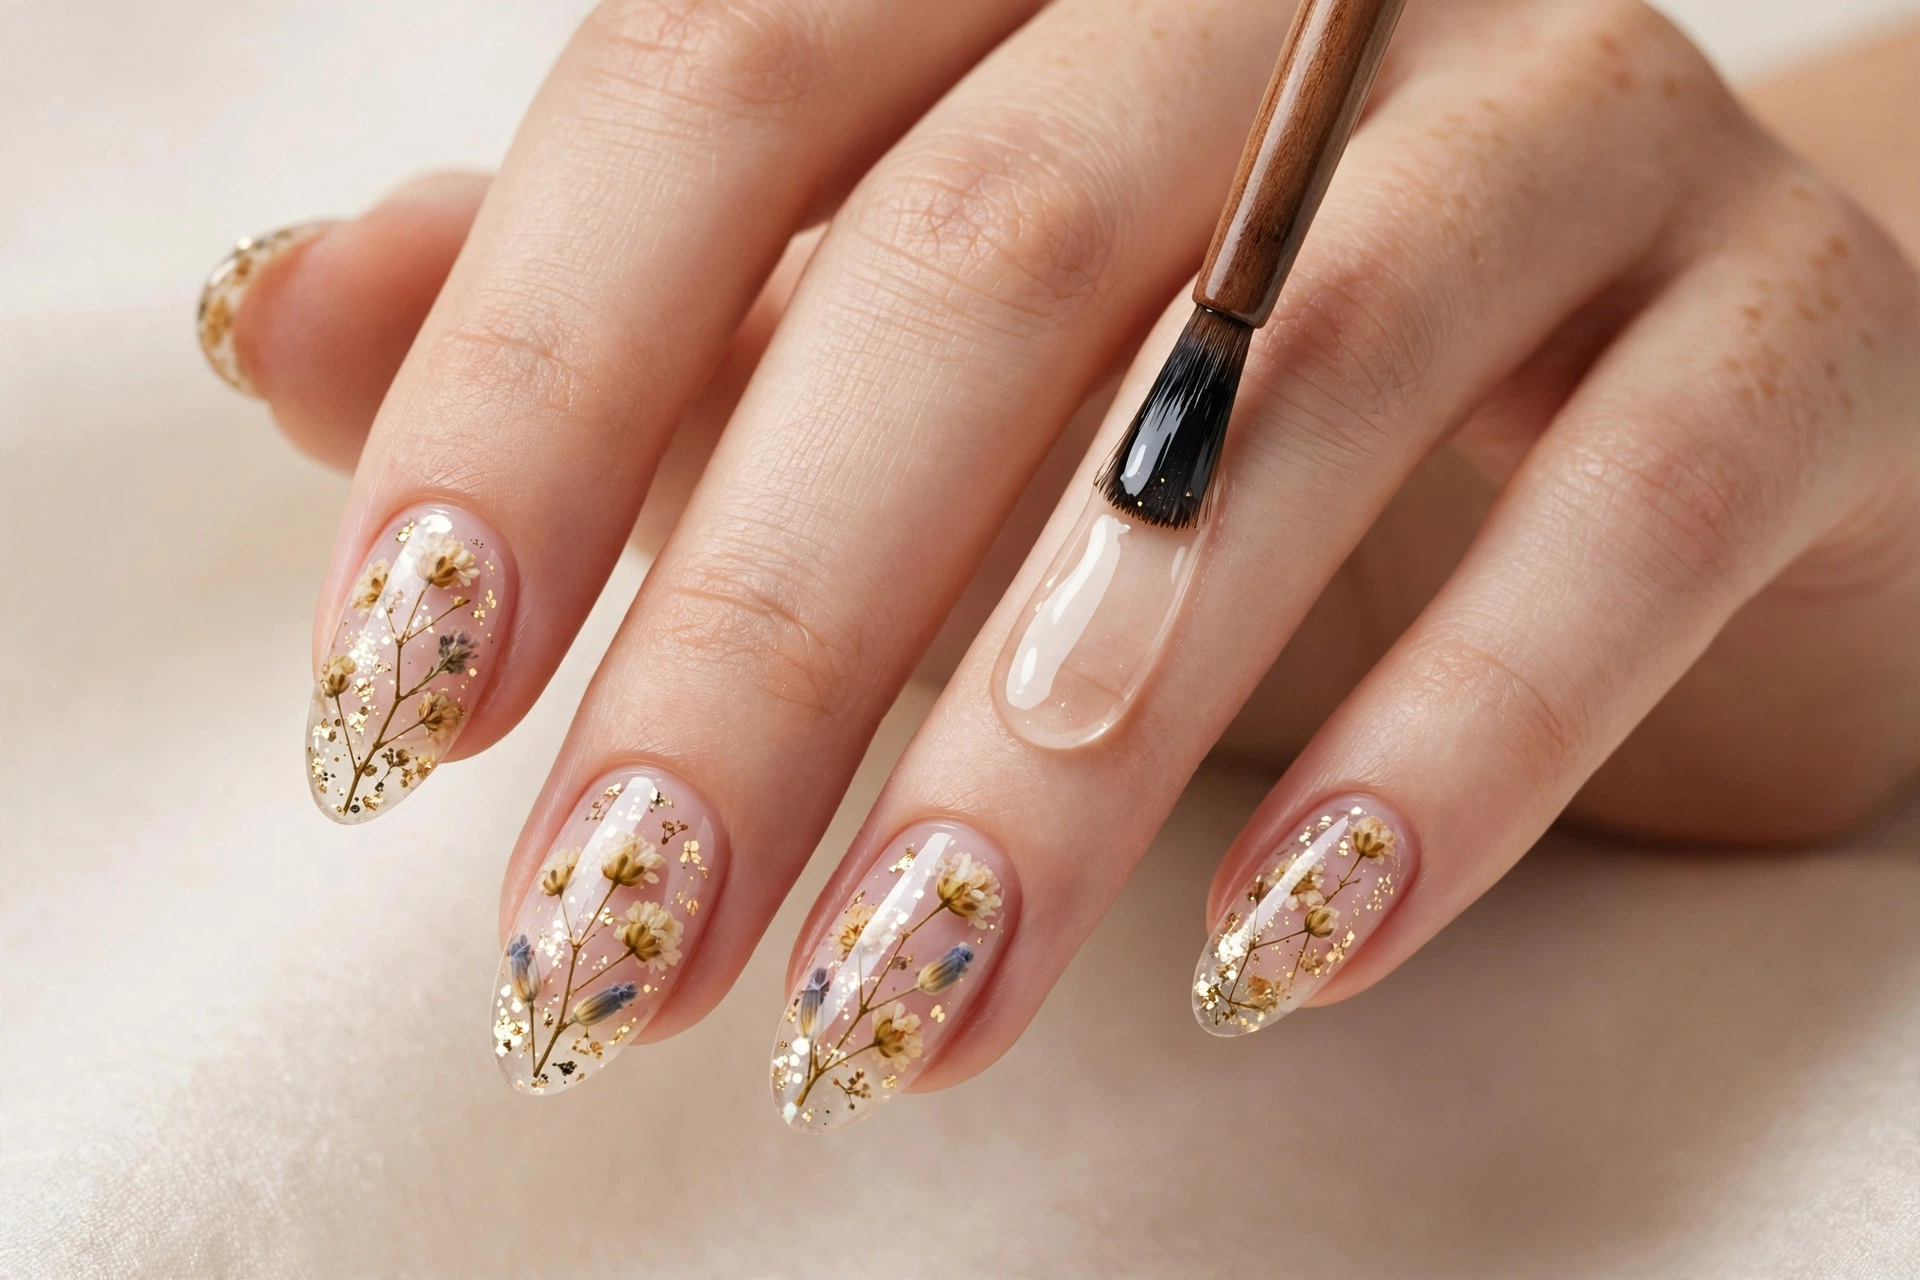
Finish with cuticle oil on the skin around the nail, not on the nail surface itself, and admire your work in daylight rather than under the lamp. Lamp light flatters everything; daylight tells the truth, and it is the light your nails will actually be seen in.
Step 9 — Inspect, Photograph and Wear
Before you call the set finished, inspect each nail in daylight: check the cuticle area for stray gel, the sidewalls for flooding, and the surface for any piece poking through. Clean up anything you find with a gentle file or a small brush, and reapply top coat to any nail you had to correct.
Then wear the set for a day before judging it. Encapsulated nails often look better on day two than on day one, once you have stopped examining them and started simply seeing them — on a coffee cup, on a steering wheel, in a photograph. That is the real test of the technique: not whether the nail looks perfect under a lamp, but whether it looks effortless in ordinary life.
Three Finished Looks to Try First
Champagne Glitter: The Evening Set
Champagne and gold glitter, sealed over a sheer nude base, is the most forgiving first design. Fine glitter fills the background, a few larger flakes give it depth, and the whole thing reads as jewellery rather than nail art. It pairs with everything from a black dress to a camel coat, and because the glitter is fully sealed, it will not shed onto your clothes.

Pressed Flowers: The Romantic Set
Tiny dried flowers — baby’s breath, miniature daisies, small lavender buds — sealed in clear gel look like a pressed-flower bookmark for your hands. Keep the palette to white, blush and one soft accent colour, and give each flower room to breathe. This is the design that photographs best in daylight, and it is a lovely choice for weddings, spring events, or any week when you want your hands to look soft rather than bold.

Rose-Gold Foil: The Modern Set
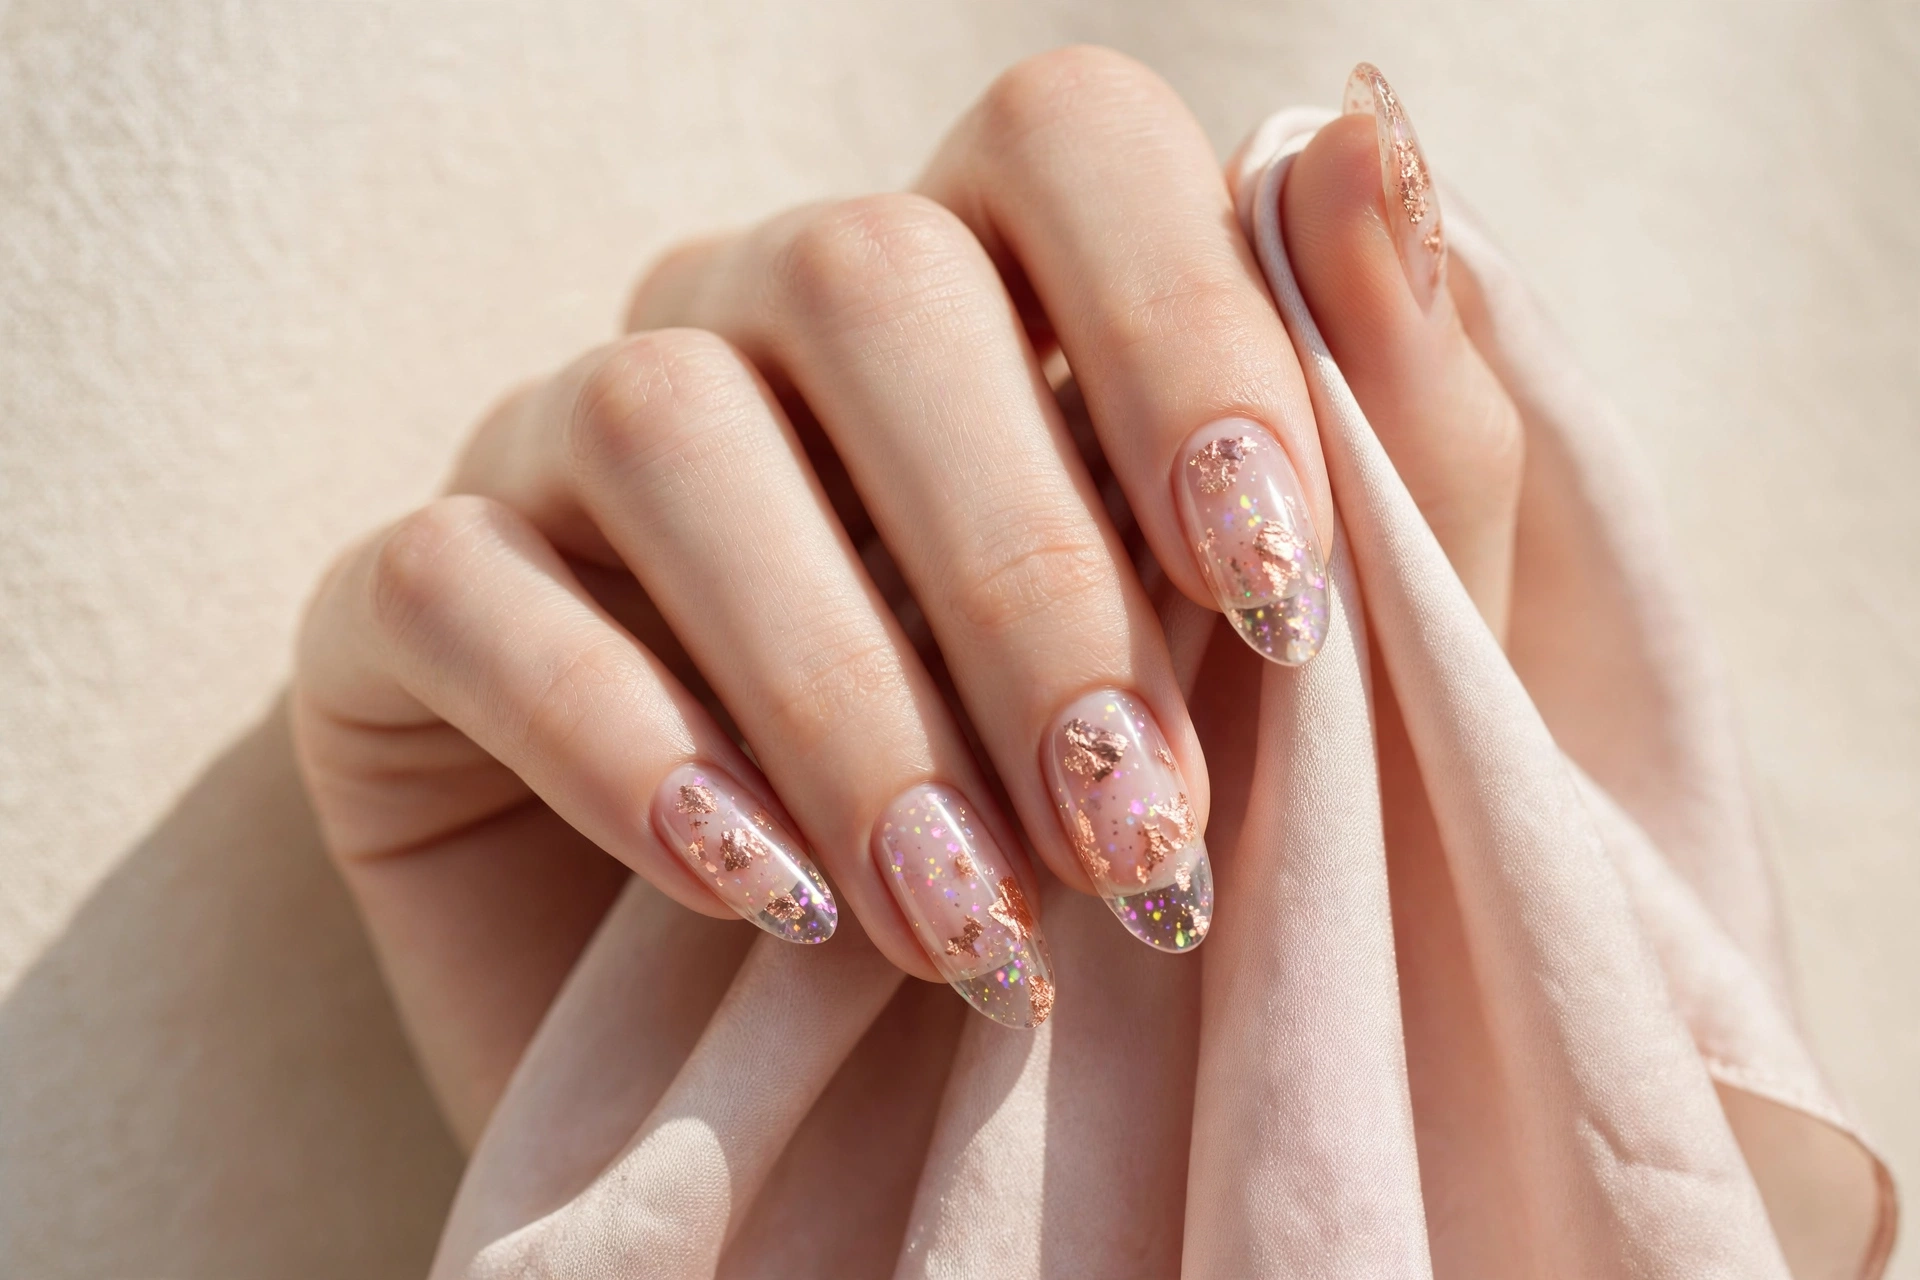
Torn rose-gold foil, scattered rather than placed in a pattern, gives a contemporary, almost marble-like effect. Because foil is so thin, it encapsulates beautifully — it lies flat, catches the light from inside the gel, and never feels bulky. Try it on two accent nails with a sheer pink base on the rest, and you have a set that looks considered without looking fussy.
Common Mistakes and How to Fix Them
Direct answer: Most encapsulation problems come from four causes: pieces that are not flat enough, gel that is too thin to cover them, decoration touching the edges, and rushing the levelling step — and all four are fixable if you catch them before the final top coat.
| Problem | Likely cause | Fix |
|---|---|---|
| A petal or flake pokes through the surface | The piece was standing on an edge, or the clear layer was too thin | File the area gently, add another thin clear layer, cure, and re-check before top coat |
| The design looks cloudy or milky | Trapped dust, moisture, or a tinted “clear” product | Start that nail again with clean tools and a genuinely clear builder gel |
| Glitter drifts to one side | Too much product, or the nail was tilted while the layer was wet | Keep the hand flat while working, use less gel, and cure each nail before moving on |
| Lifting at the cuticle or sidewalls | Gel flooded the skin or decoration touched the edge | Keep a clear margin, tidy edges before curing, and remove any skin contact before curing |
| The nail feels bulky or heavy | Too many encapsulating layers, or pieces stacked on top of each other | Use flatter pieces, fewer layers, and test the design on one accent nail first |
| Air bubbles in the clear layer | Brushing too quickly, or shaking the bottle | Use slow strokes, let the gel settle before curing, and pop surface bubbles with a fine tool |
The recurring theme is patience. Almost every fix in that table is a slower version of the original step: slower placement, slower brushing, a moment longer to level. Encapsulation is not a technique that rewards speed. It rewards the person who checks the nail before curing, rather than after.
Aftercare: Keeping the Glassy Finish
Direct answer: Treat encapsulated nails like any gel manicure — wear gloves for cleaning, moisturise the cuticles daily, and avoid using your nails as tools — and the sealed design will keep its glassy finish for the normal wear of your gel system.
Cuticle oil is your best friend here, applied to the skin around the nail daily. It keeps the surrounding skin supple, which makes the whole manicure look fresher for longer, and it costs about ten seconds a day. Gloves for washing up and cleaning are not glamorous advice, but they are the difference between a set that lasts two weeks and a set that chips in five days. Hot water, detergents and scrubbing are hard on any manicure, sealed or not.
Avoid picking at the free edge or using your nails to open packaging, scrape labels or pry things apart. Encapsulation protects the design, but it does not make the nail indestructible, and a crack that starts at the tip will travel through the clear layer just as it would through any gel. If a nail does crack or lift, do not peel it — cover it, keep it clean, and remove it properly when you can.
Safe Removal: Do Not Peel, Pick or Force
Direct answer: Remove encapsulated nails the same gentle way you would remove any gel set: shorten and lightly dull the top coat, soak off following your product’s instructions, and let the softened product slide away with a gentle pusher — never peel, pry or force it, and seek professional help if a nail resists.
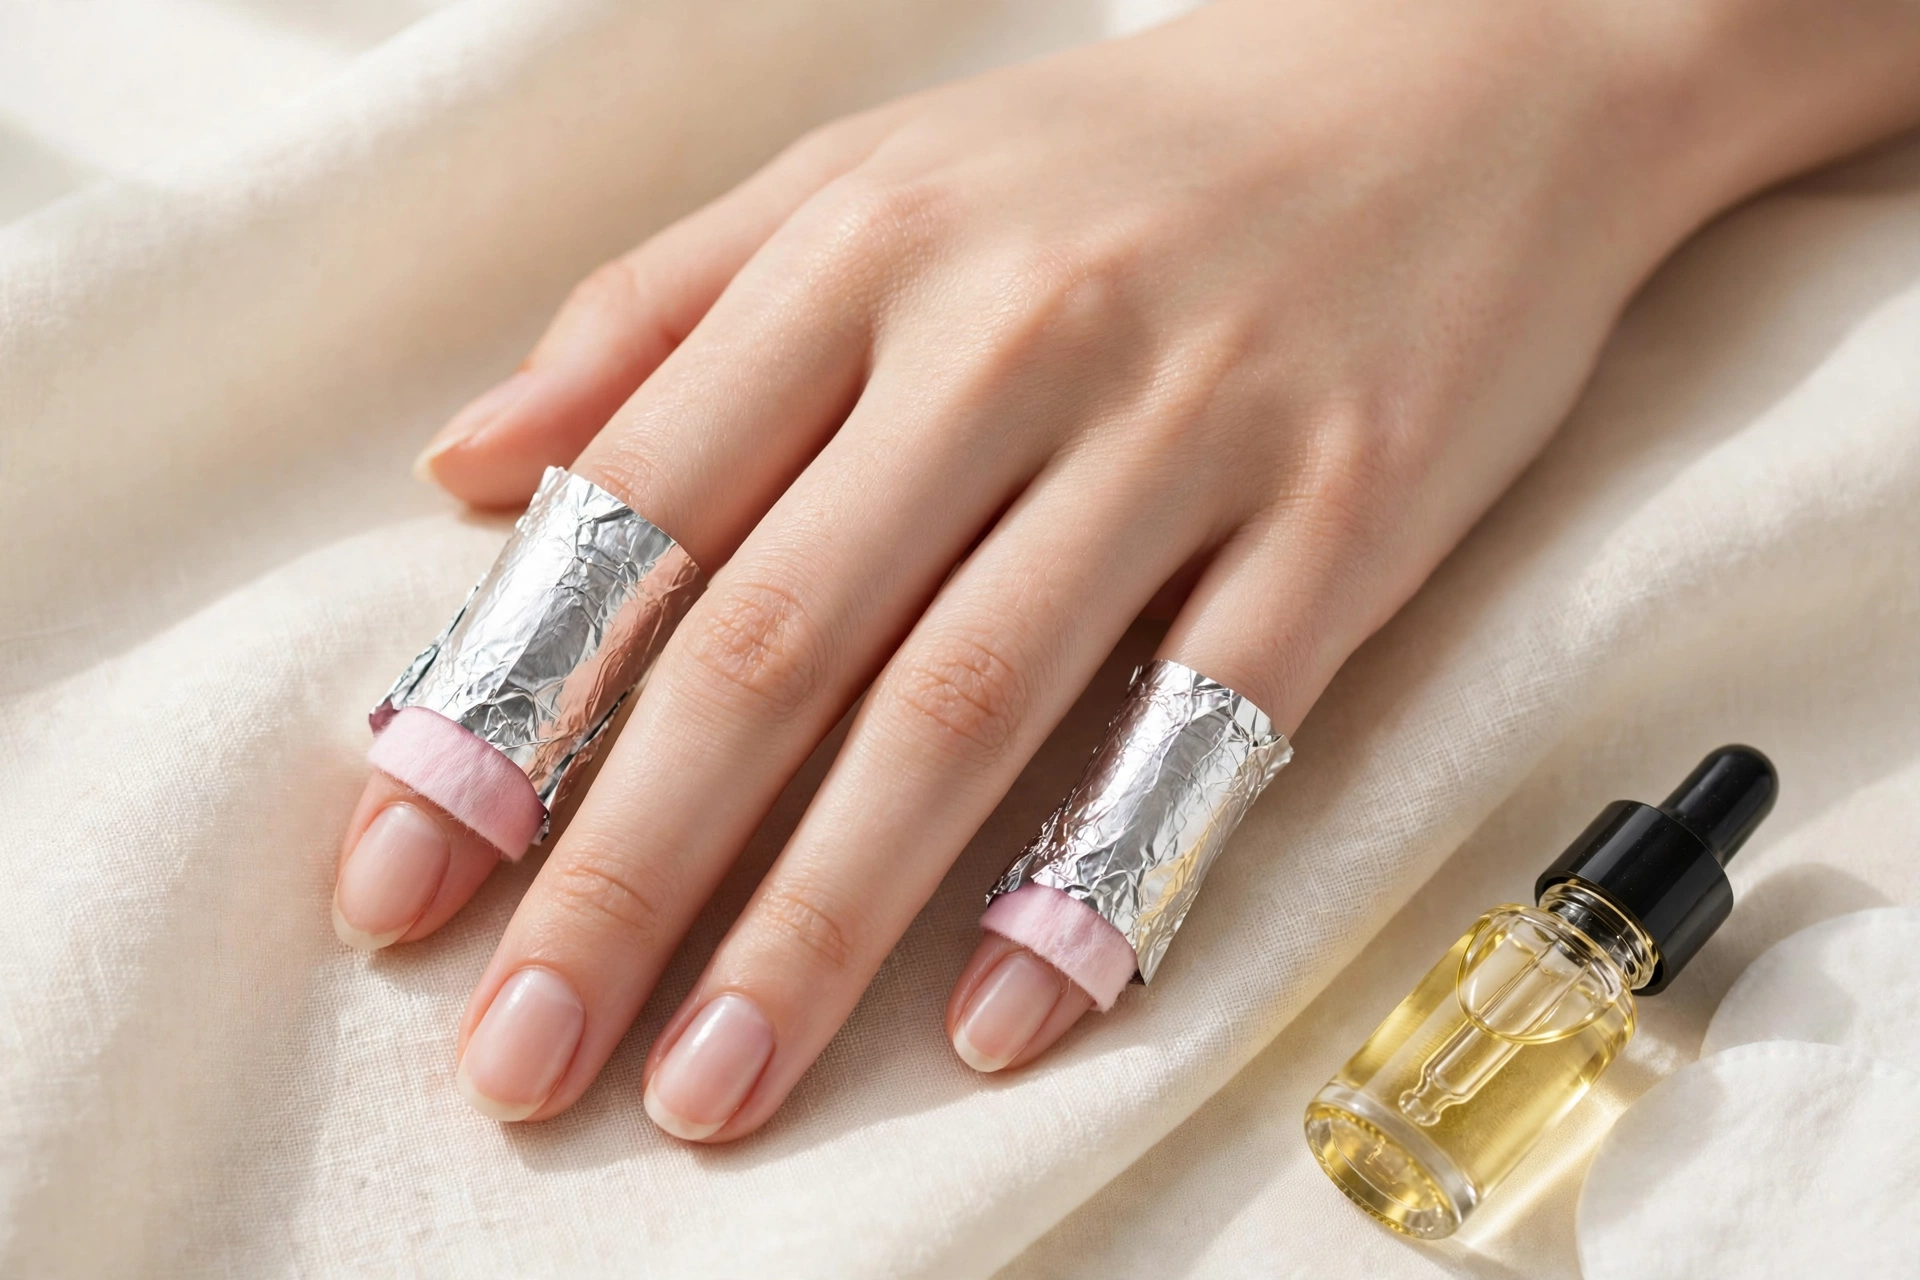
Removal day is where good manicures are either preserved or undone. Because the design is sealed inside a thicker clear layer than a normal gel manicure, removal takes a little longer, and that extra time tempts people to rush. Resist it. Shorten the nails, gently file the shine from the top coat so the remover can reach the product, and then soak following your own product’s instructions. When the product has softened, it should slide away with light pressure from a pusher. If it does not, it is not ready — soak a little longer rather than scraping harder.
Once the product is off, wash your hands, apply cuticle oil, and give your natural nails a rest before your next set if they feel dry or thin. A short break between sets is not a failure; it is maintenance. For a fuller walkthrough of gentle gel removal, see our dedicated guide.
How to Remove Gel Polish Safely
When to Try a Salon Instead
There is no shame in handing a design to a professional, and encapsulation has a few natural limits at home. Very long extensions, sculpted shapes, or designs that need acrylic rather than gel are all easier — and often cheaper in the long run — in a salon, where the technician has a full product range and a second pair of hands. Similarly, if your nails are damaged, splitting, or lifting repeatedly, or if you notice irritation around a nail, stop and let a professional look before your next set. A good technician will also be happy to show you how they place a tricky piece; watching once can teach you more than three tutorials.
For most people, though, encapsulation is firmly in at-home territory. It uses products you may already own, it forgives small placement errors, and it produces a result that genuinely looks like it came from a salon chair. That combination — low risk, high reward — is rare in nail art, and it is why this technique has stayed popular long after flashier trends have faded.
Final Thoughts
Encapsulated nails are, at heart, a lesson in restraint. The temptation is always to add one more flake, one more flower, one more layer of glitter. The nails that look most luxurious are almost always the ones where someone stopped one piece earlier than they wanted to. Choose a small palette, place each piece deliberately, seal it properly, and let the clear layer do the talking.
Start with two accent nails this weekend. Photograph them in daylight. Notice how the design changes as your hand moves — that shifting depth is the whole point, and it is something no surface polish can imitate. Once you have felt that smooth, glassy surface under your own fingertip, you will understand why encapsulation has quietly become a staple rather than a trend. And your next set will be better still, because now you know exactly where the magic sits: not on the nail, but just beneath it.
Frequently Asked Questions
What are encapsulated nails?
Encapsulated nails are nails in which glitter, dried flowers, foil or similar decorations are sealed inside a clear builder gel or acrylic layer. Because the design sits beneath a smooth transparent surface, it cannot snag, lift or rub away, and the finished nail feels completely flat despite the decoration inside.
Can beginners do encapsulated nails at home?
Yes, provided you are already comfortable with a basic gel manicure, including base coat application and curing. Encapsulation adds placement and levelling to that routine, so practise on two accent nails first. The technique is forgiving: pieces can be repositioned while the layer is wet, before anything is cured.
What can you encapsulate in nails?
Nail-safe glitter, fine flakes, foil, fully dried pressed flowers and tiny shells all work well, as long as each piece is flat, clean and completely dry. Avoid fresh flowers, thick or damp pieces, and anything not made for nail use, because pieces that will not lie flat will poke through the clear layer.
How long do encapsulated nails last?
Encapsulated nails last for the normal wear of your gel system, provided every piece is fully covered, the edges are sealed, and the nails are not used as tools. Gloves for cleaning and daily cuticle oil help considerably. If a nail lifts or cracks, remove it properly rather than peeling it off.
Can you encapsulate nails with regular nail polish?
Regular polish is not well suited to encapsulation, because it cannot build the thick, level, crystal-clear layer that seals chunky glitter or flowers. A clear builder gel or acrylic system is the right medium: it holds the decoration, levels over it, and cures into a hard, smooth, glass-like finish.
How do you remove encapsulated nails safely?
Shorten the nails, gently dull the top coat with a file, and soak off following your product’s instructions until the product softens and slides away with light pressure. Never peel, pry or force it. Because the clear layer is thicker than normal gel, removal takes a little longer, so patience matters more than pressure.