

That seamless, salon-looking fade — the one that makes you wonder how anyone paints a gradient that smooth with a tiny brush — is one of the most-requested manicure effects in the world. The secret is that nobody freehands it. The ombre effect is stamped on with an ordinary makeup sponge, and once you learn the dabbing rhythm, it is genuinely one of the easiest nail-art techniques you can master at home.
- Ombre nails are a smooth gradient fade between two polish colors, usually darker at the cuticle and lighter at the tip.
- The sponge method stamps the gradient on with a damp wedge makeup sponge — no airbrush, no salon tools needed.
- Skill level: confident beginner. Time: about 45–60 minutes including drying.
- Key to success: thin dabbing layers (2–3 passes), a glossy top coat to melt the blend, and immediate cleanup with a thin brush.
- Regular polish version lasts about 5–7 days with proper prep and a good top coat.
- Alternative: the brush-blend method, where a fluffy brush softens two wet stripes of polish — fewer layers, slightly softer result.
What are ombre nails, exactly?
Definition: Ombre nails are a manicure in which two (or more) nail polish colors blend into one another in a smooth, seamless gradient across the nail — no visible line where one color ends and the next begins. The word comes from the French ombrer, “to shade,” and the technique was borrowed from hair coloring.
The classic version fades from a deeper shade at the cuticle to a lighter one at the free edge — blush rose melting into nude, plum dissolving into beige, chocolate into caramel. Reverse ombre flips the direction. A vertical ombre blends side to side instead of tip to cuticle. All three use the same core technique, and all three are achievable on your kitchen table with a sponge you probably already own.
What result can you realistically expect?
Ombre nails done at home with regular polish and the sponge method can look genuinely salon-level — a smooth, even gradient with a glassy finish — provided you accept one honest truth: the magic happens in the top coat. Your first dabbed layer will look rough, stippled, and uneven. That is normal. By the second or third layer, the gradient settles, and a glossy top coat melts everything into one seamless fade. Expect your first attempt to take close to an hour and look about 80% as good as the inspiration photo. Your third attempt will be nearly indistinguishable from it.

What do you need before you start?
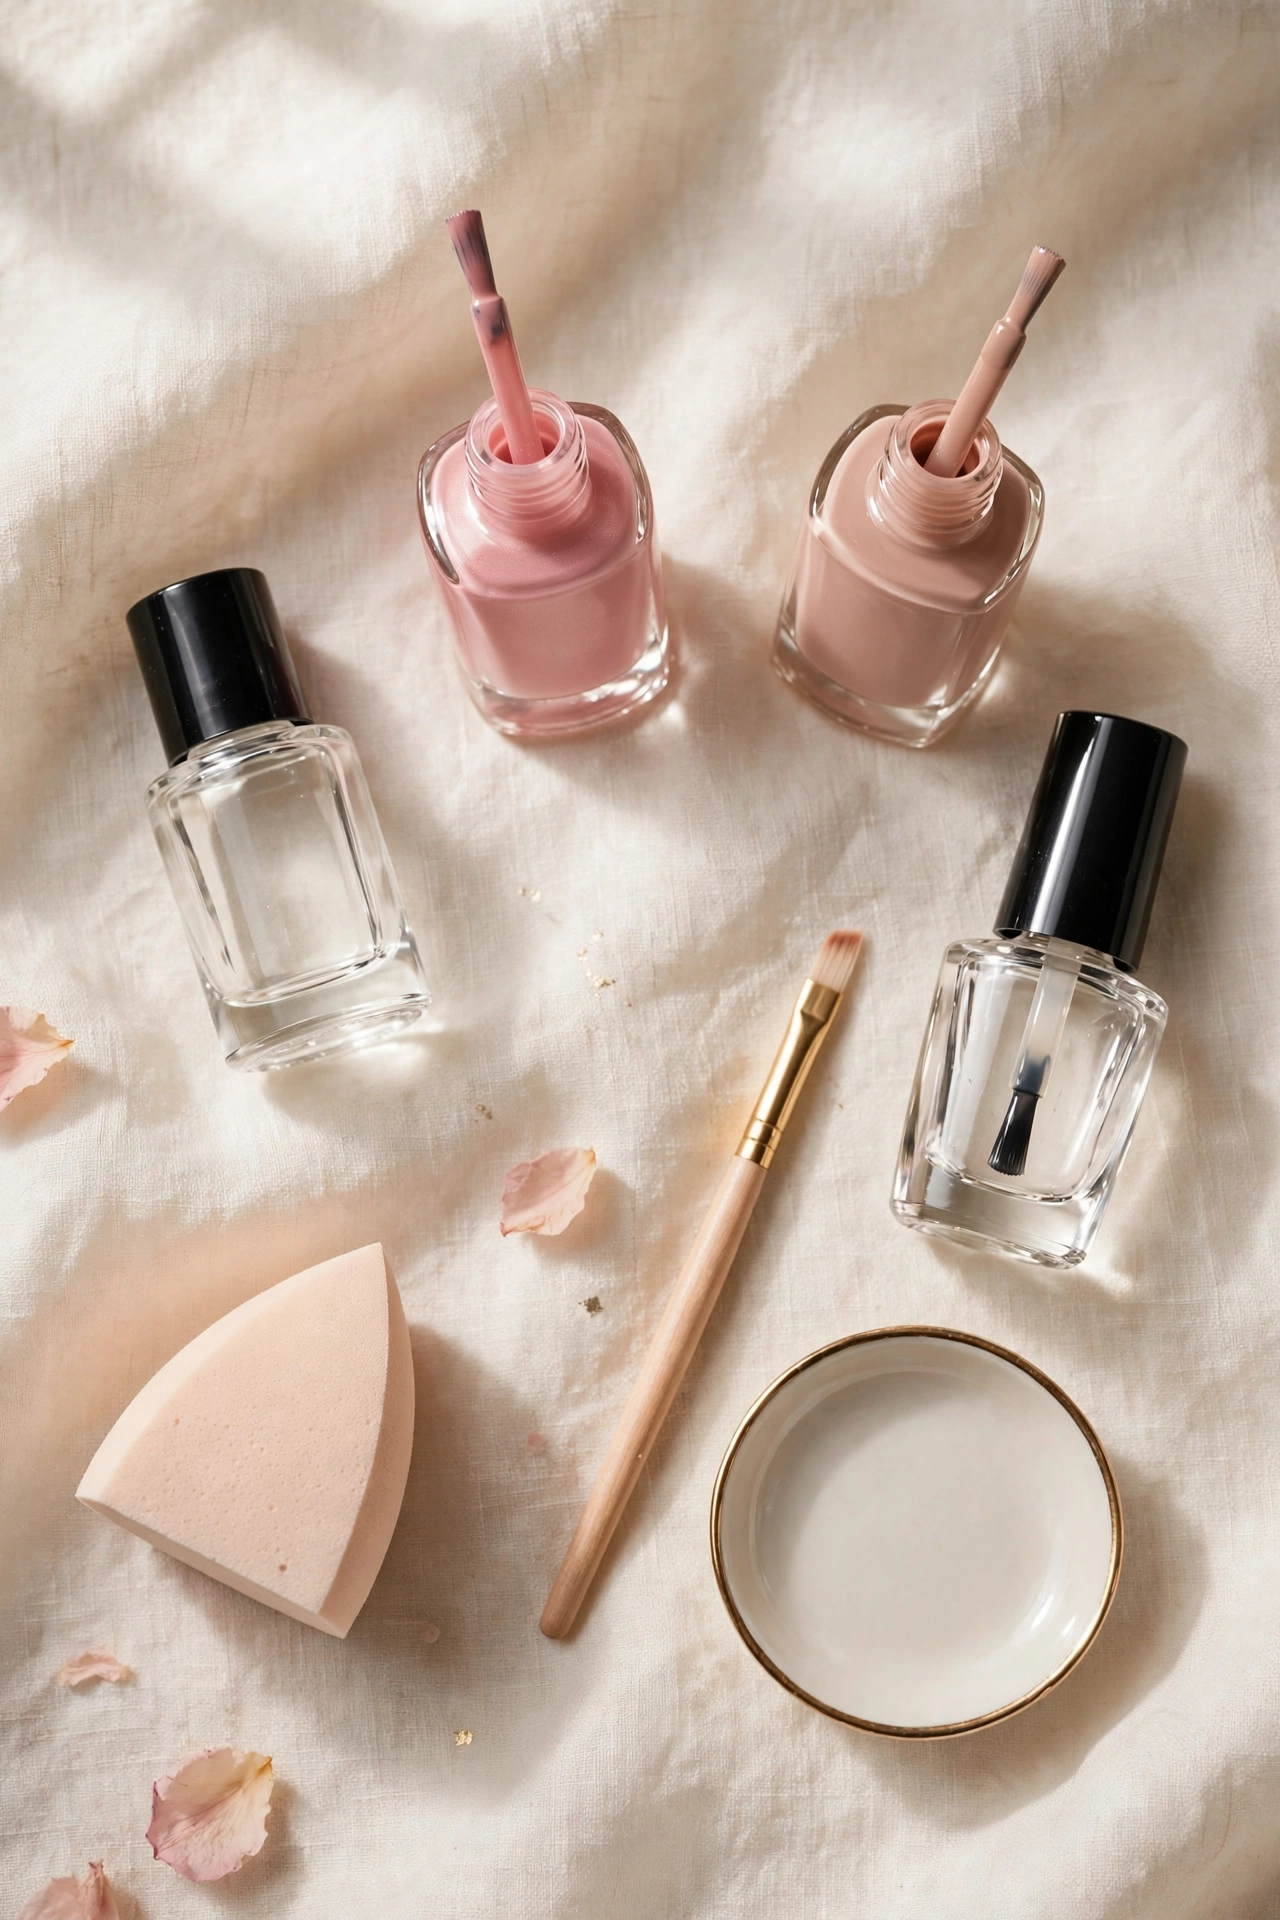
Ombre is technique, not equipment. You do not need an airbrush, a sponge set marketed for nails, or professional polish. Here is the complete kit, and everything on it has a job.
- Two nail polishes in harmonizing shades — one darker, one lighter, in the same finish (both crème works best; avoid pairing a sheer with a glitter). Similar formulas blend more smoothly.
- A wedge makeup sponge — the classic triangular kind. Tear it so you have a fresh edge; a slightly damp sponge (wring out all excess water) keeps polish from soaking in and dries with a finer texture.
- Base coat and a glossy top coat — the base coat evens the nail surface so the gradient sits smoothly; the top coat is what fuses the dabbed layers into a seamless fade.
- A thin cleanup brush — an old angled liner brush works beautifully — plus regular nail polish remover in a small dish for cleaning skin around the nails.
- A file, a gentle buffer, and a cuticle pusher — gradient polish shows every ridge and rough edge more than a solid color does, so prep matters.
- Cuticle oil — for aftercare, not the process itself.
How difficult is the ombre sponge method, and how long does it take?
Ombre nails with the sponge method are a confident-beginner technique that takes about 45–60 minutes for a full manicure, including drying time. The difficulty is not in the dabbing — that is easy — but in restraint: thin layers, light pressure, and letting each layer set before adding the next. If you can paint a reasonably neat solid-color manicure, you have all the brush control this needs. The method is forgiving because cleanup happens after, not during.
Shape note: the gradient flatters most nail shapes, but longer nails show off the fade most dramatically, and almond or oval shapes make the blend look softer. If you are still deciding on a shape, our guide to round, oval, and squoval nail shapes explains which silhouettes suit different finger lengths.
How do you do ombre nails with a sponge? The step-by-step method
How do you do ombre nails at home with a sponge? You paint stripes of your two polishes side by side on a slightly damp wedge sponge, then bounce — never drag — the sponge onto each nail in two to three thin layers, cleaning the skin afterward and sealing everything with a glossy top coat. Here is the full process, one actionable step at a time.
Step 1 — Prep the nails properly
Remove any old polish completely. File your nails to an even shape and length, then gently push back your cuticles — do not cut them. Give each nail one or two light passes with a soft buffer to remove ridges, then wipe the nail plate with polish remover on a lint-free pad to take off dust and oils. This five-minute prep is the difference between an ombre that looks airbrushed and one that looks homemade.
Step 2 — Apply your base color
Apply one thin coat of base coat, then one to two thin coats of your lighter polish shade over the whole nail. Starting with the lighter color makes the darker color’s fade look softer and more expensive. Let this dry until it is no longer tacky — about five minutes. Do not skip the drying; a wet base smears when the sponge touches it.

Step 3 — Load the sponge with both colors
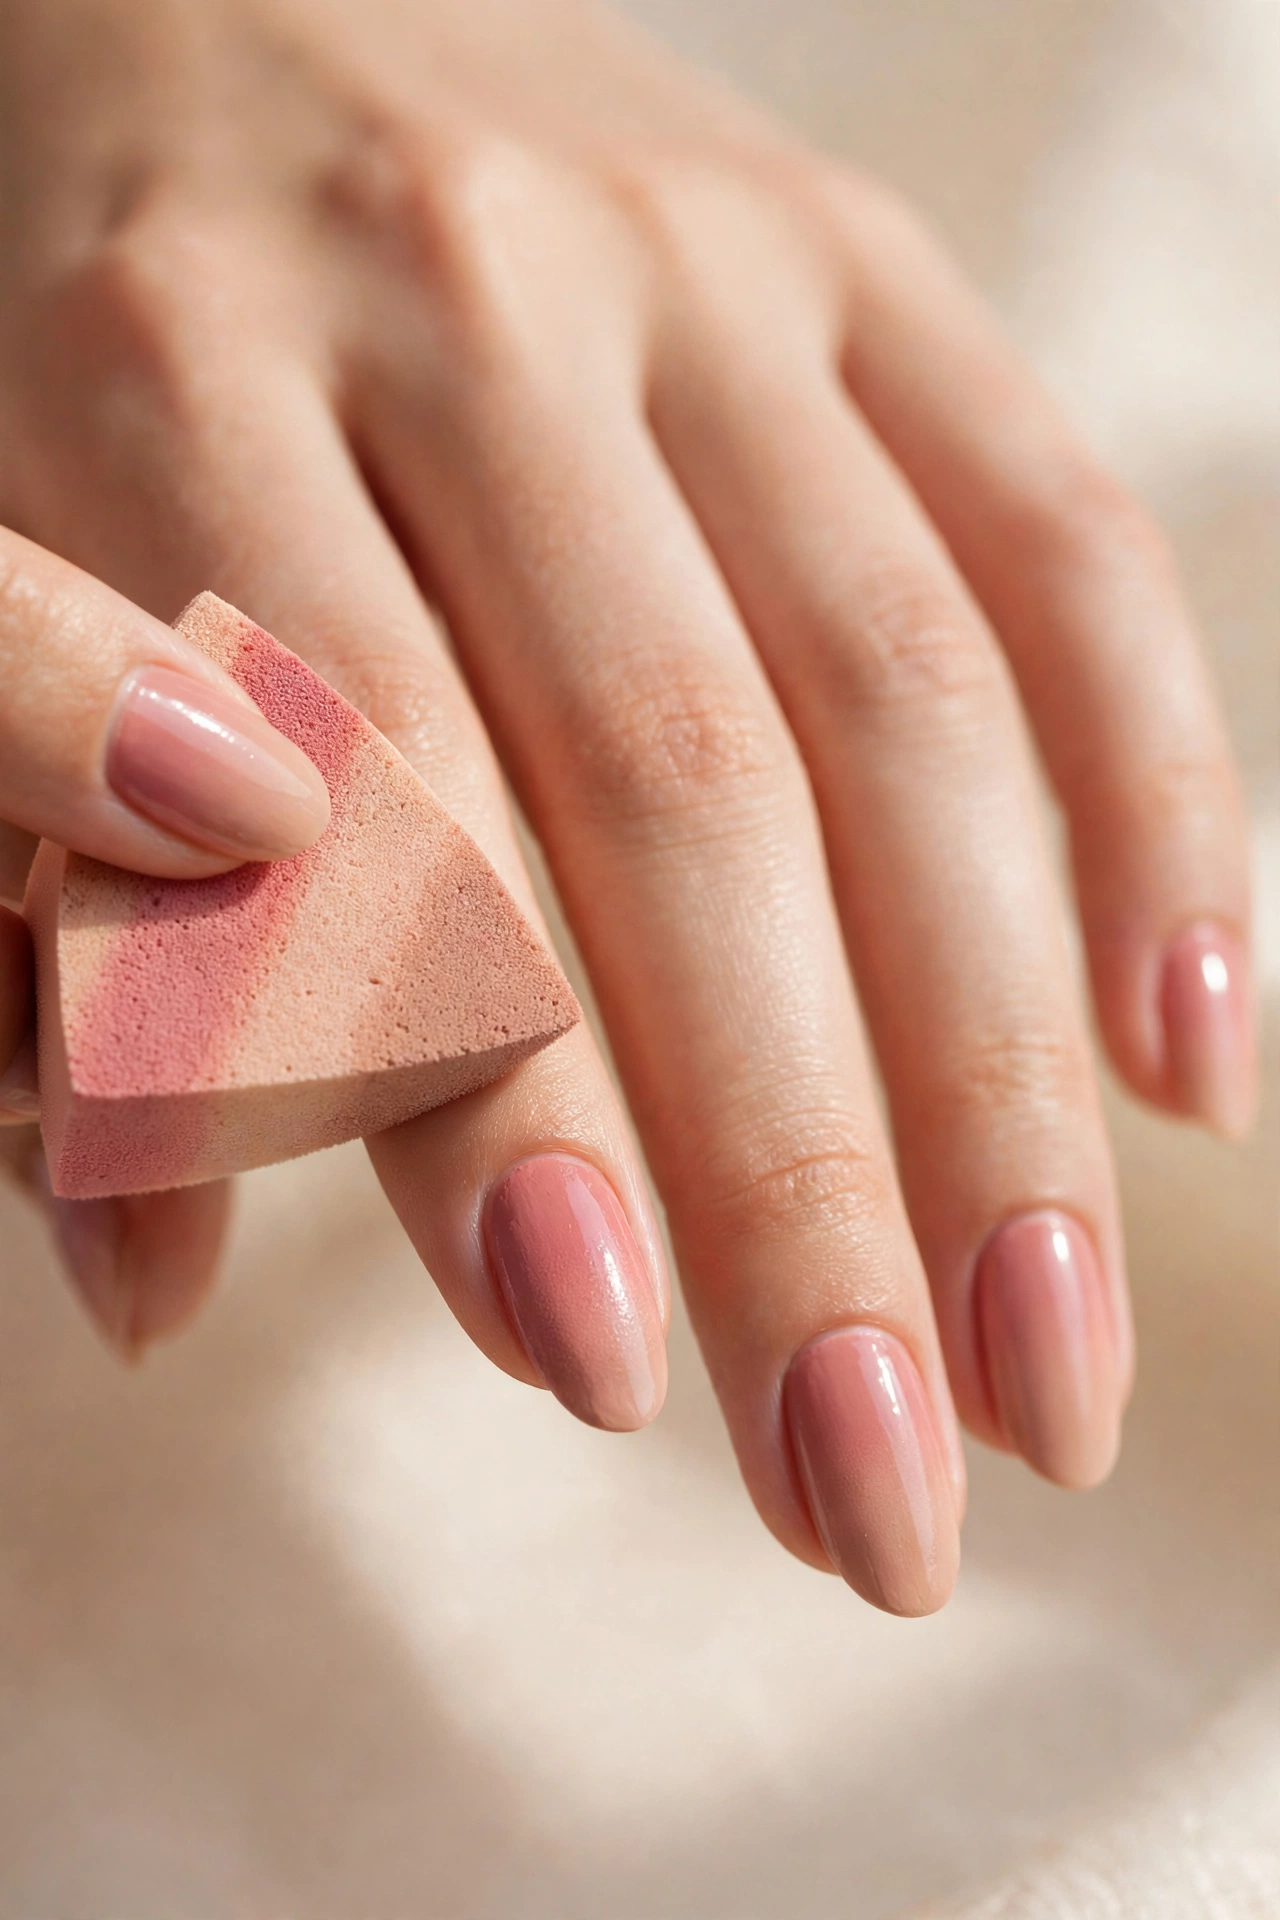
Dampen a wedge makeup sponge and squeeze it completely dry — it should feel barely moist, not wet. Paint a stripe of your darker polish and a stripe of your lighter polish side by side directly onto the sponge’s flat edge, letting the stripes touch in the middle so they bleed into each other slightly. Work quickly: regular polish begins to set on the sponge within a minute or two, and a dried-out sponge stamps on a crusty texture.
Step 4 — Dab, don’t drag: stamp the gradient on
Press the loaded sponge onto the nail with a light bouncing motion — dab, lift, reposition, dab. Start with the darker stripe near the cuticle and roll toward the lighter stripe at the tip, or flip the sponge orientation for a reverse ombre. Use light, quick pressure. Pressing hard leaves a pitted, orange-peel texture; floating the sponge on with gentle taps leaves a fine, even stipple. Reload the sponge with fresh stripes for every two to three nails so the color stays wet and saturated.
Step 5 — Build the gradient in thin layers
Let the first stamped layer set for two to three minutes, then repeat the dabbing with a fresh-loaded sponge. Two to three thin layers are the sweet spot: the first looks blotchy, the second starts to blend, and the third deepens the color into a rich, continuous fade. Patience between layers matters more than pressure. If you notice the polish getting tacky and dragging, stop — let it set fully, then add one more light pass rather than forcing a wet layer.

Step 6 — Clean up the skin around each nail
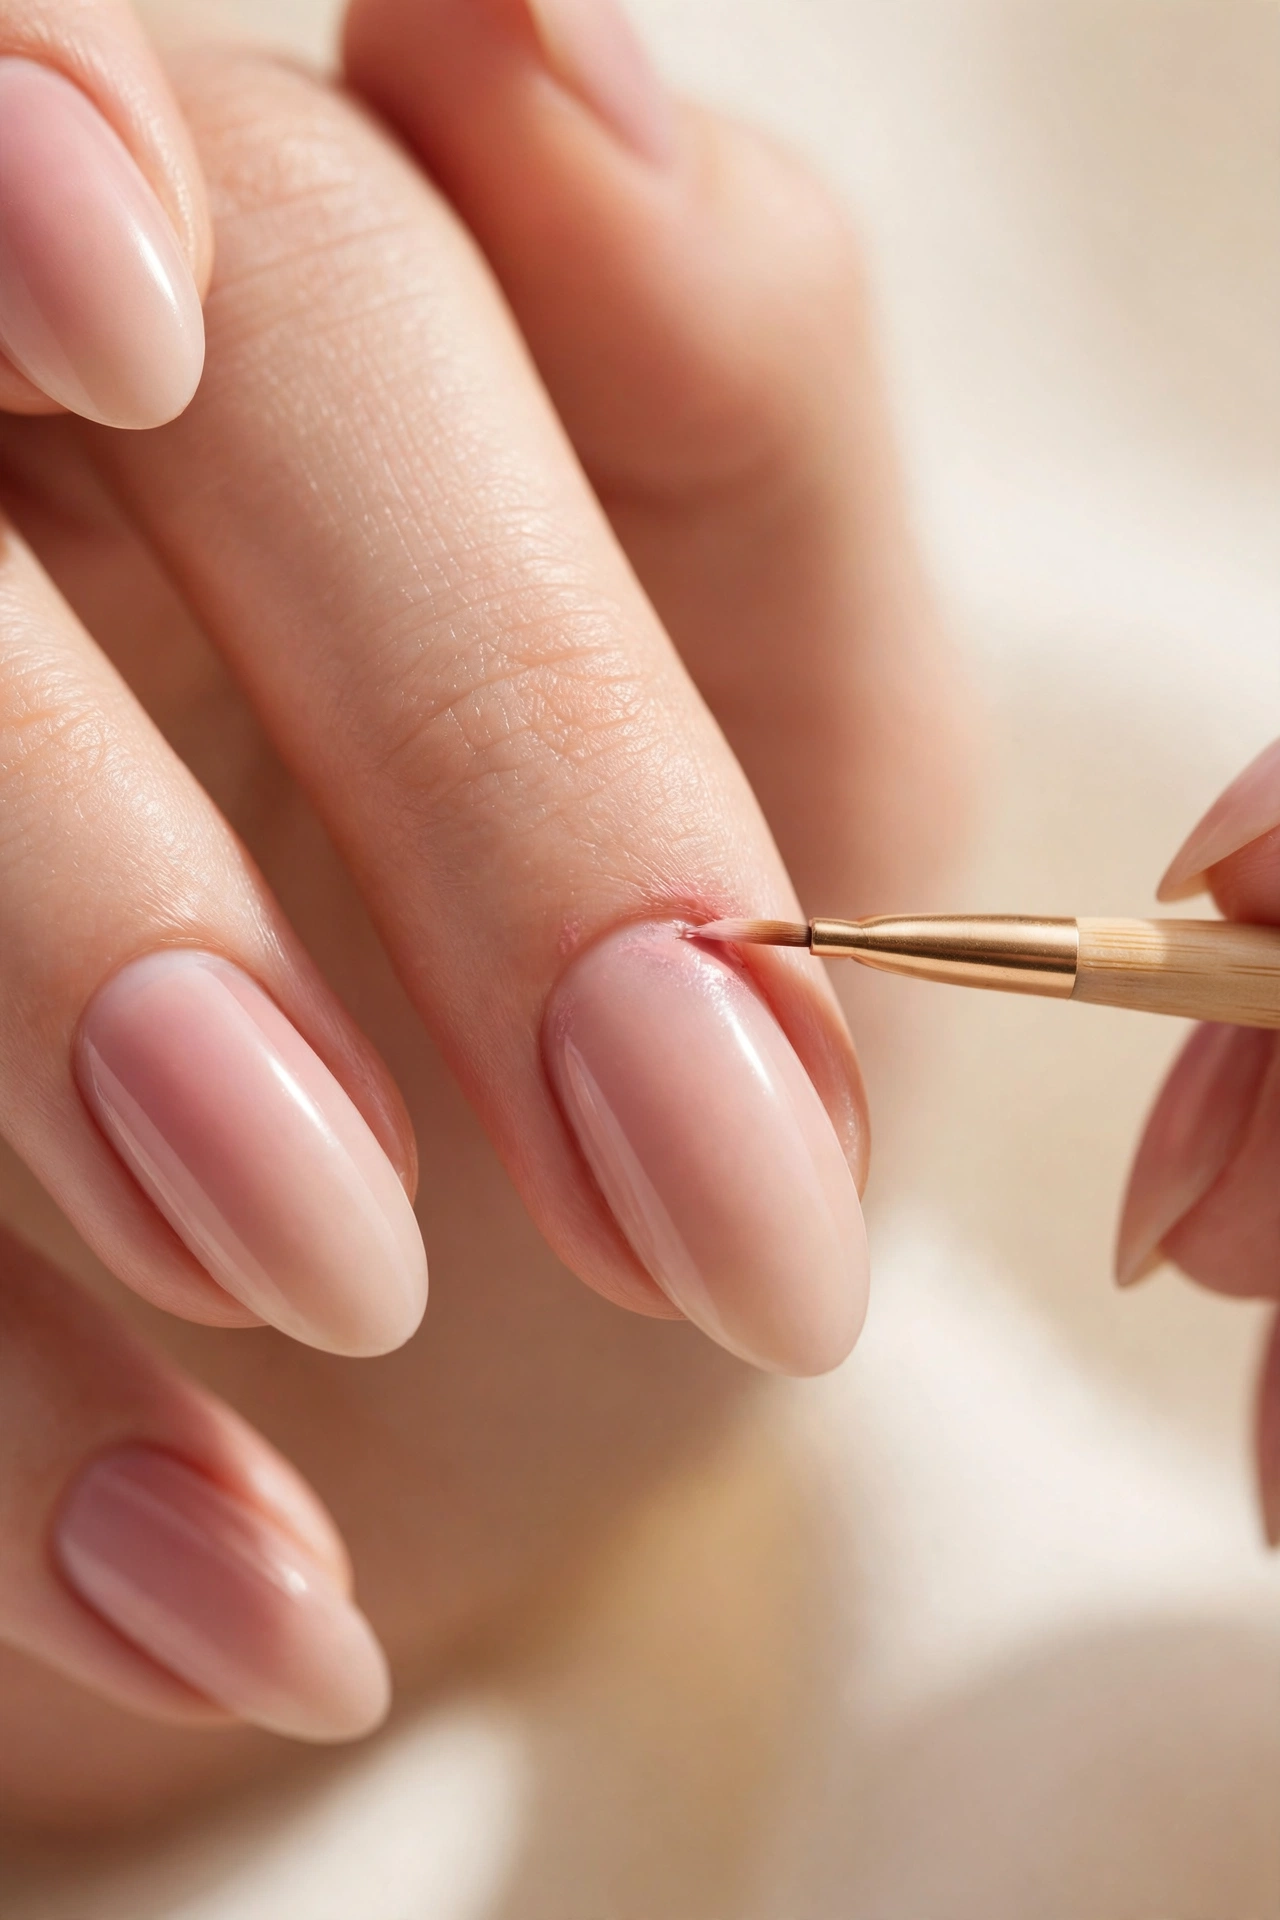
Sponge work always gets polish on the skin, and that is fine — it is designed to be cleaned up afterward. Dip your thin cleanup brush in polish remover, wipe the excess on the dish rim so the brush is damp rather than dripping, and trace carefully around each cuticle and sidewall. Work nail by nail right after stamping each one; fresh smudges wipe away in one stroke, while dried ones need scrubbing that can nick the gradient.
Step 7 — Seal with a glossy top coat
This is the step that makes the manicure. Apply one generous coat of glossy top coat, floating it over the nail rather than scrubbing it on, and cap the free edge by running the brush lightly across the tip. The top coat melts the dabbed stipple into a seamless fade and adds the glassy depth that reads as “salon.” Let it dry completely — hands off for at least fifteen minutes, longer if you applied thick layers.
Step 8 — Aftercare that keeps it flawless
Once fully dry, massage a drop of cuticle oil into each nail — it keeps the surrounding skin supple so the manicure looks fresh longer. Wear gloves for dishes and cleaning for the first day, and reapply a thin layer of top coat on day three or four to refresh the shine and add a few extra days of wear. Many of the same prep habits that extend a manicure also apply to other at-home techniques; our guide on how to make press-on nails last covers nail-plate prep in detail, and the principles transfer directly here.

Is there an alternative to the sponge method?
Can you do ombre nails without a sponge? Yes — the brush-blend method is the main alternative, and some people find it easier. Paint a stripe of your darker color on the lower half of the nail and a stripe of your lighter color on the upper half, then take a clean, dry, fluffy brush (a small eyeshadow blending brush works) and sweep it gently back and forth across the meeting point while both polishes are still wet. The brush softens the boundary into a gradient. It produces a softer, more diffused fade with less texture than sponging, but it demands speed — you must blend while the polish is wet, which gives you perhaps sixty seconds of working time per nail. Sponging gives you layers and second chances; brush-blending gives you one shot per nail.
Which ombre method is right for you?
Choosing between the sponge method, the brush-blend method, and a salon gel ombre comes down to your tools, your patience, and how long you want the manicure to last. This comparison lays out the real trade-offs.
| Method | Difficulty | Time | Finish | Typical wear | Best for |
|---|---|---|---|---|---|
| Sponge gradient (regular polish) | Confident beginner | 45–60 min | Rich, even fade; glassy after top coat | 5–7 days | First-timers; most forgiving method |
| Brush-blend (regular polish) | Intermediate | 30–45 min | Softer, more diffused fade | 5–7 days | Quick manis; people who dislike cleanup |
| Salon gel ombre | Professional | 60–90 min | Ultra-smooth, high-gloss | 2–3 weeks | Longest wear; special occasions |
If you work with gel polish at home, the sponge method transfers directly — use the same dabbing technique with gel and cure per your product’s instructions between layers. Keep gel off the surrounding skin and follow the manufacturer’s guidance for curing and removal.
What are the most common ombre mistakes, and how do you fix them?
Almost every disappointing ombre comes from one of a handful of fixable habits. Here are the mistakes beginners make most often, why they happen, and what to do instead.
Mistake 1 — A visible harsh line instead of a fade
Why it happens: the two polish stripes on the sponge did not touch, or the sponge was pressed rather than bounced. The fix: overlap the stripes slightly on the sponge so the colors bleed together, and use a light bouncing motion. A second layer almost always softens the line; the top coat finishes the job.
Mistake 2 — A bumpy, orange-peel texture
Why it happens: pressing the sponge down too hard, or dabbing with polish that has started to set on the sponge. The fix: lighten your touch — float the sponge on with taps rather than stamps — and reload the sponge with fresh stripes every two to three nails. A generous top coat smooths minor texture.
Mistake 3 — The sponge soaks up all the polish
Why it happens: a bone-dry sponge drinks polish before it ever reaches the nail. The fix: lightly dampen the sponge and wring it fully dry before loading it. The trace of moisture keeps the polish sitting on the surface where it can transfer.
Mistake 4 — The base color smears under the sponge
Why it happens: the base coat was still tacky when the sponge touched it. The fix: give the base a full five minutes to dry, and use a light touch on the first pass. If it smears, wipe the nail clean and redo the base rather than trying to rescue it.
Mistake 5 — Streaky, translucent patches
Why it happens: stopping at one layer, or using sheer polishes with nothing opaque underneath. The fix: build two to three thin layers, and choose an opaque lighter shade for the base coat. Sheer-on-sheer gradients almost always look patchy; opacity is your friend.
How long do ombre nails last?
How long do ombre nails last? Done with regular polish, a sponge-method ombre lasts about 5–7 days of normal wear — the same as any well-prepped regular manicure — because the technique does not change the polish’s chemistry. Longevity comes from prep (a clean, dry nail plate), a proper base coat, capping the free edge with each layer and the top coat, and refreshing the top coat mid-week. A salon gel ombre lasts two to three weeks, but requires professional products and curing equipment.
How do you remove ombre nails?
Removal is the same as for any regular-polish manicure: soak a cotton pad in regular nail polish remover, hold it on the nail for a few seconds, and wipe toward the tip. Ombre layers are slightly thicker than a solid manicure, so you may need a second pass. Follow with hand washing and cuticle oil to replace moisture. Do not peel or pick the polish off — peeling lifts the top layers of the nail plate and makes the next manicure chip faster.
Which colors work best for ombre nails?
The smoothest fades come from two shades in the same color family — blush into nude, plum into mauve, chocolate into caramel — because neighboring tones blend without a visible seam. High-contrast pairings like black into white can look striking but reveal every imperfection, so save those for your third or fourth attempt. Keeping both polishes in the same finish (crème with crème) also helps: a matte shade next to a glossy one creates a visible texture line no top coat can fully hide. If you love the two-color idea but want blocks rather than a fade, our two-tone color-block nail tutorial covers the crisp-line technique.
Ombre nails: frequently asked questions
Can beginners do ombre nails at home?
Yes. Ombre nails are one of the most beginner-friendly nail-art techniques because the sponge method requires no freehand painting skill — the gradient is stamped on with a bouncing motion. If you can paint a neat solid-color manicure, you can do an ombre. Expect the first attempt to take about an hour; it gets noticeably easier by the third try.
Do you need an airbrush for ombre nails?
No. The makeup-sponge method produces the same seamless fade as an airbrush for home use, with tools you already own. An airbrush gives an even finer mist, but for regular polish at home the sponge is cheaper, simpler to clean, and more forgiving — and sealed under a glossy top coat, the result looks virtually identical in photographs.
Why does my ombre look blotchy?
Blotchiness almost always means too few layers, polish that started drying on the sponge, or pressing too hard. Build two to three thin dabbed layers instead of one heavy one, reload the sponge with fresh stripes every two to three nails, and use a light bouncing motion. A generous glossy top coat melts remaining stipple into a smooth fade.
Can you do ombre nails with regular polish?
Absolutely — regular polish is the easiest medium for ombre because it stays workable long enough to dab and blend. Use an opaque lighter shade as the base, stamp the gradient with a slightly damp wedge sponge in two to three layers, and seal with a glossy top coat. The manicure lasts about 5–7 days with good prep.
What is the difference between ombre and baby boomer nails?
Baby boomer nails are a specific ombre: white fading into nude, designed to look like a soft French manicure. Ombre is the general technique — any two colors fading into each other. So every baby boomer is an ombre, but not every ombre is a baby boomer. The same sponge method creates both; only the color choice changes.
How do you keep ombre nails from chipping?
Chip resistance comes from prep and sealing: clean the nail plate with remover before starting, use a base coat, cap the free edge with each layer and the top coat, and avoid using nails as tools for the first 24 hours. Refresh the shine with a thin top-coat layer on day three or four — it reseals the edge and adds several days of wear.